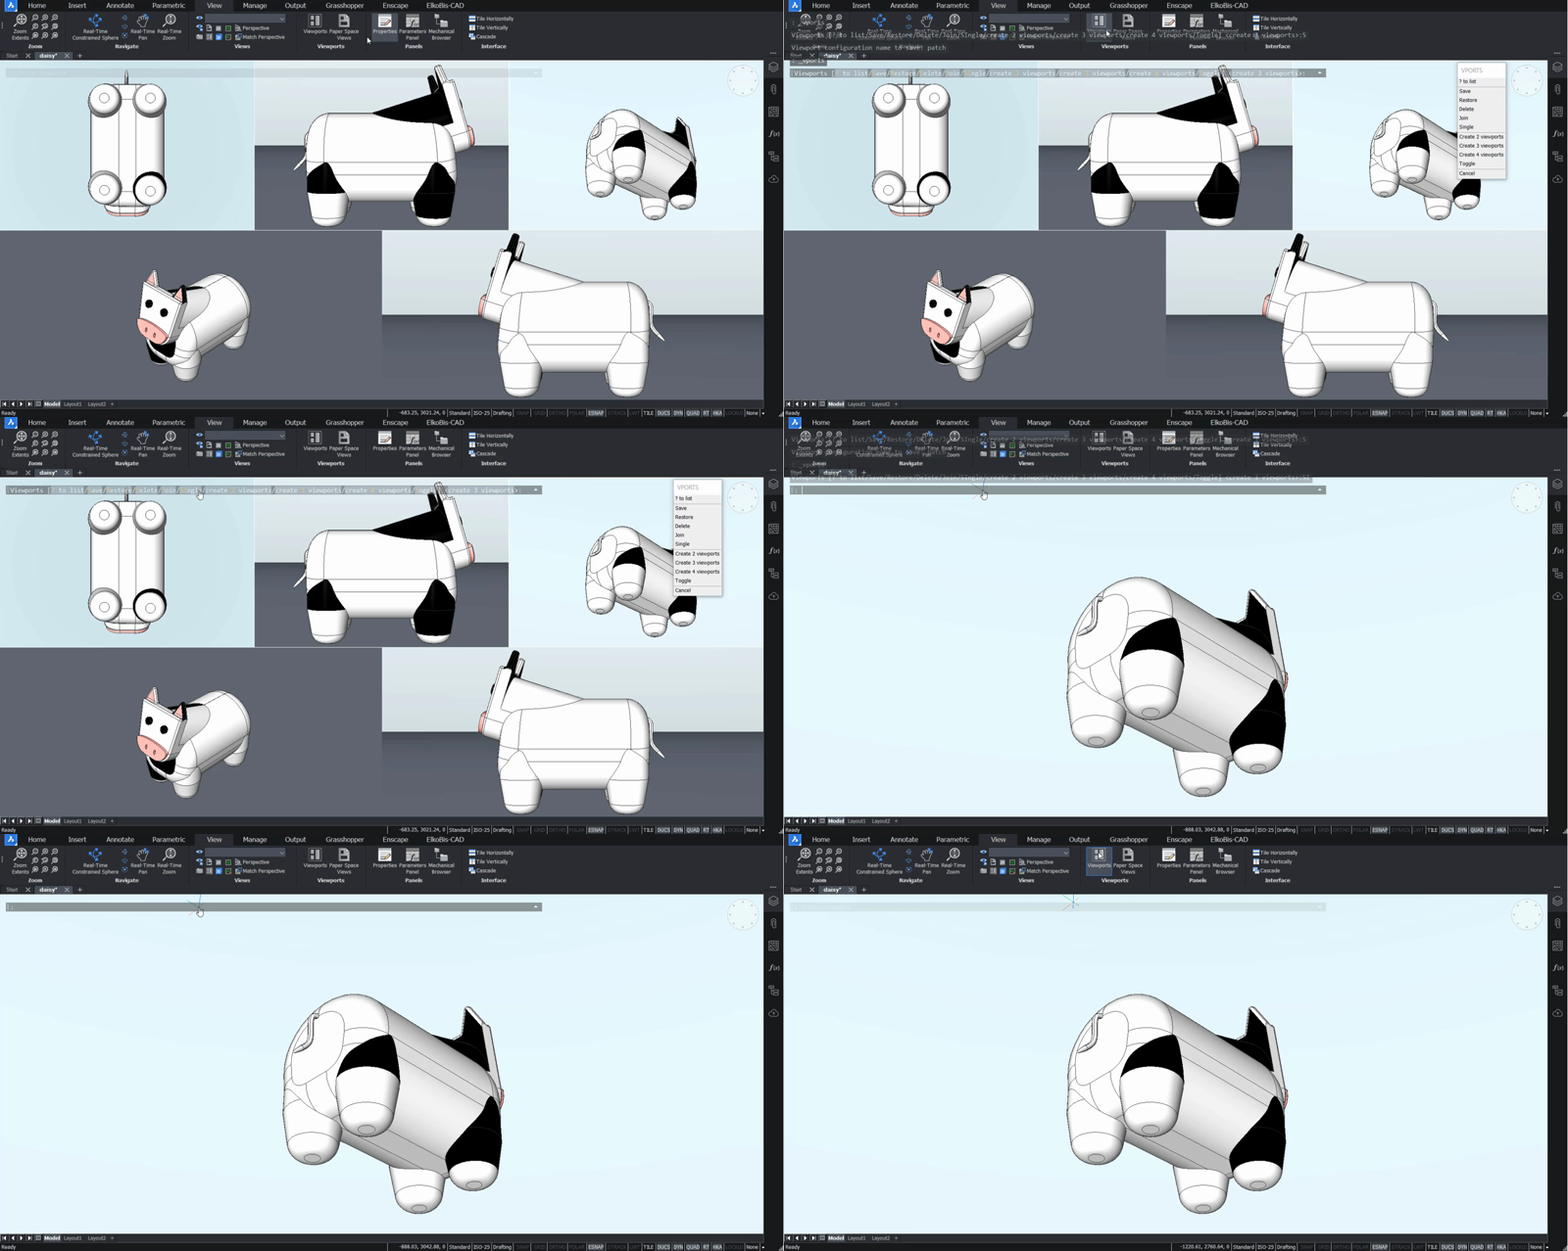
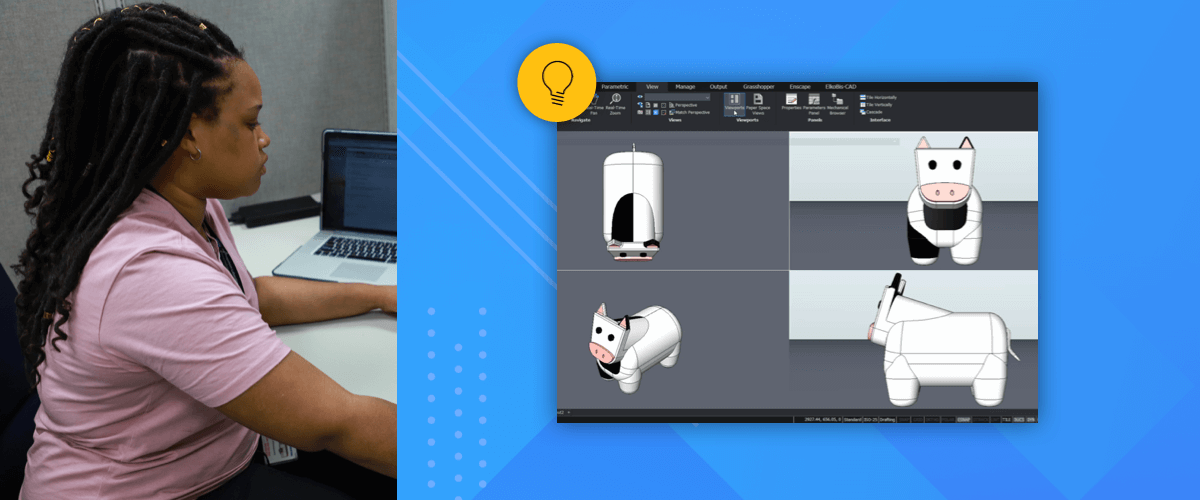
You might be surprised to learn that, in BricsCAD®, you can split the Model Space drawing view into two or more viewports. This allows you to see the same drawing in several different ways, for example, zoomed-in, from a different angle, with a different View style and even, with different visible layers.
How to split the view in your workspace
The create a split view in BricsCAD:
- Use the VPORTS command or locate the Viewports button under the View tab of the Ribbon.
- Choose Create 2 viewports, Create 3 viewports or Create 4 viewports.
- Choose Horizontal, Vertical, Above, Below, Left or Right.
Note: options vary based on the number of viewports selected in step 2.
The active viewport is surrounded by a heavy line. To change the active viewport, simply click the viewport you wish to make the active viewport or use the Ctrl+R shortcut to cycle between viewports.

Change the view angle
Each viewport can have a different view angle. Control your view angles as you would a single viewport. Use the mouse or the LookFrom widget to change the view in the current viewport.
Want to split the workspace into more than 4 viewports?
No problem! You can split a viewport into yet more viewports.
- Select the viewport to split.
- Use the VPORTS command.
- Select Create 2 viewports, Create 3 viewports or Create 4 viewports.

You can also merge viewports.
- Enter the VPORTS command.
- Enter Join(J).
- Click to select the viewport you want to merge with the active viewport.
Change the visual style
You can change each viewport to a different visual style. You can even set different options in each viewport; Grid view, Layer view, etc.

Switch between viewport mid-command
You can move from one viewport to another mid-command. Simply click the other viewport (to set it as the active viewport) then continue the command. You can switch as many times as you need to.
Save a viewport layout
To save a viewport:
- Enter the VPORTS command.
- Enter Save(S).
- Choose a name for your viewport.
To load a saved viewport:
- Enter the VPORTS command.
- Enter Restore(R).
- Type the name of the viewport to restore to.
Note: the viewport layout is only saved for the current drawing.
Revert to a single viewport
If you've had enough of split views you can quickly revert to a single view:
- Enter the VPORTS command
- Enter Single(SI) -- and you're back to one, single view of your model.

Alternatively, choose the Toggle option to temporarily, make the active viewport the only view.
More Tuesday Tips:
- BricsCAD Trial Versions
- Glossary of CAD terms
- Reduce your work time with The Quad
- Save time with Propagate
- Edit polylines in BricsCAD
- Converting to .dwg
- BIMTags
- 11 -- ways to draw a square in BricsCAD
- A quick guide to DXF
- Solids, Surfaces, and Meshes
- Sweep
- Callouts, leader lines & balloons
- Automate Technical Drawing
- Orthographic Drawing from a 3D Model in 20 Seconds
- 'api-ms-win-crt-runtime-dll' Error while starting BricsCAD
- Everything you need to know about Render Materials in BricsCAD
- Transform 2D Entities with Stretch
- Move, Edit and Change Entities at Hyper Speed with BricsCAD
- The BricsCAD® Hotkey Assistant & Tips Panel
- The only 9 commands you need to get started with 3D CAD
- OSnap, Temporary Tracking & 3D Snaps
- Line Weights
- BricsCAD Selecting Entities


