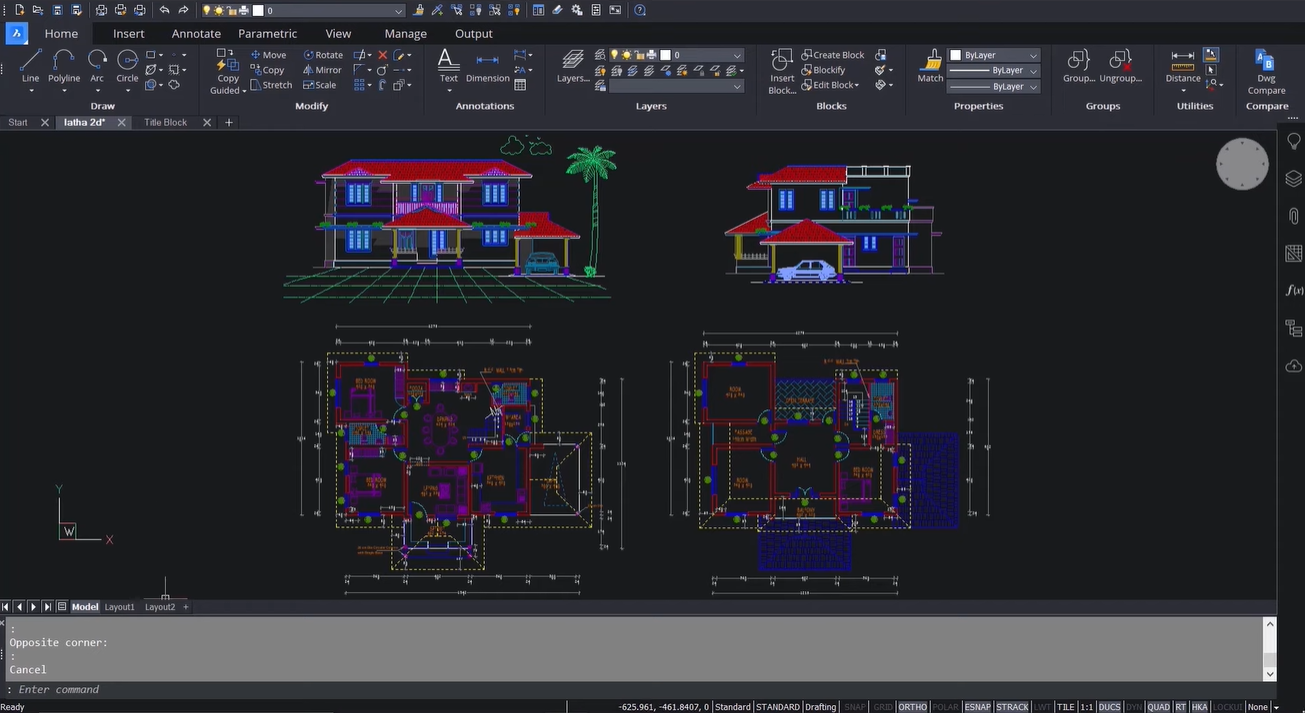
In BricsCAD, a Viewport is a window or a portion of the drawing area that provides a view of the objects in the drawing from a specific angle or orientation. It allows you to have multiple views of the same drawing in a single layout, each viewport displaying a different part of the drawing or showing the same amount from a different angle. Viewports help create scaled, sectional, or detailed views of a drawing and represent different views of a 3D model. Viewports can be resized, moved, and arranged on the layout page to suit your needs, and each viewport can be configured with its display properties, such as layer visibility, view style, and scale.
In BricsCAD, by default, you will be in the Model Space.
In the example below, you can see that the Model Tab is active, and you can switch over to Paper Space by clicking on any of the layout tabs. We’ll see that we click on the ‘Layout 1’ tab to switch to the Paper Space. Paper Space is a white screen representing a sheet of paper. You can see the drawing below, opened in a viewport.
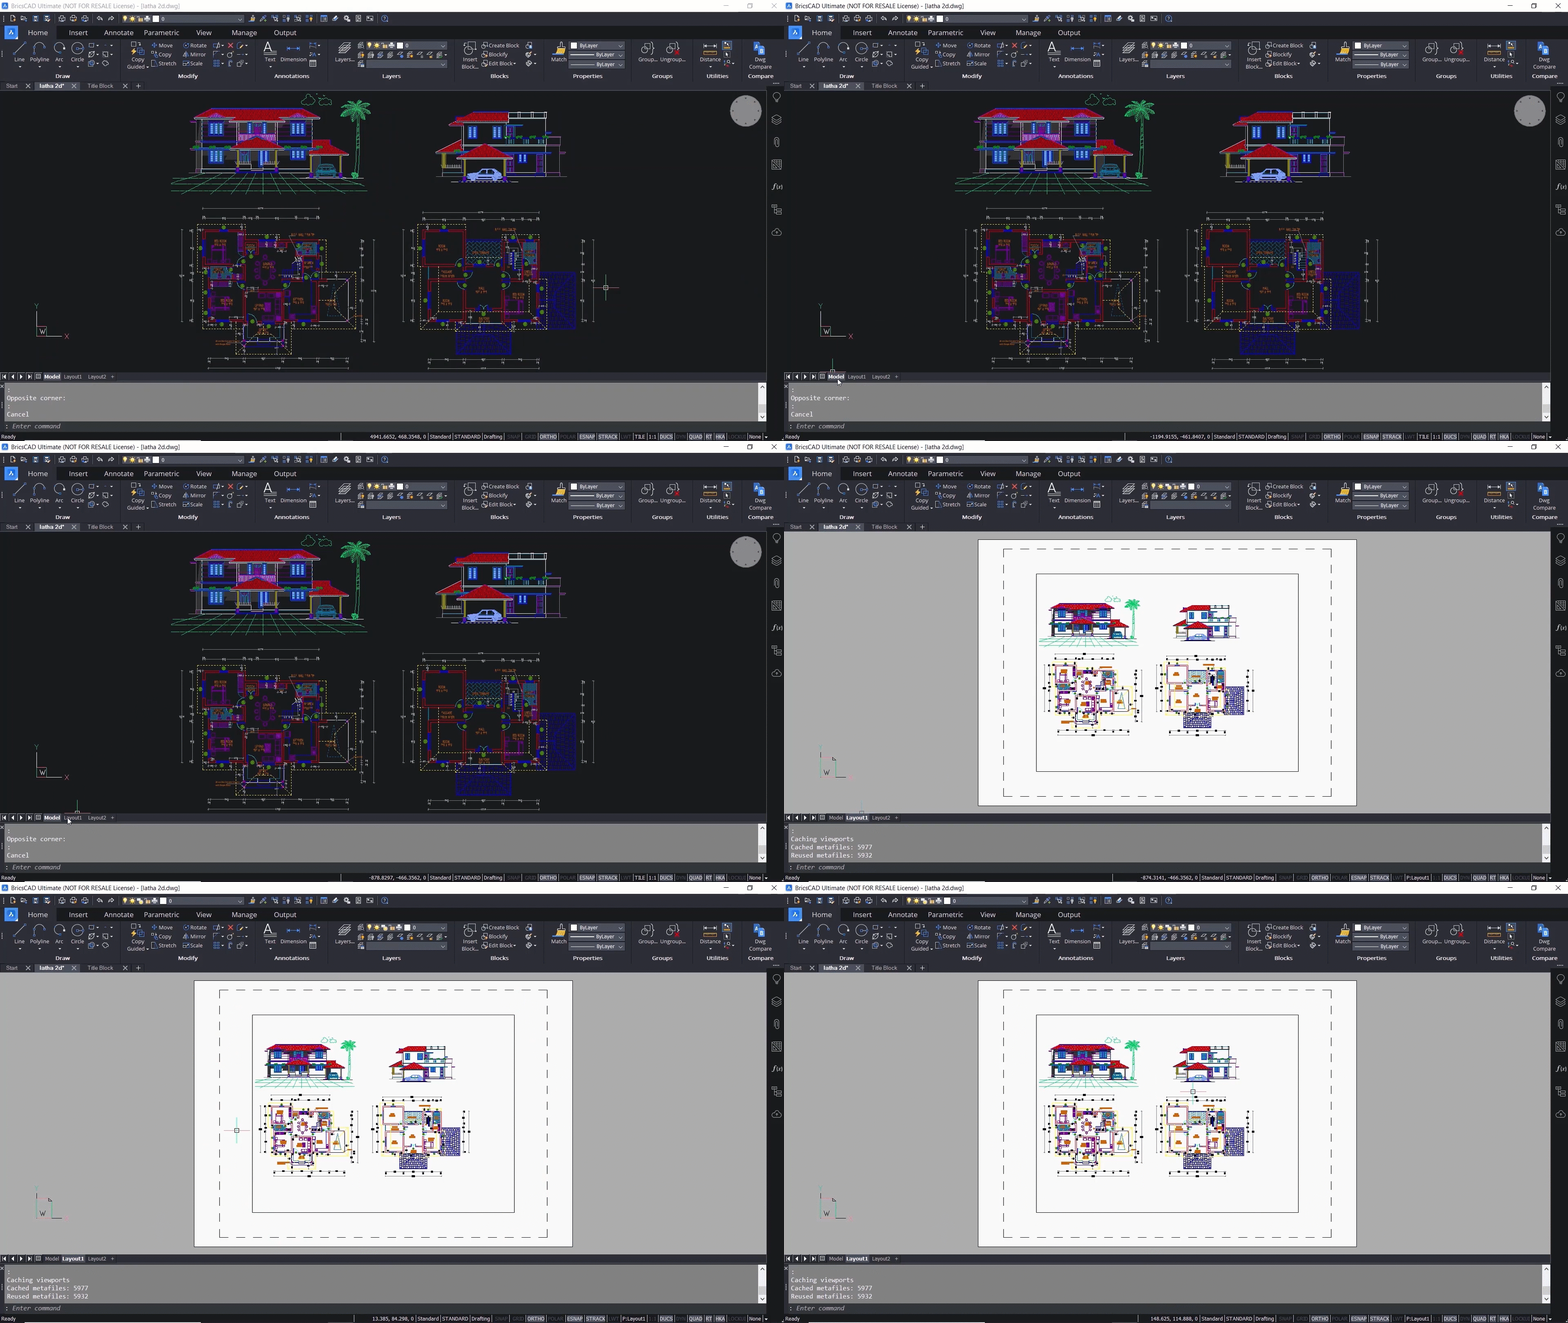
A viewport is an entity in the layout, acting as the window to the Model Space. In the example below, we want to erase the default viewport. So, we select the viewport and click on the ‘Erase’ command. Next, we click the View tab, and Paper Space views icon to create the desired viewports. This series of actions will invoke the MVIEW command. Similarly, you could directly input ‘MVIEW’ in the command line. The MVIEW command allows the user to create viewports in different sizes and shapes, depending on your unique design requirements.
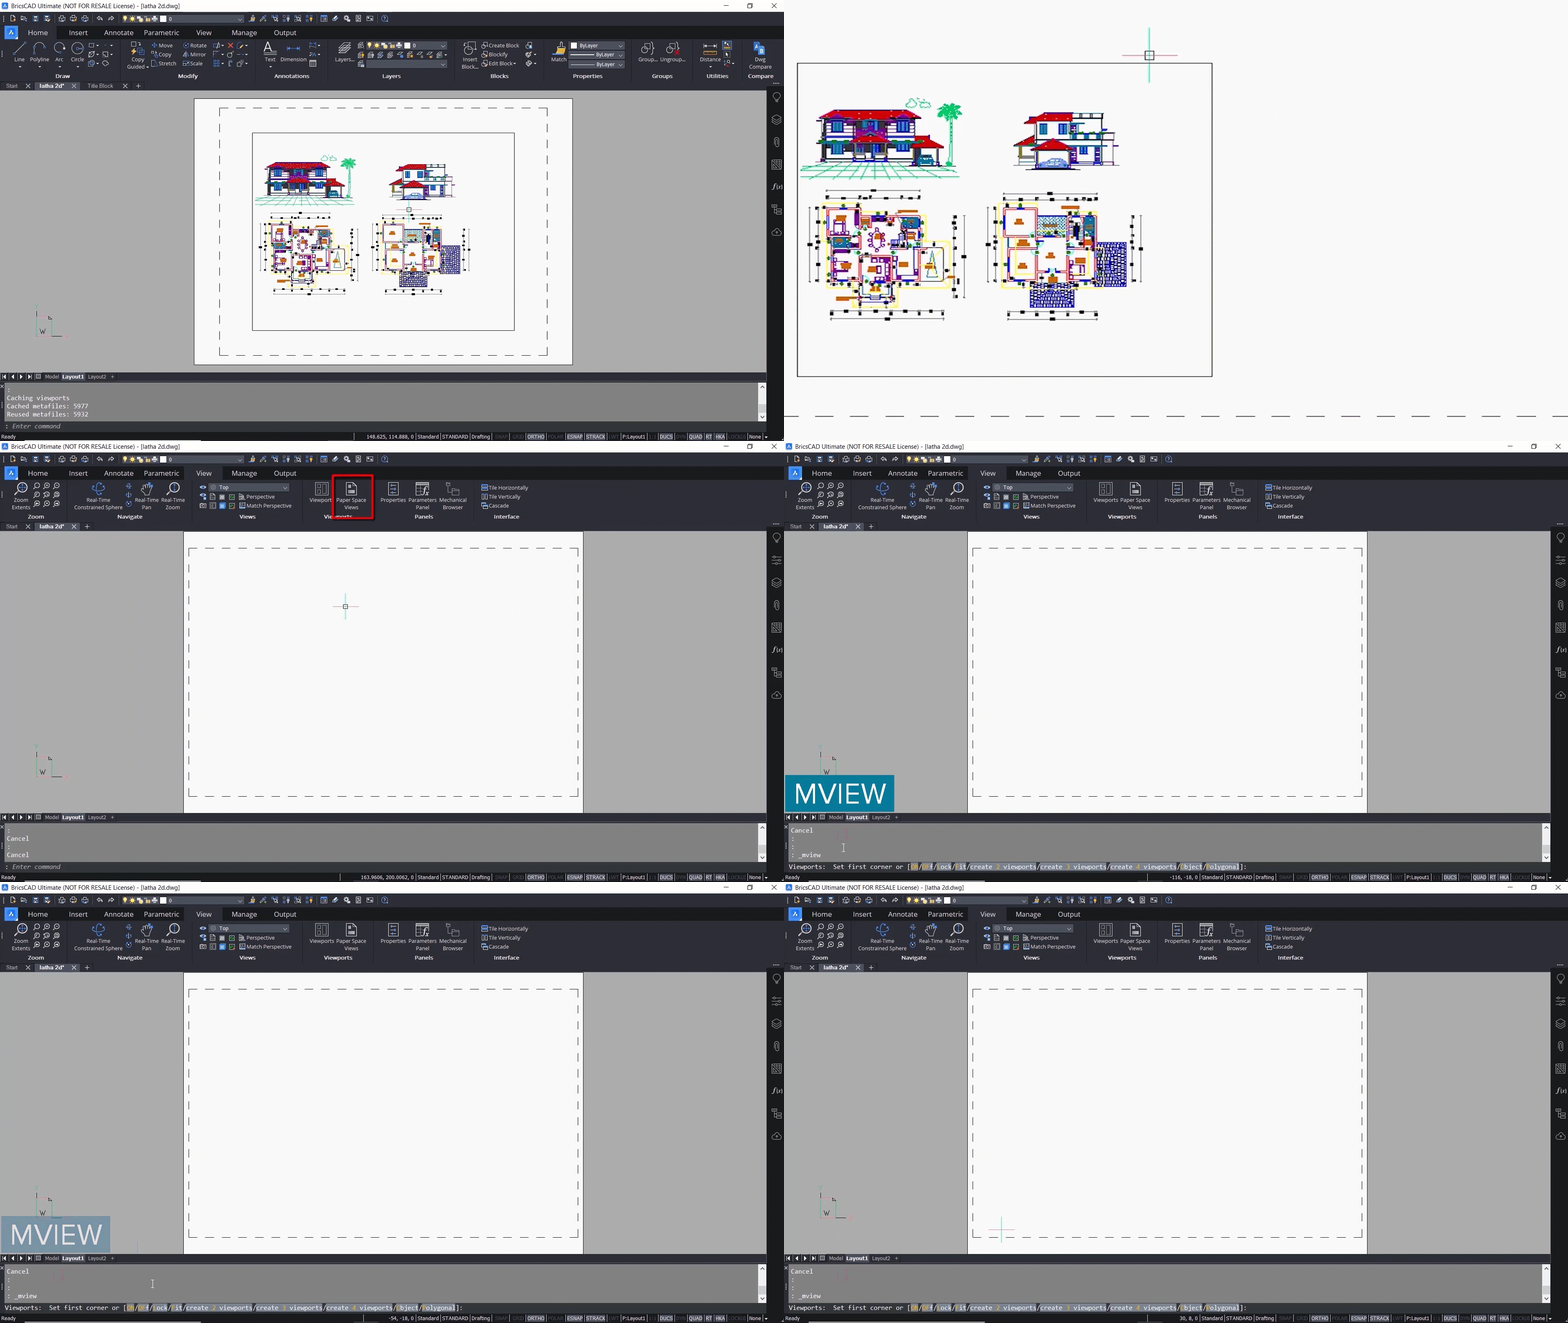
By default, you'll create a rectangular viewport. In the example below, we select the first corner of this rectangle. Next, we left-click and are required to select the opposite corner of our rectangular viewport.
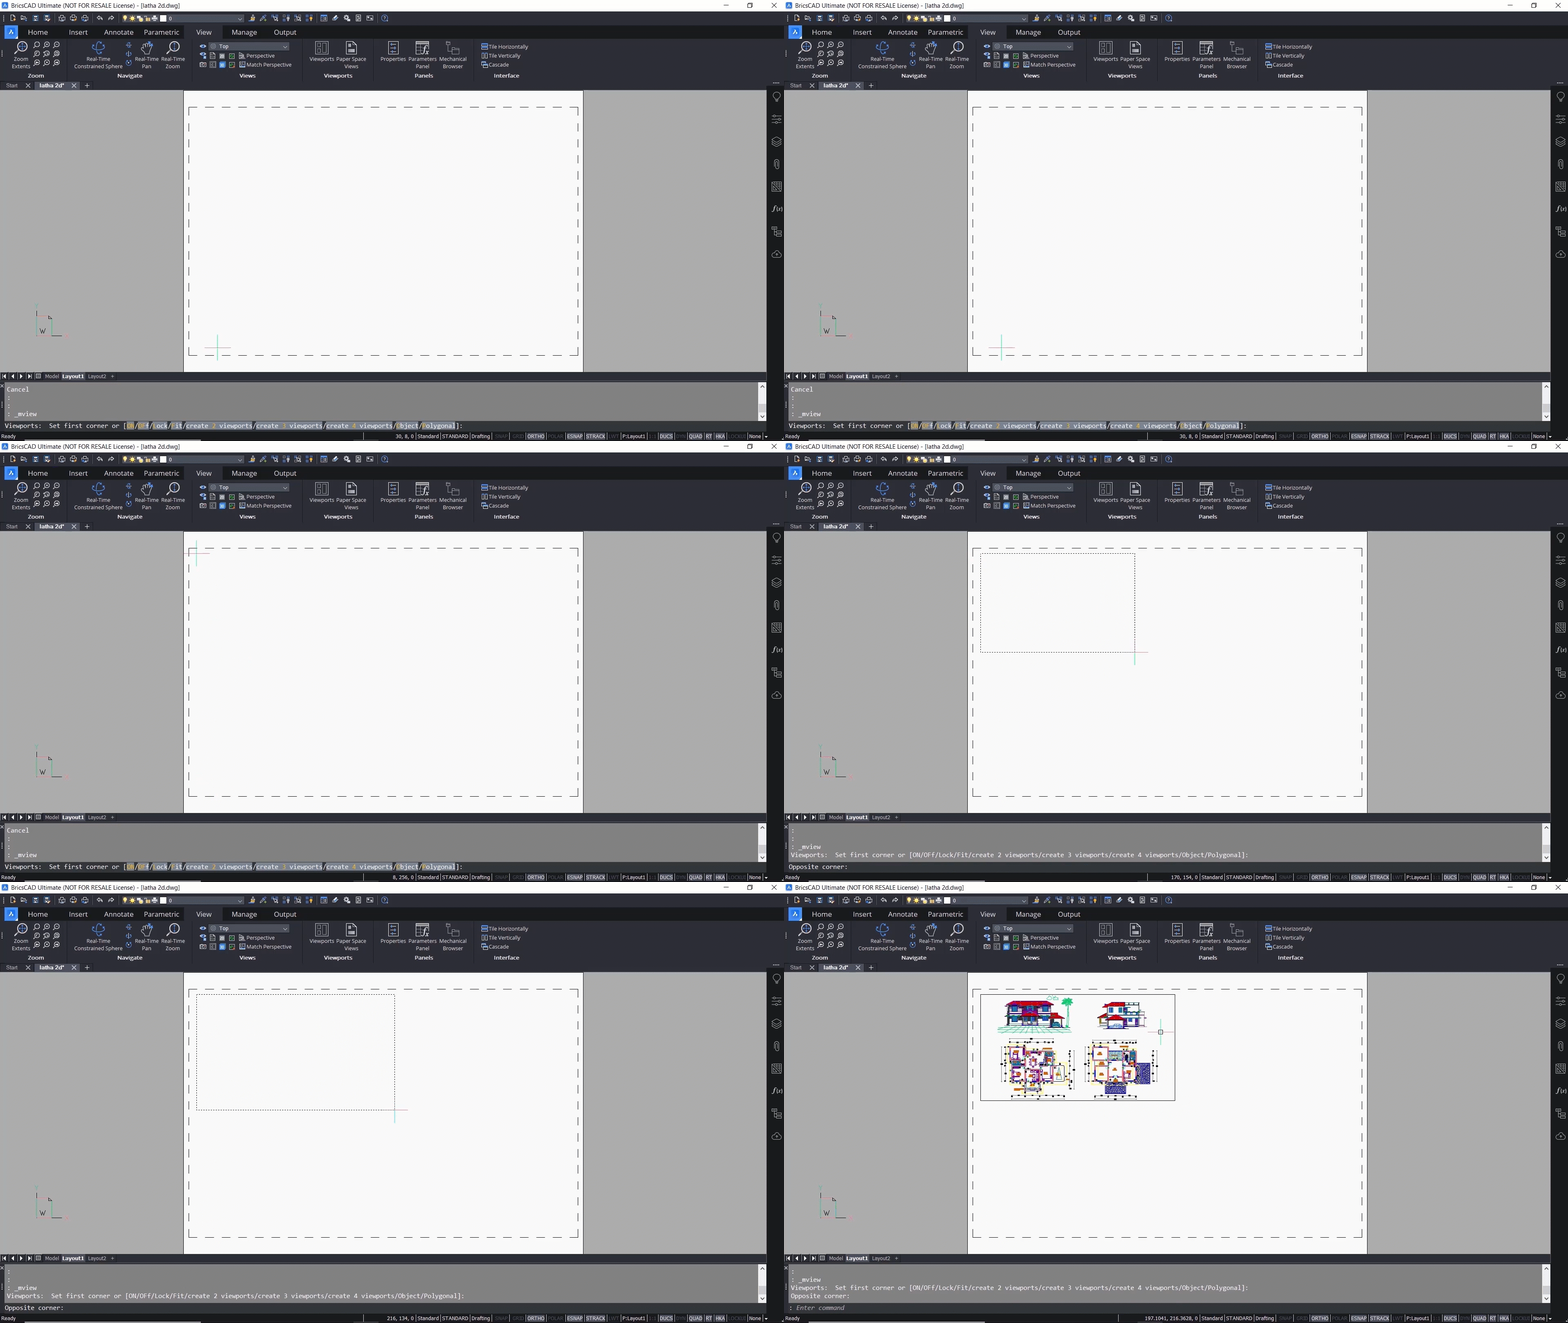
Now we’ll zoom into this viewport using the wheel of the mouse. At first, you’ll see that the entire layout is manipulated, but you can double-click inside the viewport to activate it and zoom in on the desired space. You’ll initially see that the viewport's border becomes thicker, indicating that it's an active viewport.
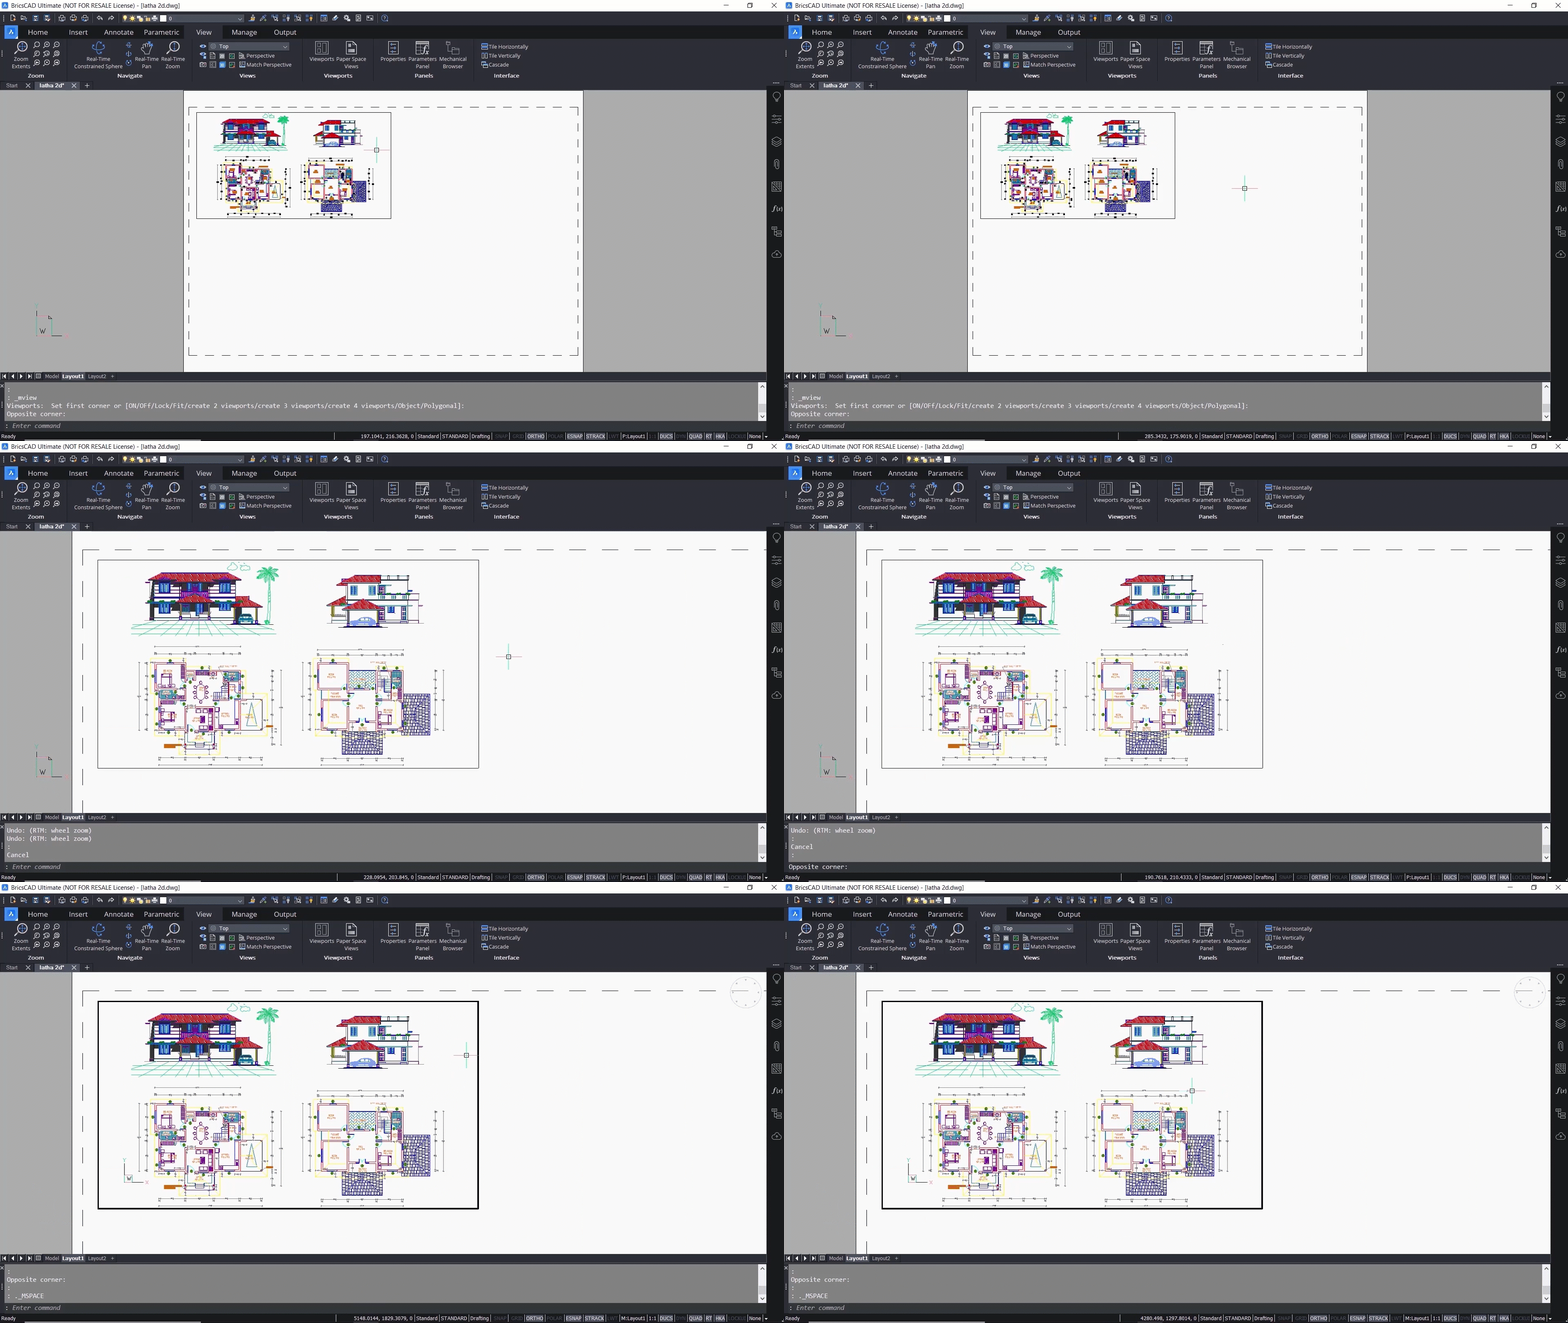
Using the mouse wheel, we can now zoom the drawing inside the viewport. Similarly, by clicking the mouse wheel, you can pan your drawing. Now, we double-click outside the viewport and zoom in using the mouse wheel to zoom the entire layout.
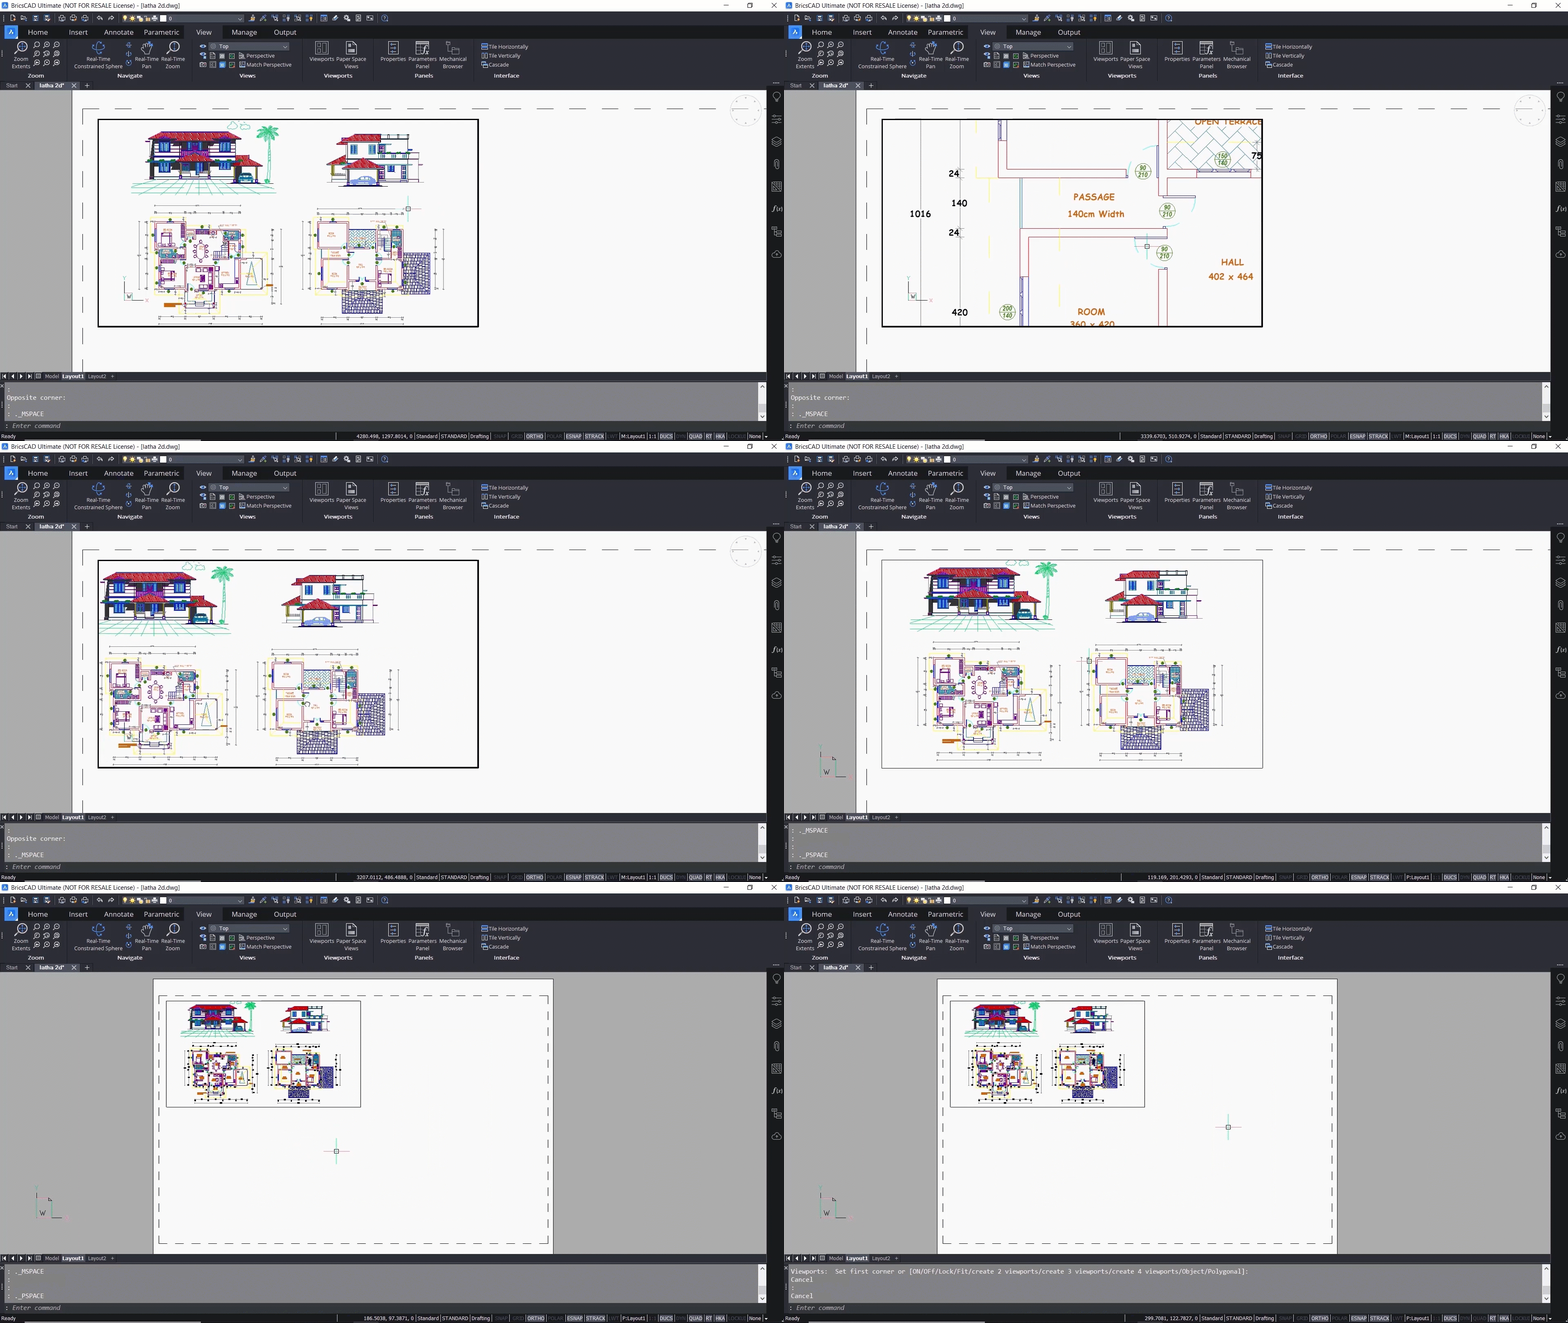
Let's take a look at the rest of the options in the MVIEW command.
To do this, we first press enter to repeat MVIEW. The ‘off’ option can turn off the drawing view in a selected viewport.
We now click on the viewport border, then press enter again. The drawing view inside this viewport is currently turned off. We can press enter to repeat and view.
In the example below, next, we click ‘turn on,’ select the viewport border, and press enters to turn on the drawing view inside the viewport. The ‘lock’ option can lock the zooming or scaling functions inside the viewport. To do this, we’ll click on the lock option, click 'on' to enable it, select the viewport border, and press enter to confirm.
Double-click inside the viewport and zoom in using your mouse’s scroll wheel. You can see that the entire layout will get zoomed in. Click on ‘lock’ and turn off the viewport locking. Next, we select the viewport border, press enter, and double-click to activate. Now we can zoom using the scroll wheel or scale a view inside the viewport.
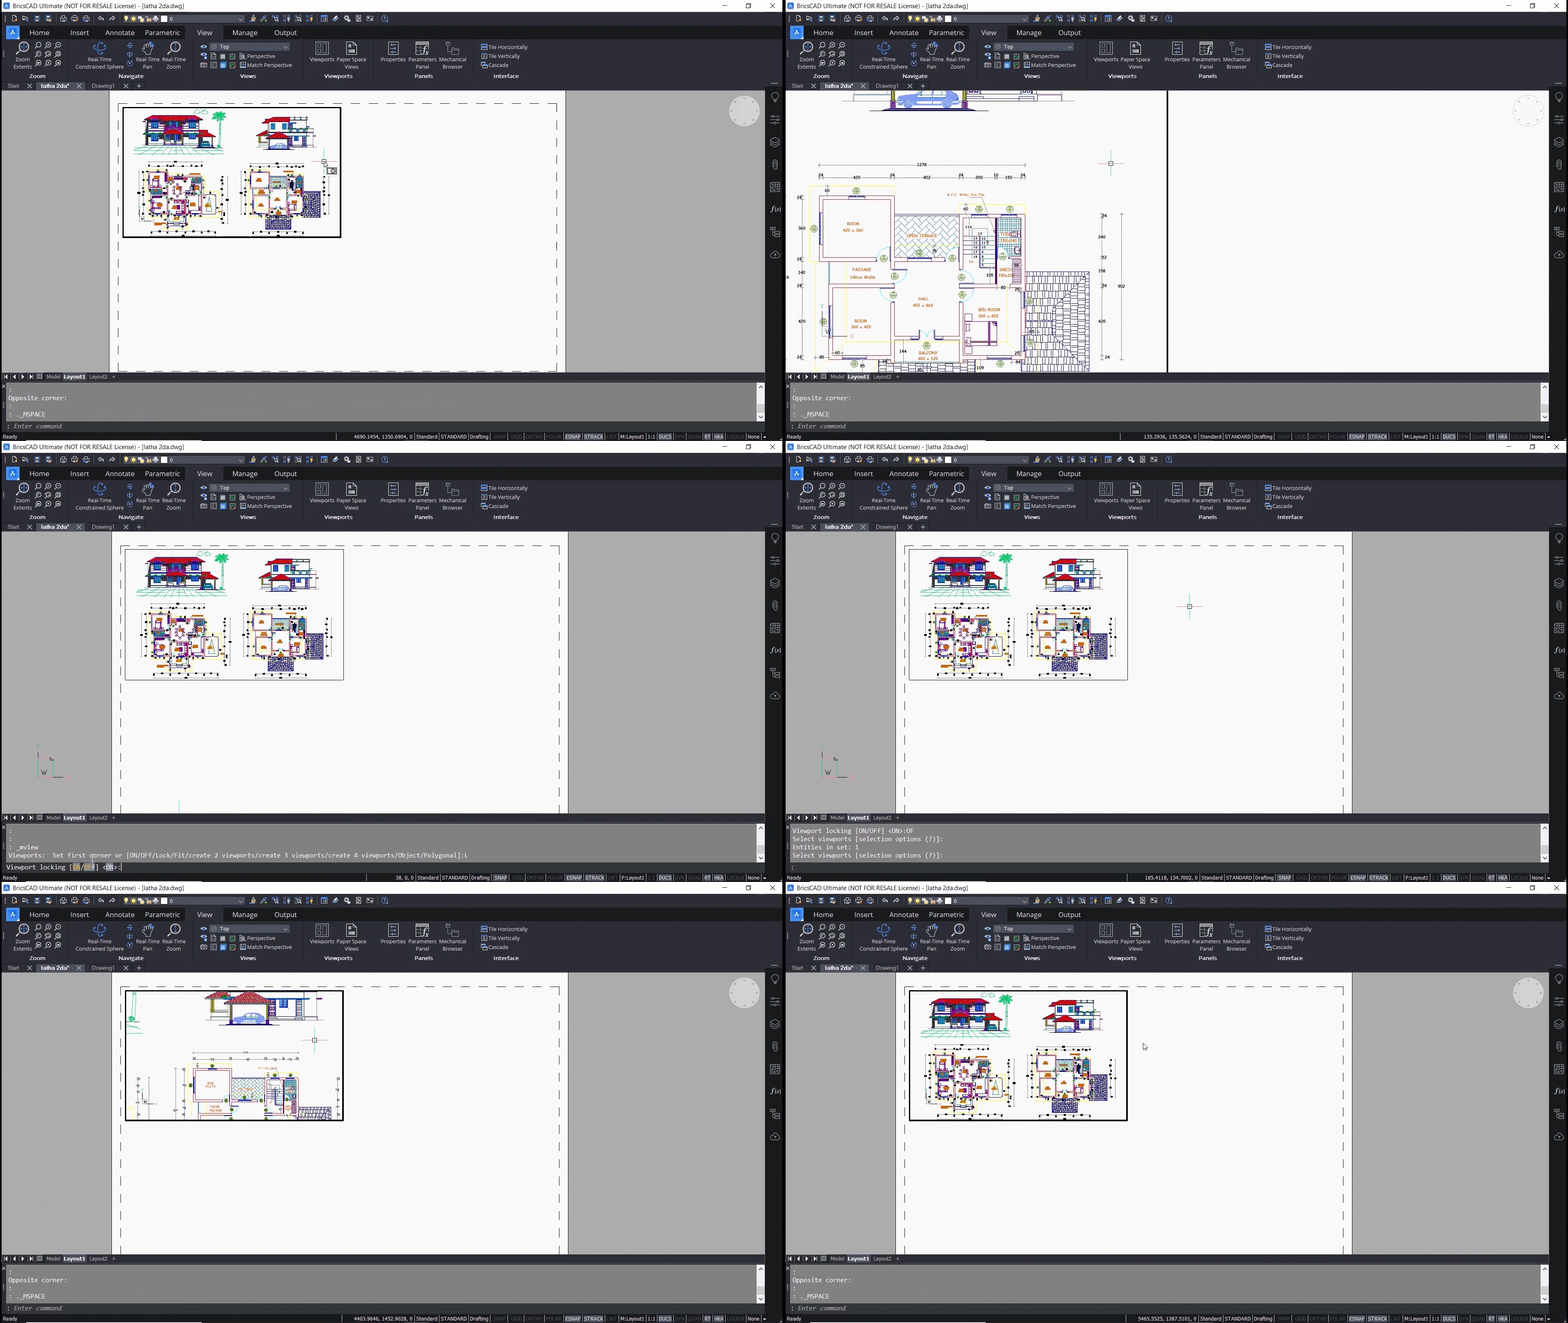
In the example below, we erase this viewport and repeat the MVIEW command. When we click on the ‘fit’ option, BricsCAD fits the view of the drawing in the Model Space into the layout. We now erase this viewport and repeat the MVIEW command. We now have ‘create two viewports,’ ‘create three viewports,’ and ‘create four viewports’ as options.
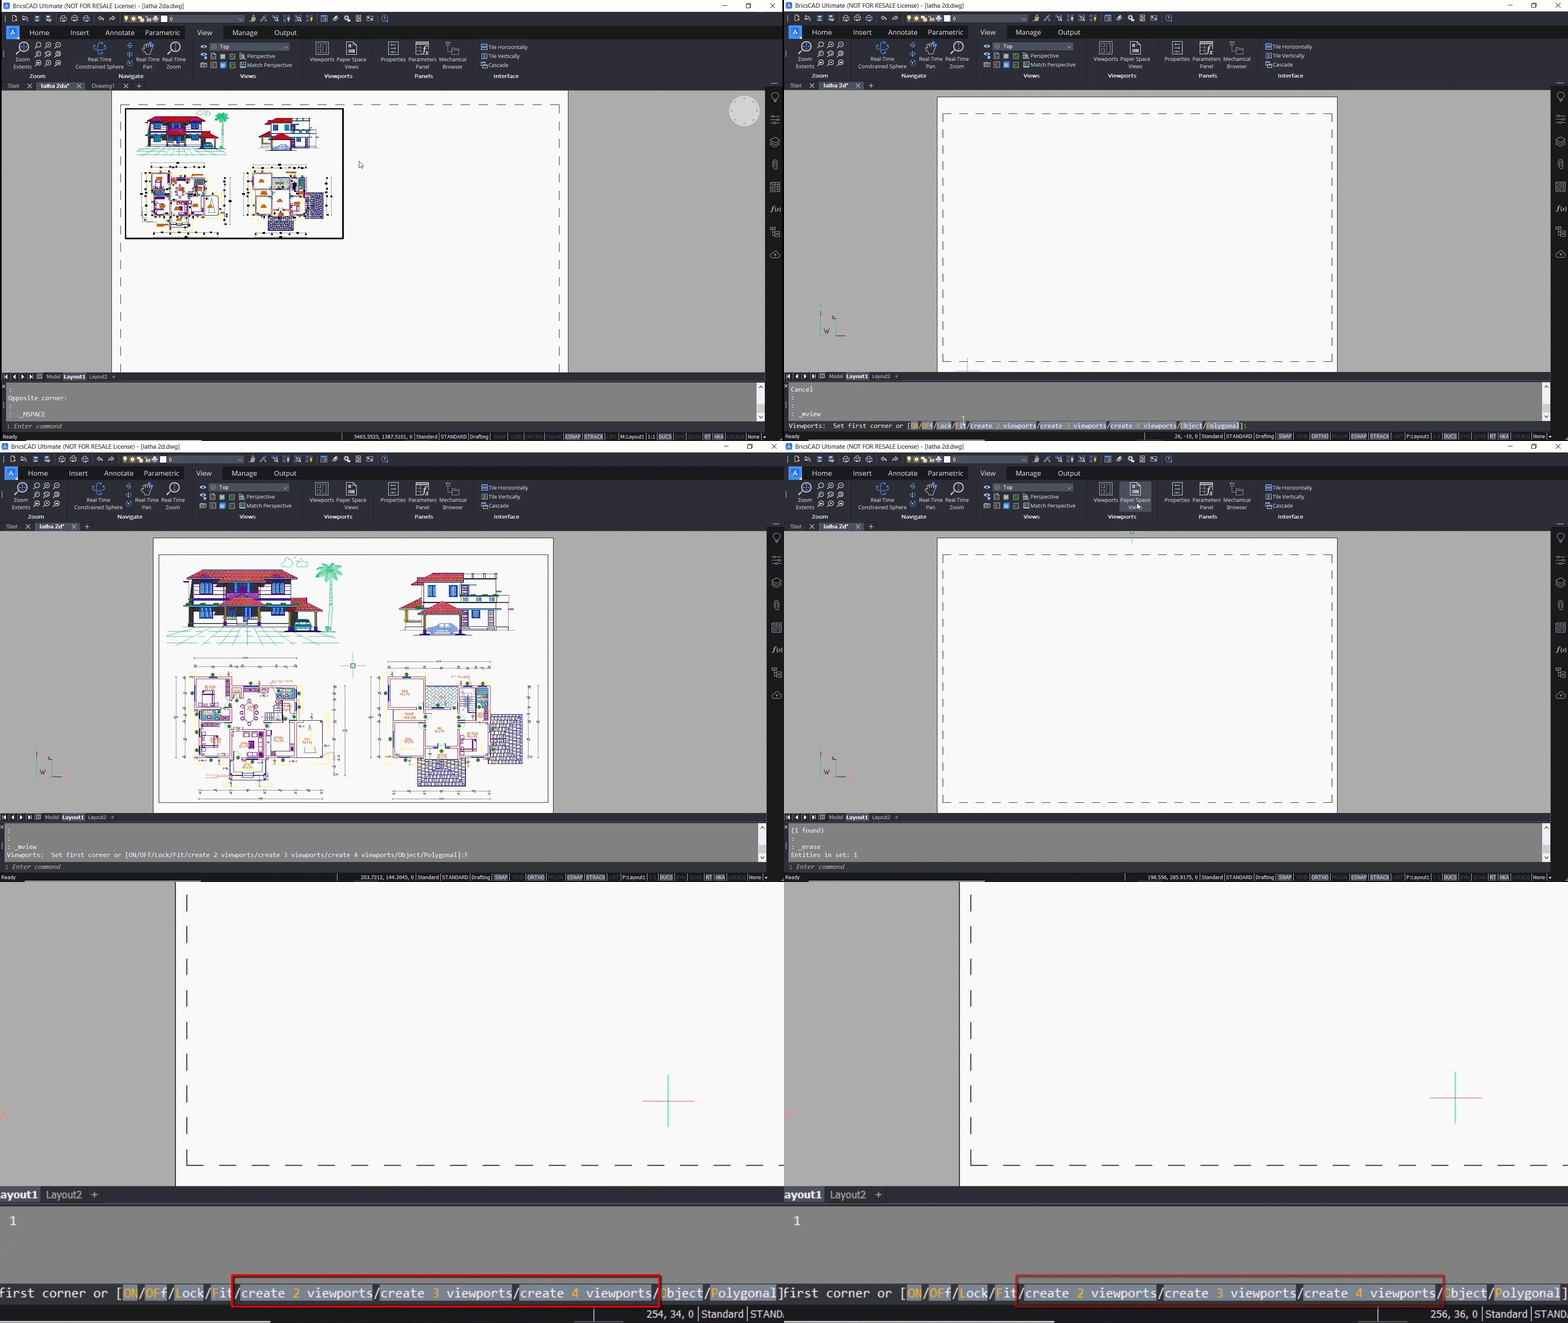
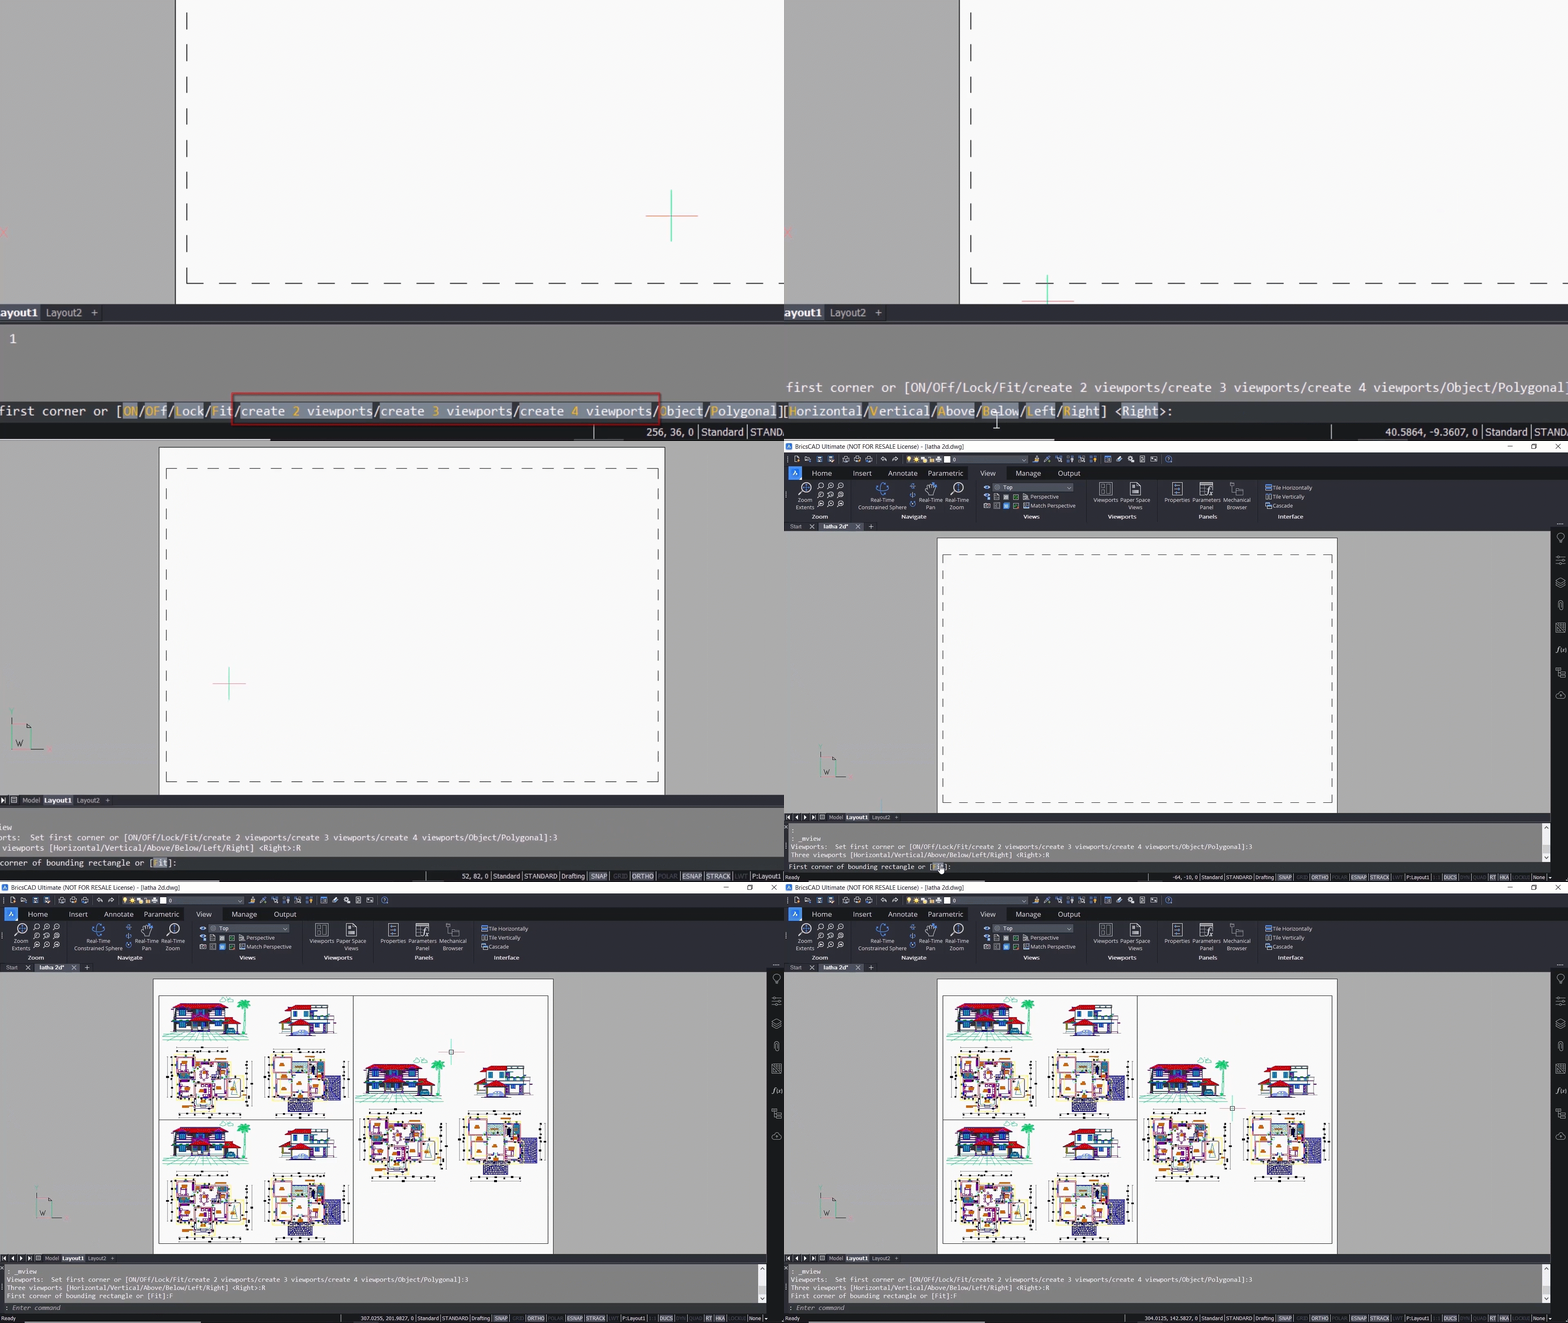
Each of these options will let you create a predefined number of viewports. We’ll click on create three viewports, for example.
Now you can click on an option based on the position of the Major V Port. A Major V Port is a larger viewport.
You can insert this viewport within a rectangle by picking two opposite corner points. Alternatively, click the ‘fit’ option to fit this viewport configuration into the layout. You’ll see in the example below that the bigger V Port is on the right side because we have chosen the right option.
Let’s try out the rest of the options!
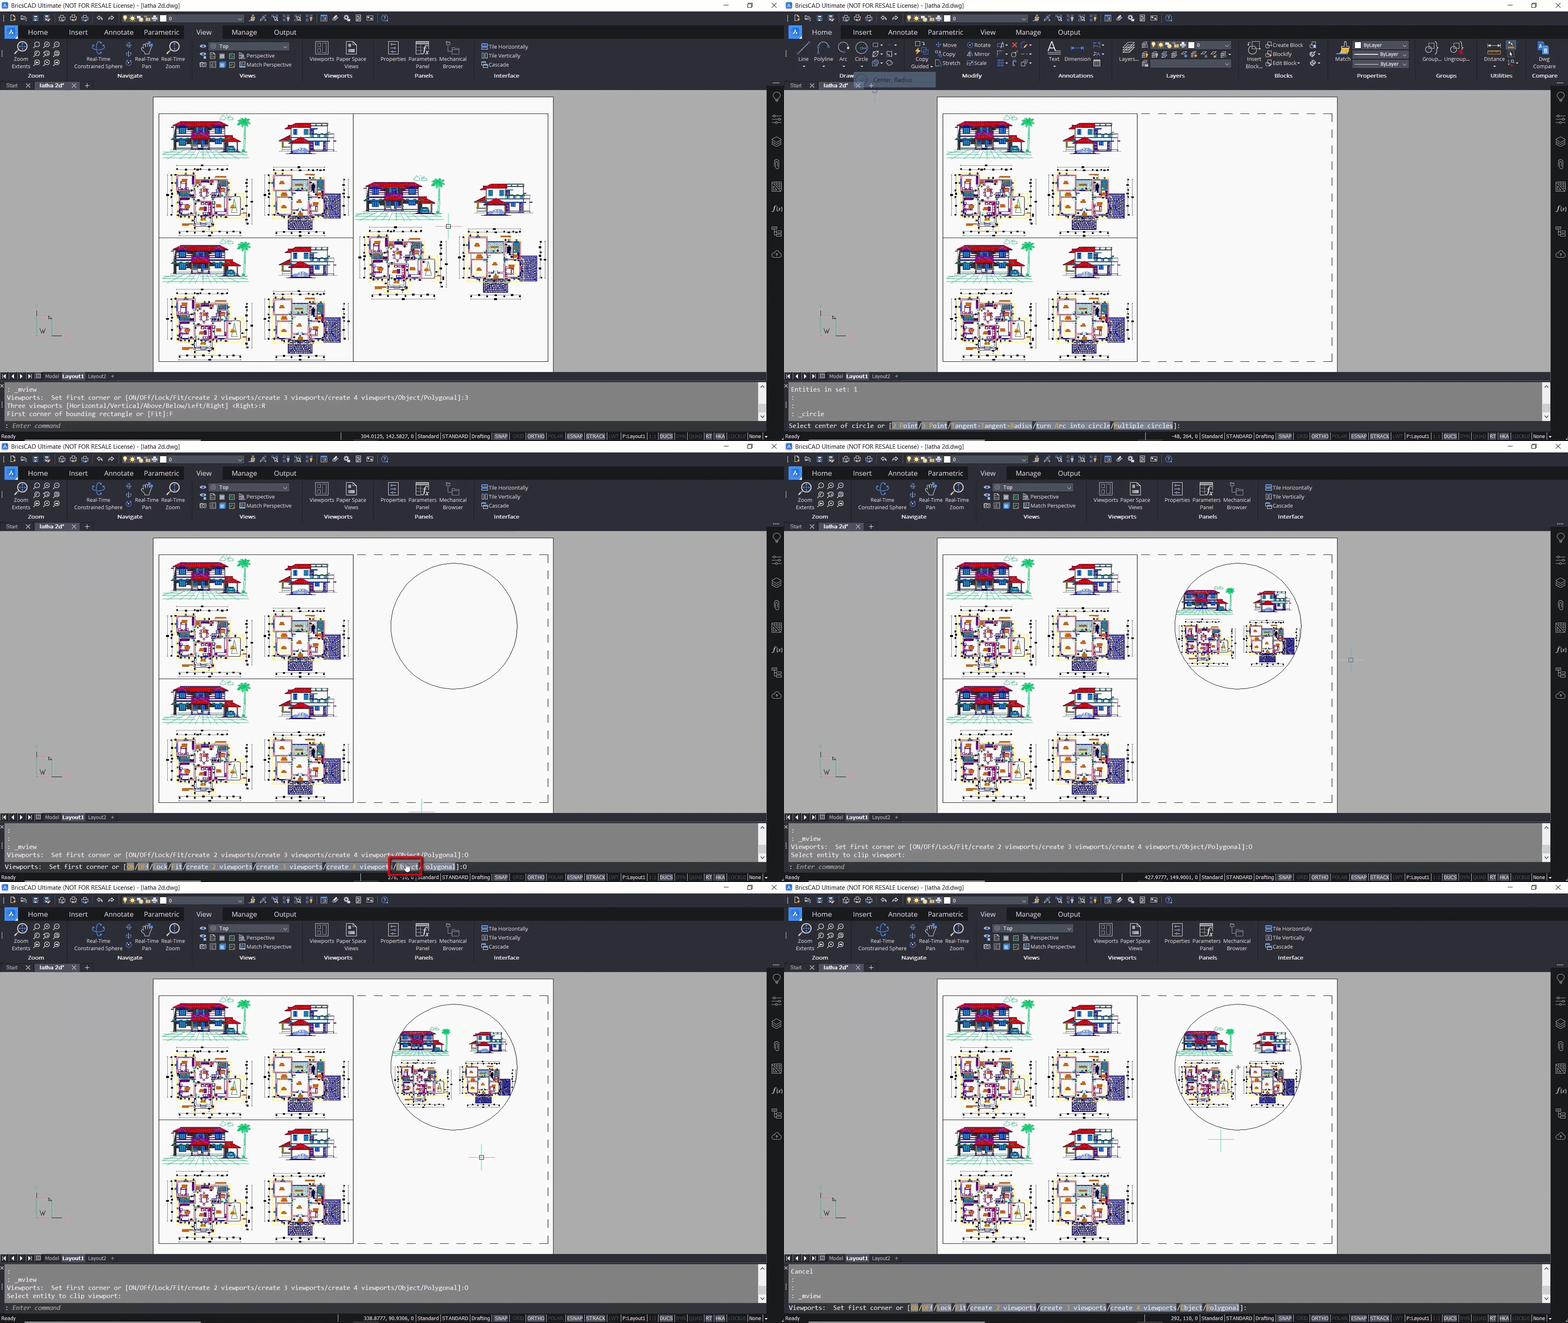
We’ll erase this viewport and, instead, create a circle on the layout using the center radius option of the circle command. Now, we’ll repeat the MVIEW command and click on the ‘Object’ option. We’re now asked to select the entity to clip the viewport. Here we’ll choose the circle. The ‘Object’ option will let you use any existing entity as a viewport boundary, and the drawing in the model space will get clipped within this boundary.
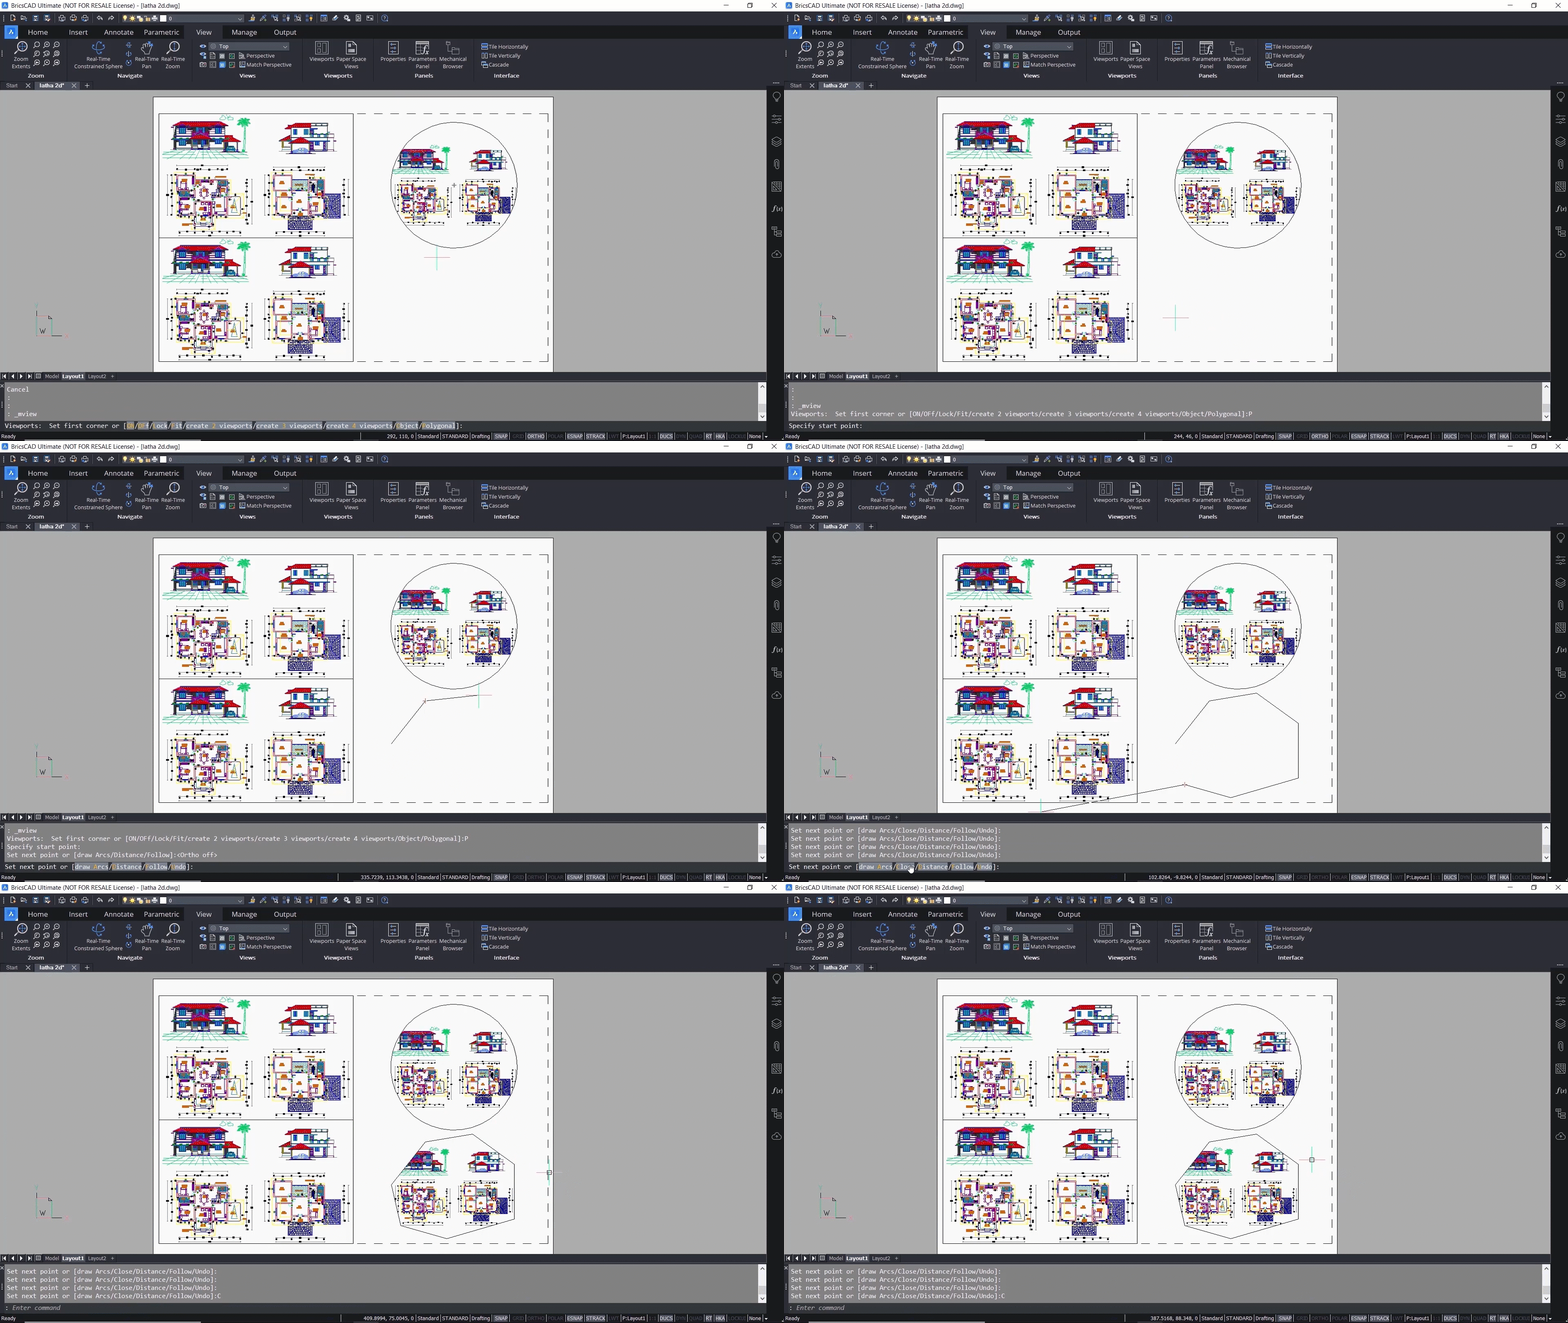
We repeat MVIEW again and click on the polygonal option. Now we’re asked to select the start point of a polygon. We turn off the auto mode and pick several corner vertices of the irregular polygon shape we require.
Next, click on the ‘Close’ option to close this polygon. This polygonal boundary will be used as a viewport border, and the model space drawing will get clipped within this border.
Now you know the basics of viewports in BricsCAD and how to use them to navigate and communicate your unique design! If you'd like to know more, you can view the full video.
Learn more about the basics of BricsCAD:
Explore BricsCAD
Download BricsCAD Free Trial | Sign Up For News & Updates | Shop Online For BricsCAD Desktop Software

