
Last time, I showed you how to create your own library of component parts. This time relax with a fun project to advance your modeling skills: a rubber duck. There are still many, many more ways of working in BricsCAD, but this should give you a good starting point.
You will need to download the linework .dwg file. You can make your own, but the purpose of this post it to get you using 3D tools, if you still need help with 2D drawing then be sure to check our free 2D tutorials.
New commands covered:
The Body
I used the Loft command, as covered in the sink -- part 6 and the toilet -- part 7. I then added wings using the DeformPoint command. To finish I used spheres to create the head and eyes.
How to do this:
- To start, download the linework or, if you're feeling adventurous, make your own.
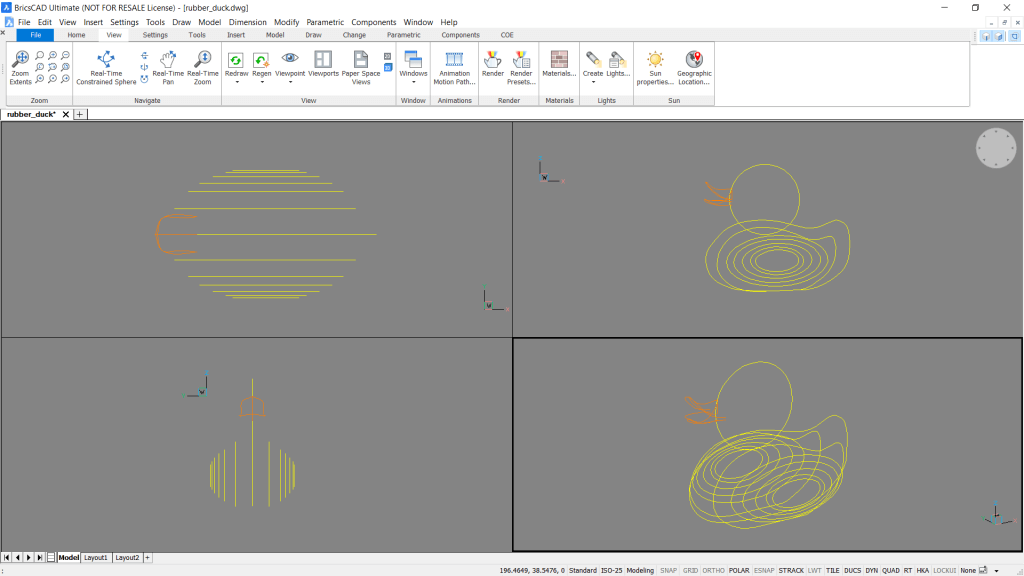
- Loft between the curves to create a body.
- Use DMDEFORMPOINT to extrude a wing.
- Repeat on the other side.
- Use a sphere to create the head.
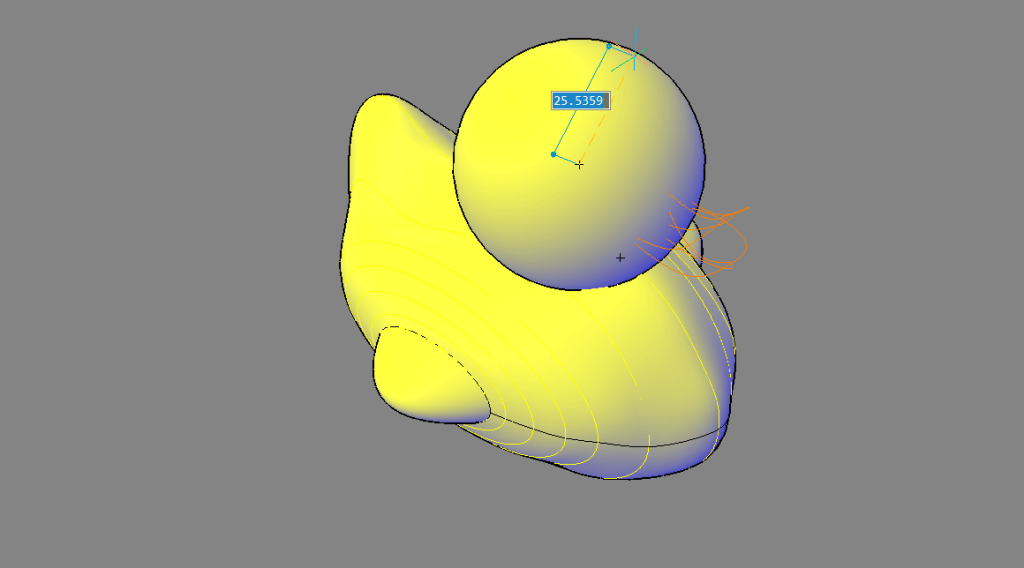
- Use another sphere to create the eye.
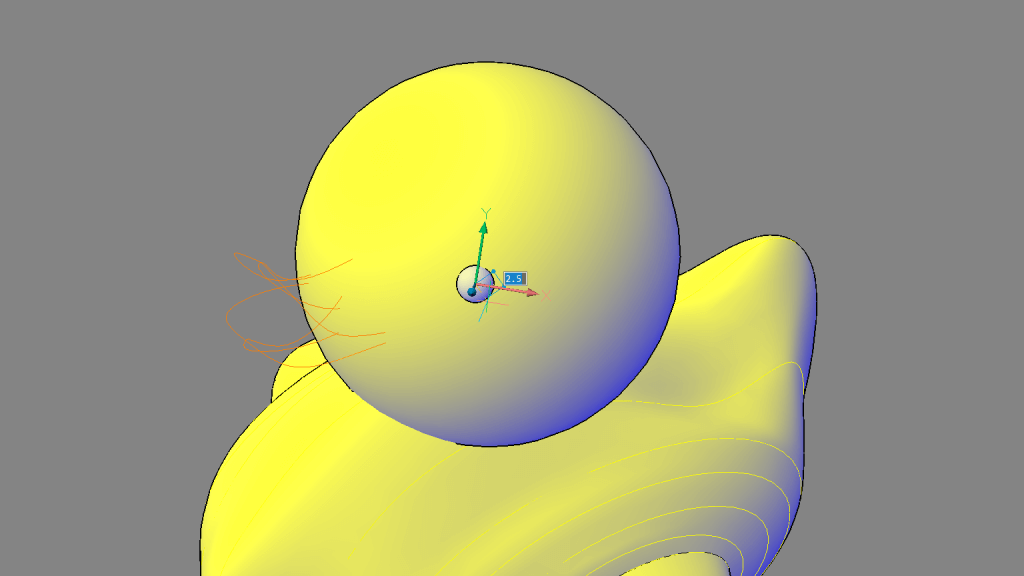 Tip: Use DUCS and hit Shift to set the drawing plane.
 - Repeat with a smaller sphere.
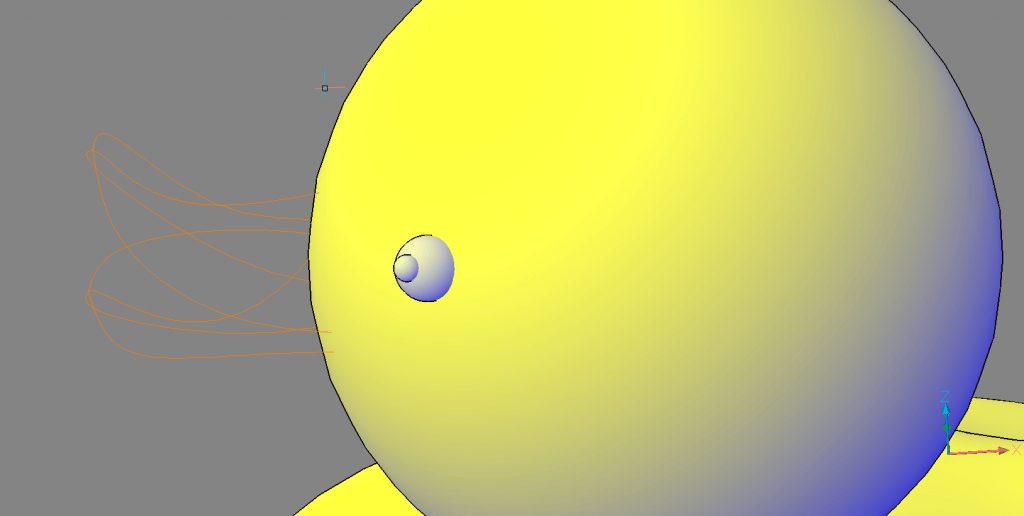
- Use subtract to remove the second sphere from the first.
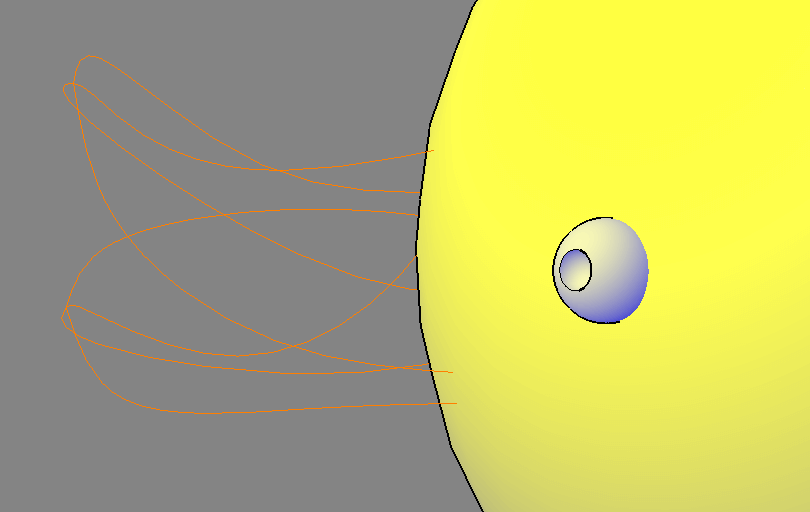
- Optional: Select the face of the pupil and, in the Properties panel, change the color. (All other colors are set by layer).
- Mirror on the other side.


 Tip: Use DUCS and hit Shift to set the drawing plane.

You should now have something that looks like this:
The Beak
To make the rubber duck's beak I used similar techniques. However, this time I used the surface version of the Loft tool. In these images I have isolated the beak layer so it's easier to see what is happening.
How to do this:
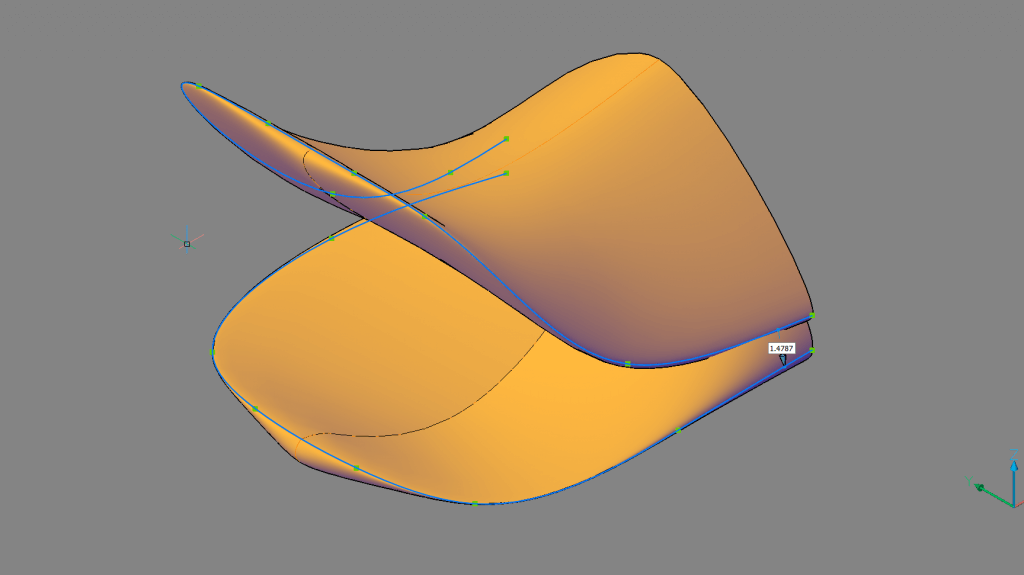
- Loft the top bill of the beak. This time we are creating surfaces only.
In the Structure panel these splines are found in the 'beak' layer.
- Repeat on the lower bill.
In the Structure panel these splines are found in the 'beak' layer.
- In the Structure panel select the splines these are found in the 'beak_guidelines' layer.
- Use DMTHICKEN to give the bill a ridge. This technique was covered in part 6 -- the sink.
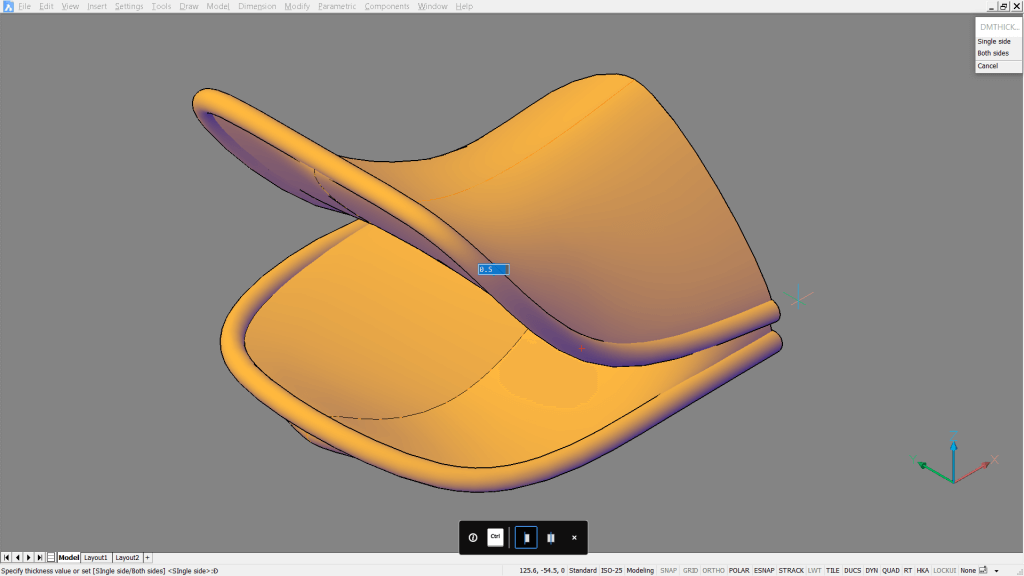 Extra information: When I created the linework for the beak I doubled the splines across the front of the bill. I used the BREAK command to make the lines I used for lofting in steps 1-2. For the ridge, I kept them joined.


 Extra information: When I created the linework for the beak I doubled the splines across the front of the bill. I used the
 Final results
You should now have a rubber duck that looks something like this:

Next Time
Join me next time when I show you how to slice an object for laser cutting.
Don't have BricsCAD yet?
Easy to try, easy to buy, easy to own. That's BricsCAD. Try all of our products, for free for 30 days at www.bricsys.com. Freedom of choice, plus perpetual (permanent) product licenses that work with all languages, in all places. You'll love what we've built for you with BricsCAD.
Keep Reading
- Moving from 2D to 3D CAD
- 3D Drawing from engineering plans
- Drawing everything but the kitchen sink
- More Advanced Modeling
- The Shower
- The Sink
- The Toilet
- Walls and Floors
- The Roof
- Windows and Doors
- Create your own components
- Rubber Duck
- Laser-cut puzzle project
Note: This series is intended as a guide to demonstrate how to use different aspects of 3D modeling tools. It may not always demonstrate the fastest way of getting the result. Keep coming back to see if we cover a faster technique at a later date.

Rose is responsible for taking user feedback and improving the BricsCAD product. Before coming to BricsCAD, she was a CAD user and worked in the Automotive, Aerospace, and Defense industries as a Technical Illustrator. She loves finding out how things work, taking them apart, and (hopefully) putting them back together again.
