Sometimes we want to do something practical with CAD, other times it's nice to kick back and relax with a fun project. So, in honor of Easter weekend, let's take a look at how to work with complex, curved and solids in BricsCAD to draw a 3D Easter bunny.
Watch the complete video guide to drawing an Easter Bunny in 3D
How to make an Easter Bunny in BricsCAD:
To begin, You can either freehand your bunny or trace an image.
To import an image:- Drag and Drop your tracing image
Or
- Use ImageAttach
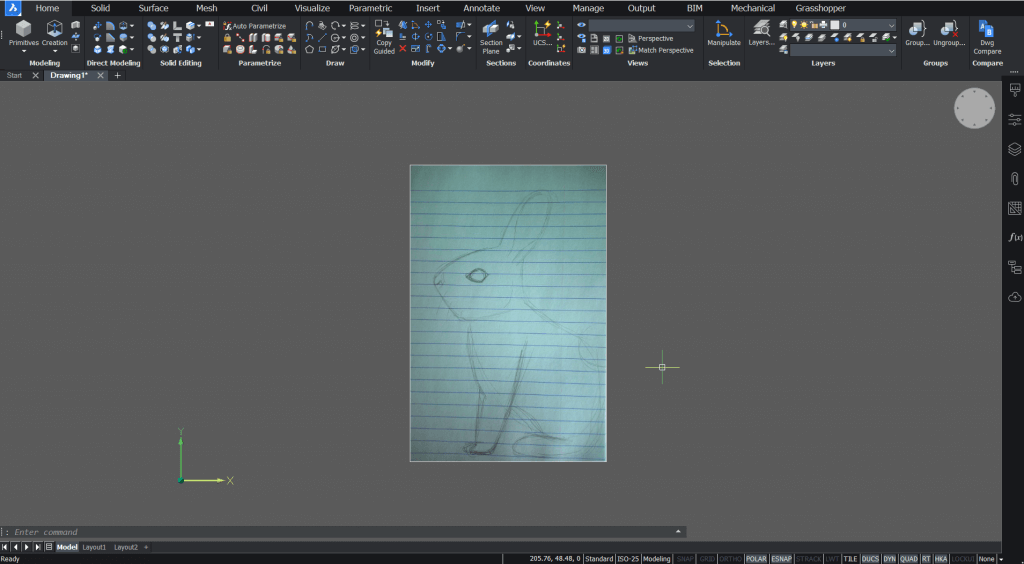
Draw or trace the outline shape of your bunny with a Spline or Polyline.
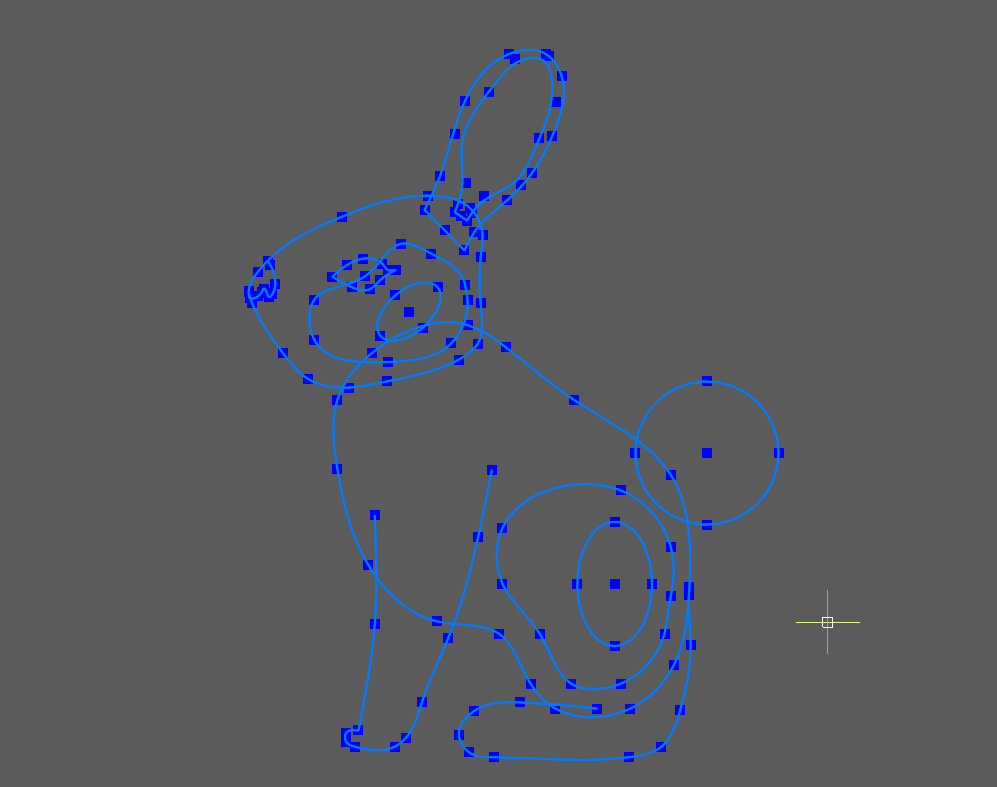
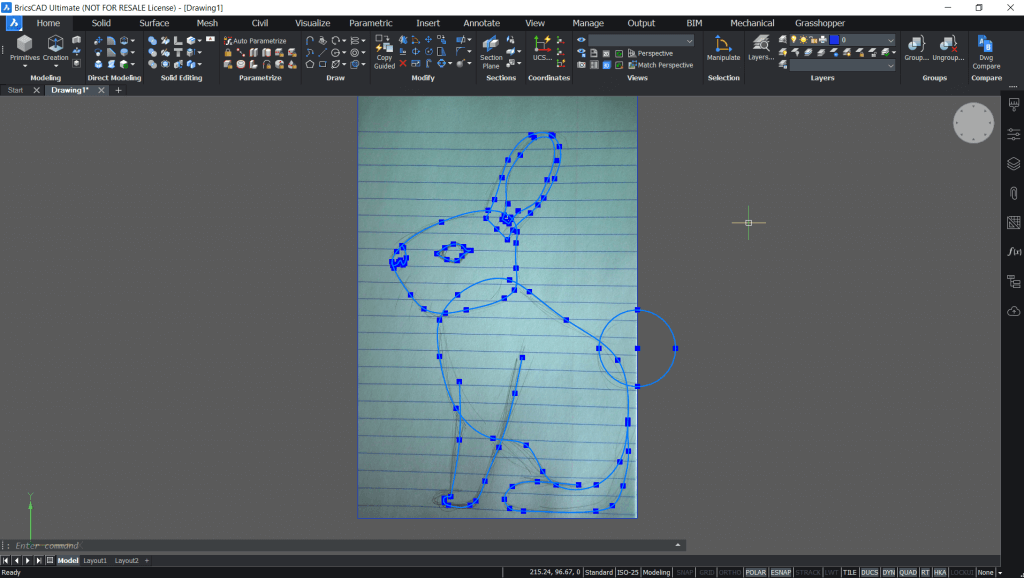 Note: to create solids ensure that your Splines and Polylines are closed. You can convert a spline into a polyline with the PEdit command.
Add contour lines.
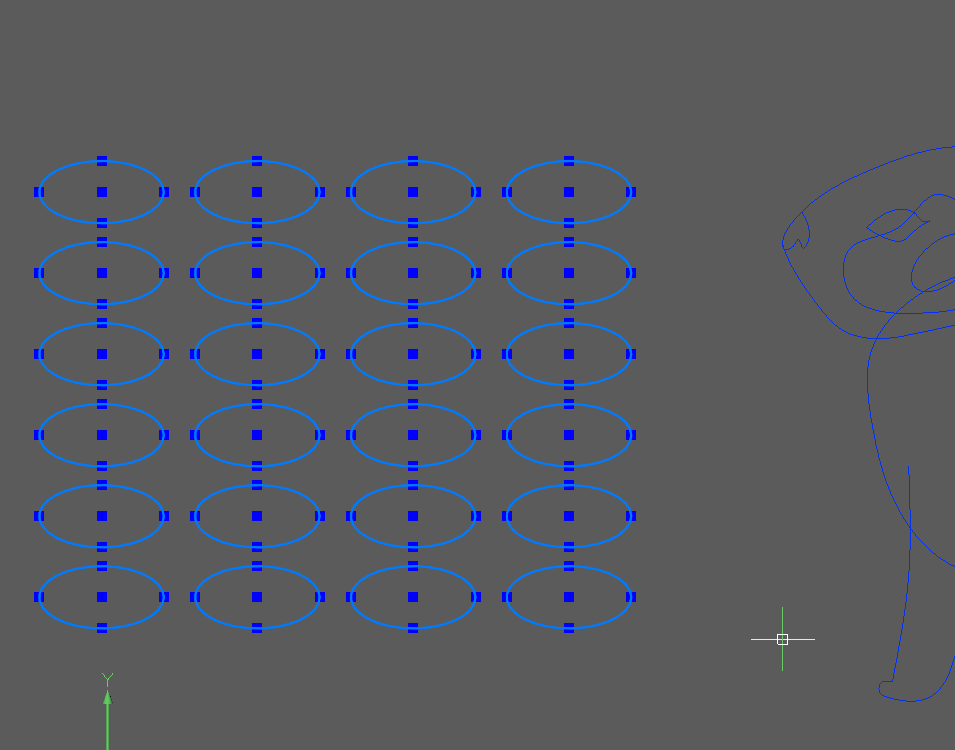
Create some ellipses. (you'll be needing them later)
Use the Manipulator and Mirror to put everything into position.
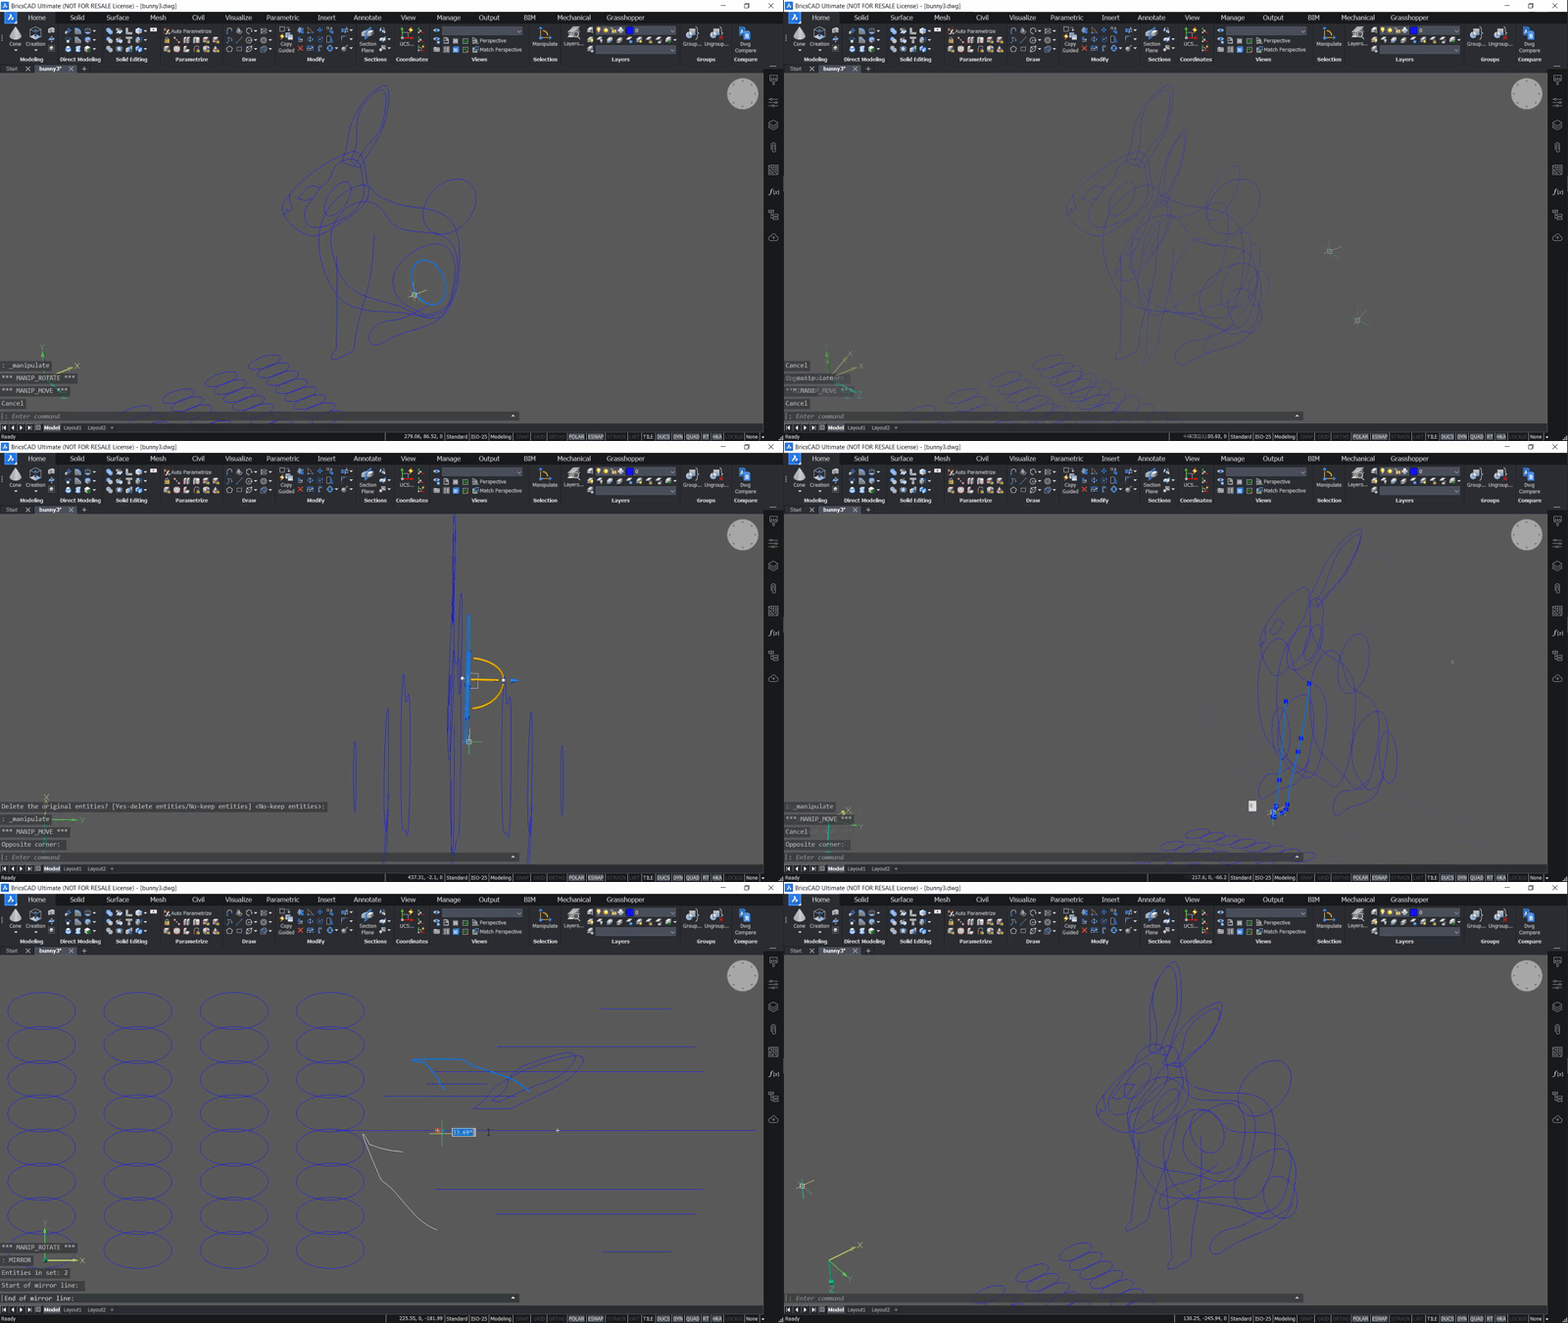
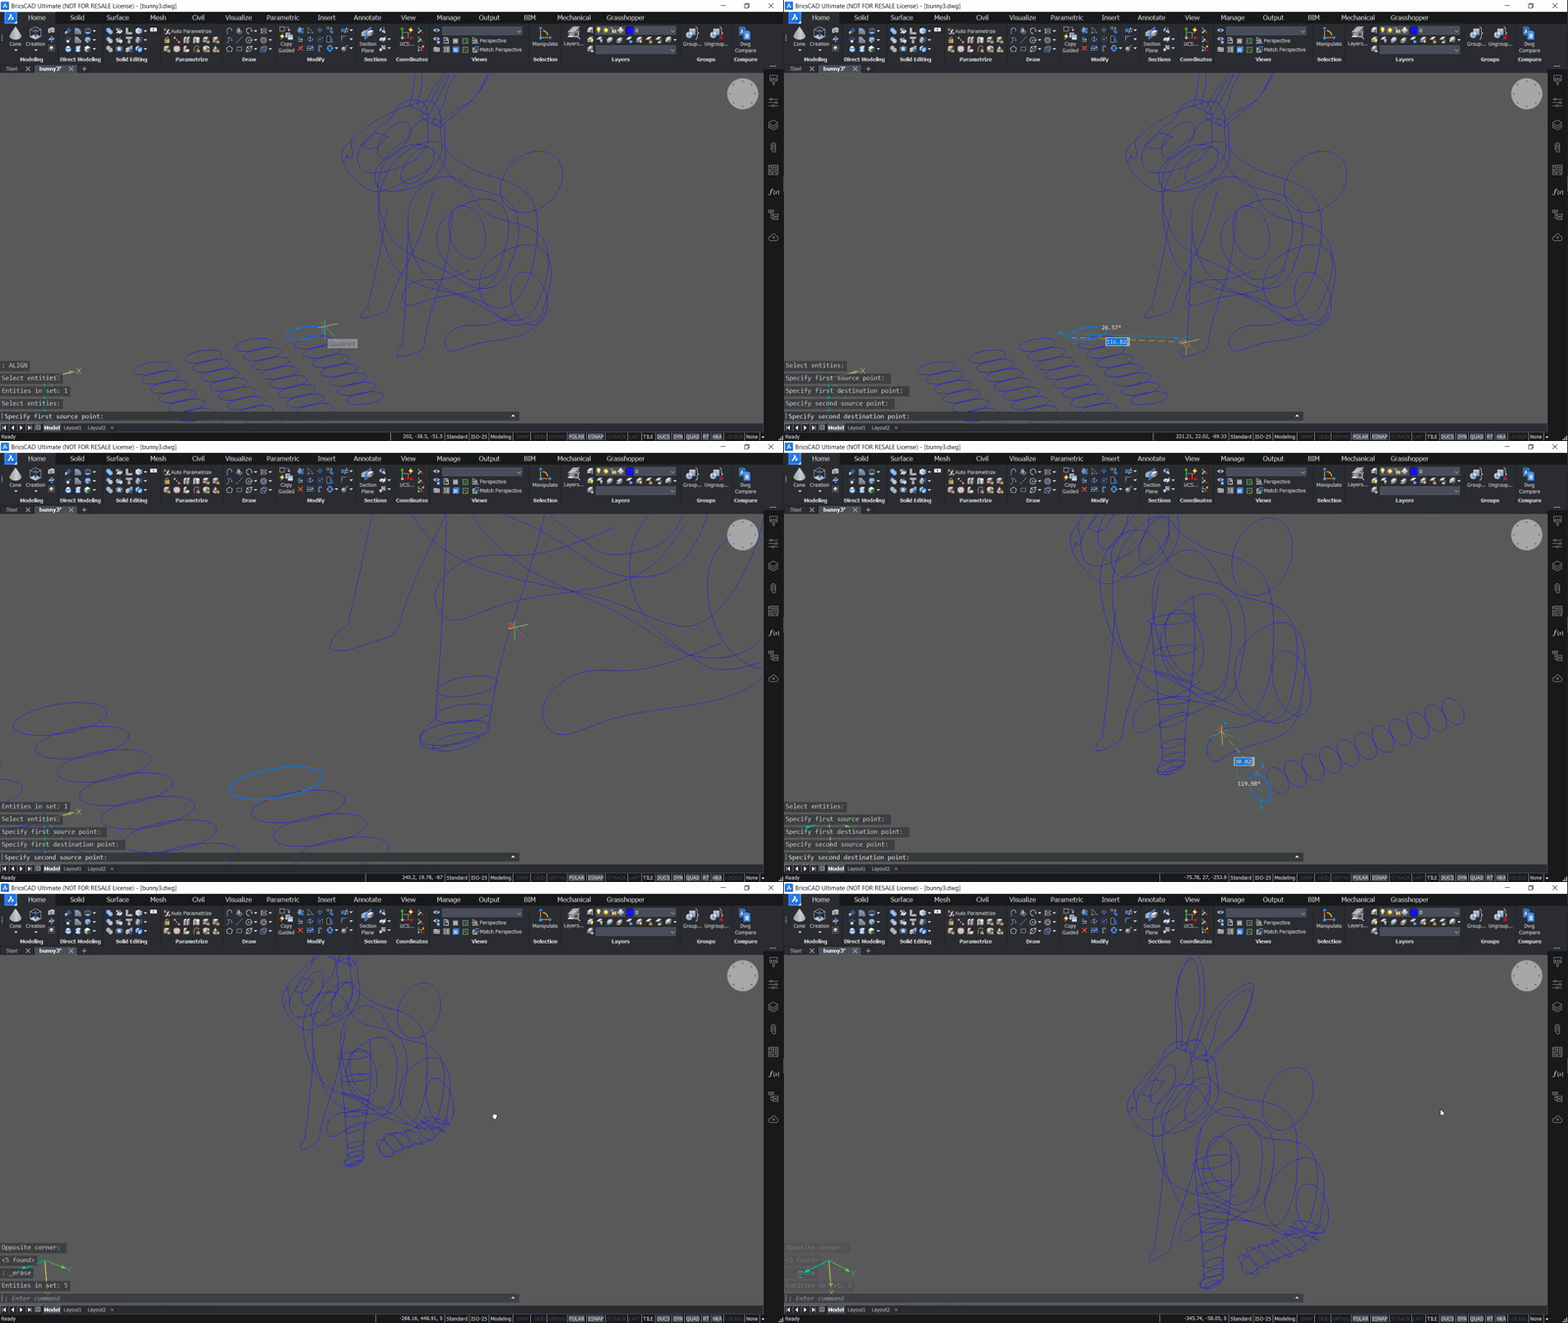
Note: This step gives a smoother finish to the final model. If you Loft one side and the mirror it, a "sharp" seam may be visible.Use the Align command to position the ellipses along the leg contours.
Now Loft between the Splines or Polylines to create your body parts.
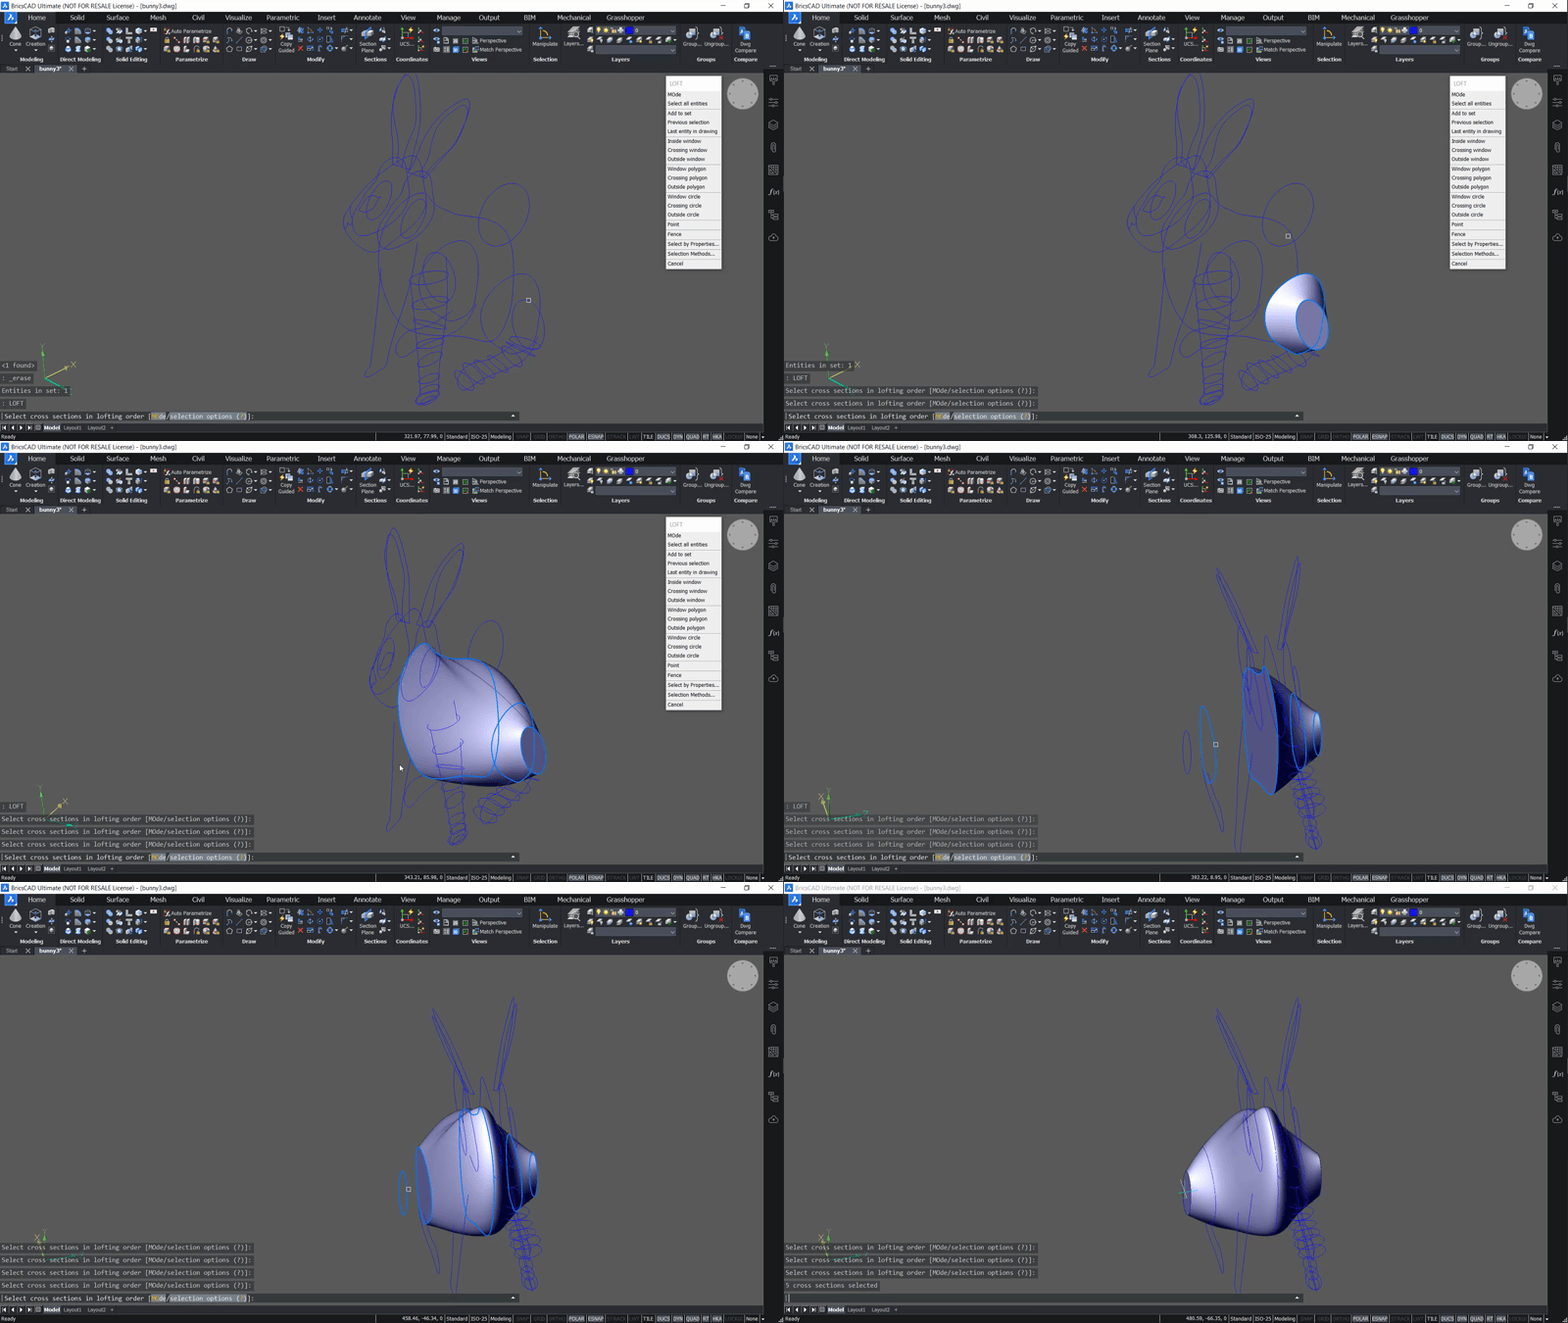 Note: For greater control, use a guide curve.
Use DmDeformPoint to round off the flat face.
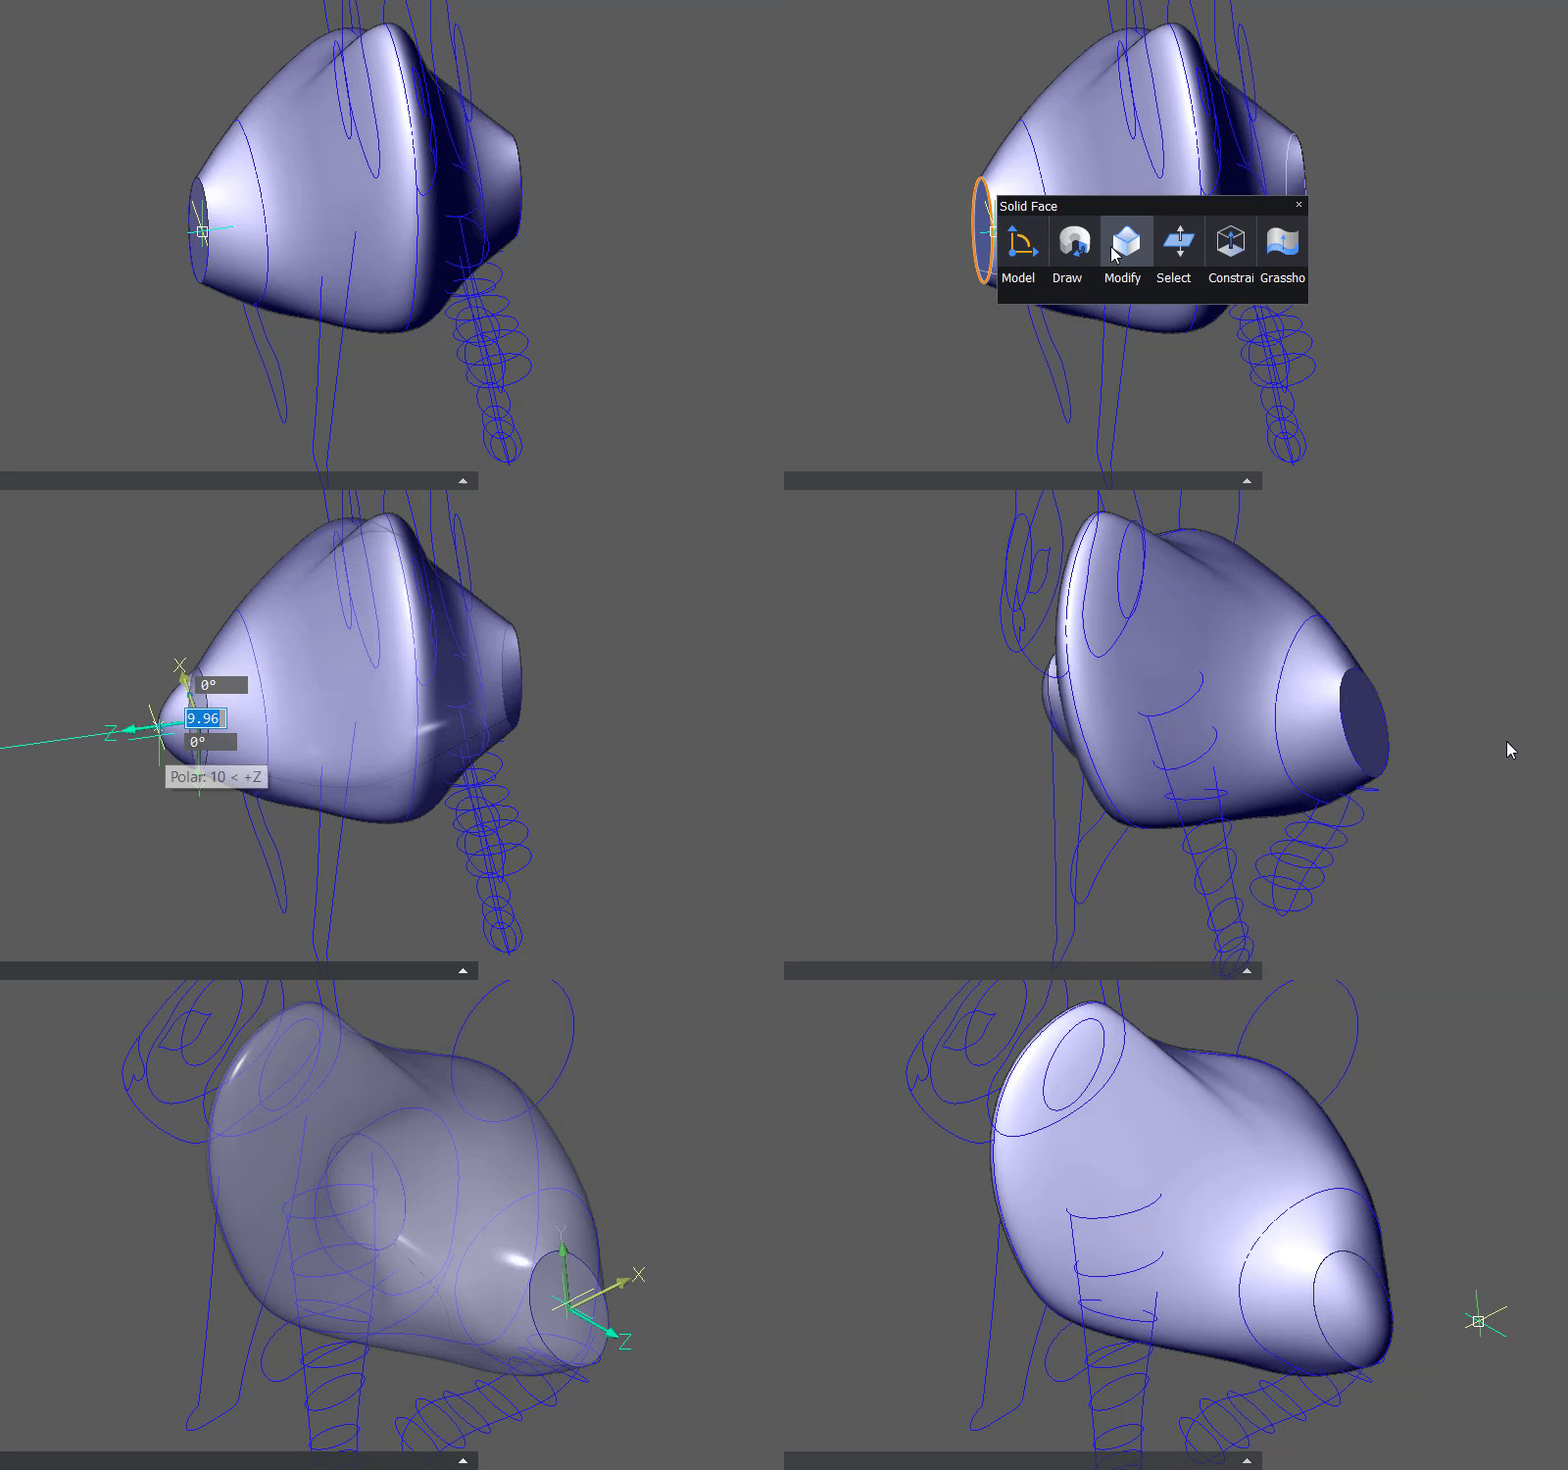
Repeat steps 7-8 for all body parts.
For the ears use DmDeformPoint to create one concave and one convex surface.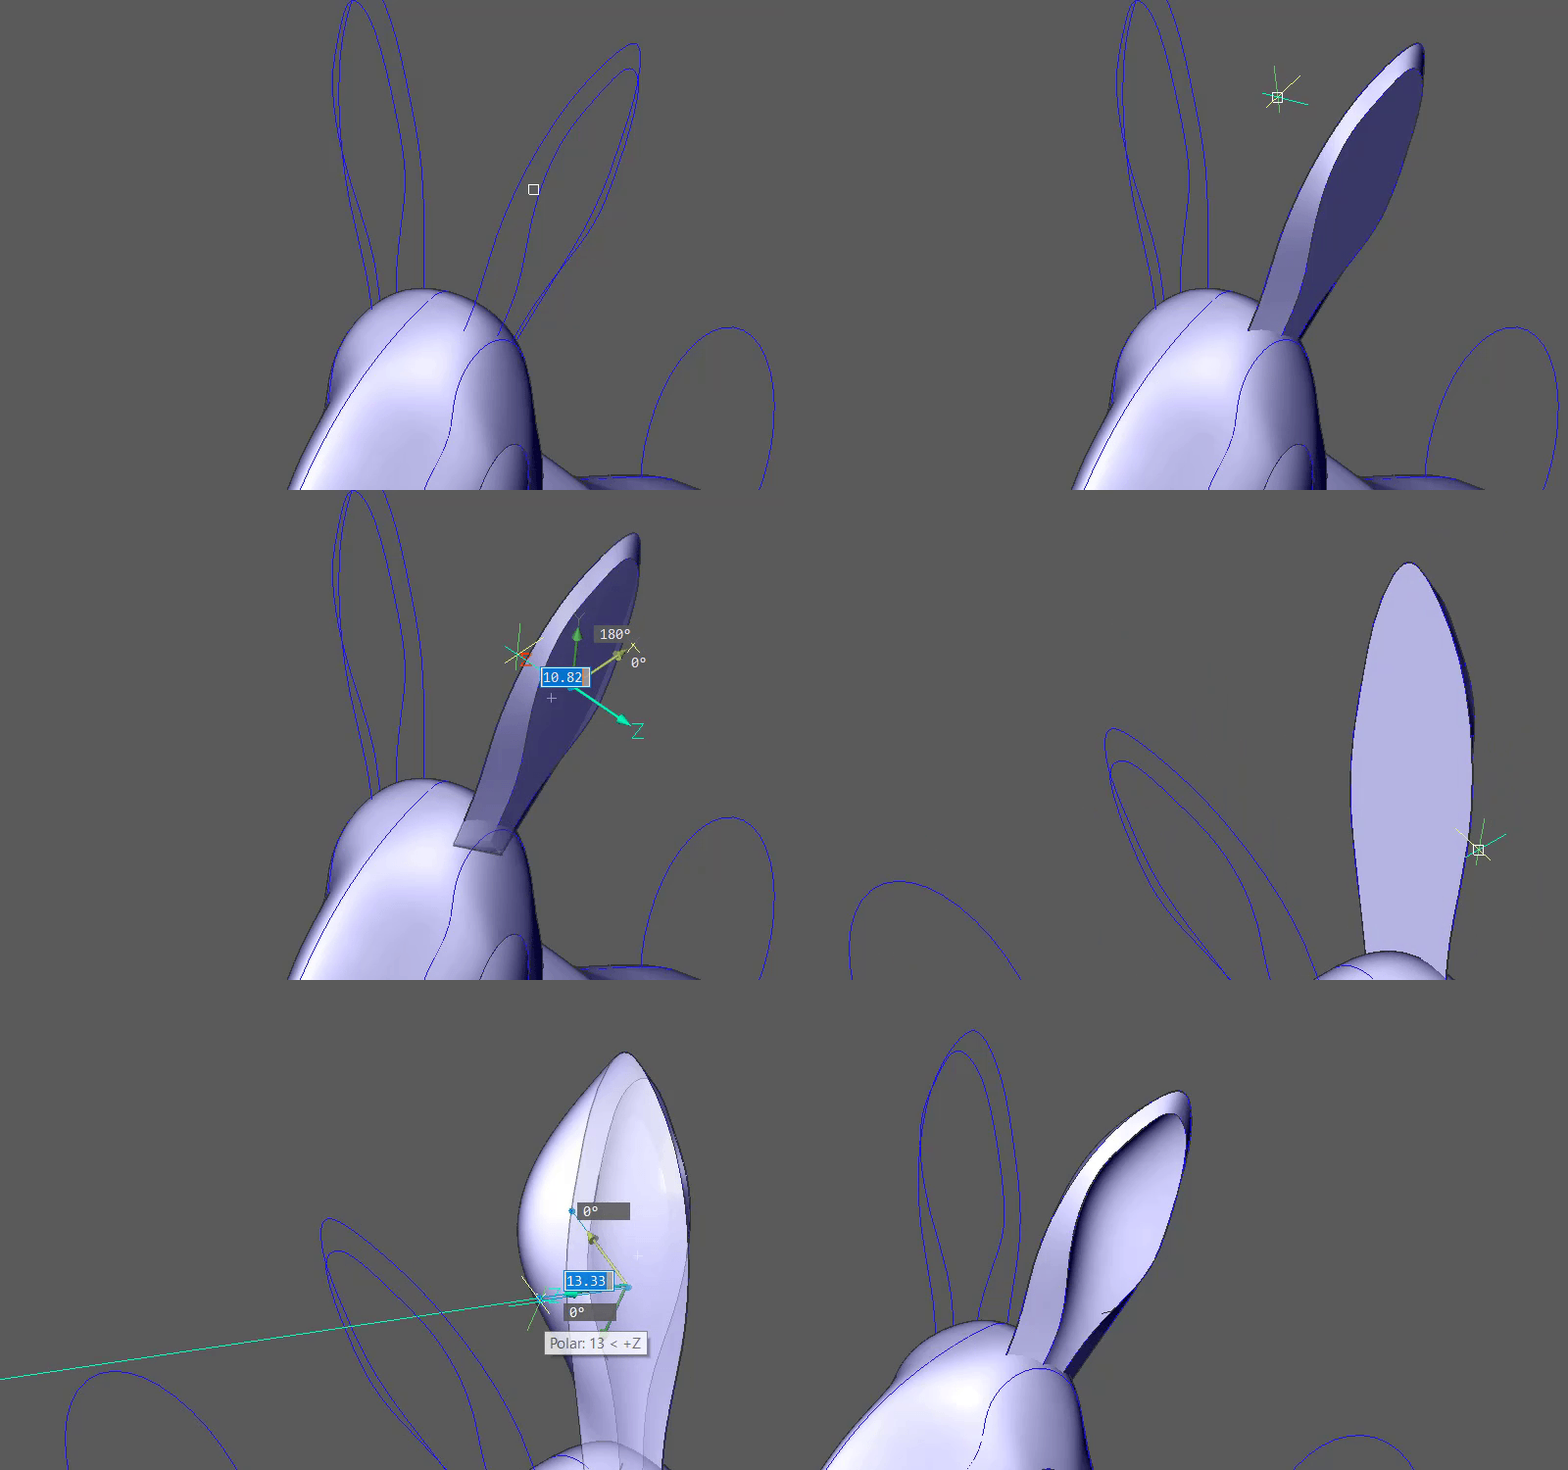
To round off the tops of the legs:
Don't forget the tail! Use a Sphere.
Move the eye outline along the Zaxis, away from the centerline of the bunny head.
Extrude the eye outline until it overlaps the bunny head. This is you cutting object.
Hit Ctrl to extrude in the "Create" mode.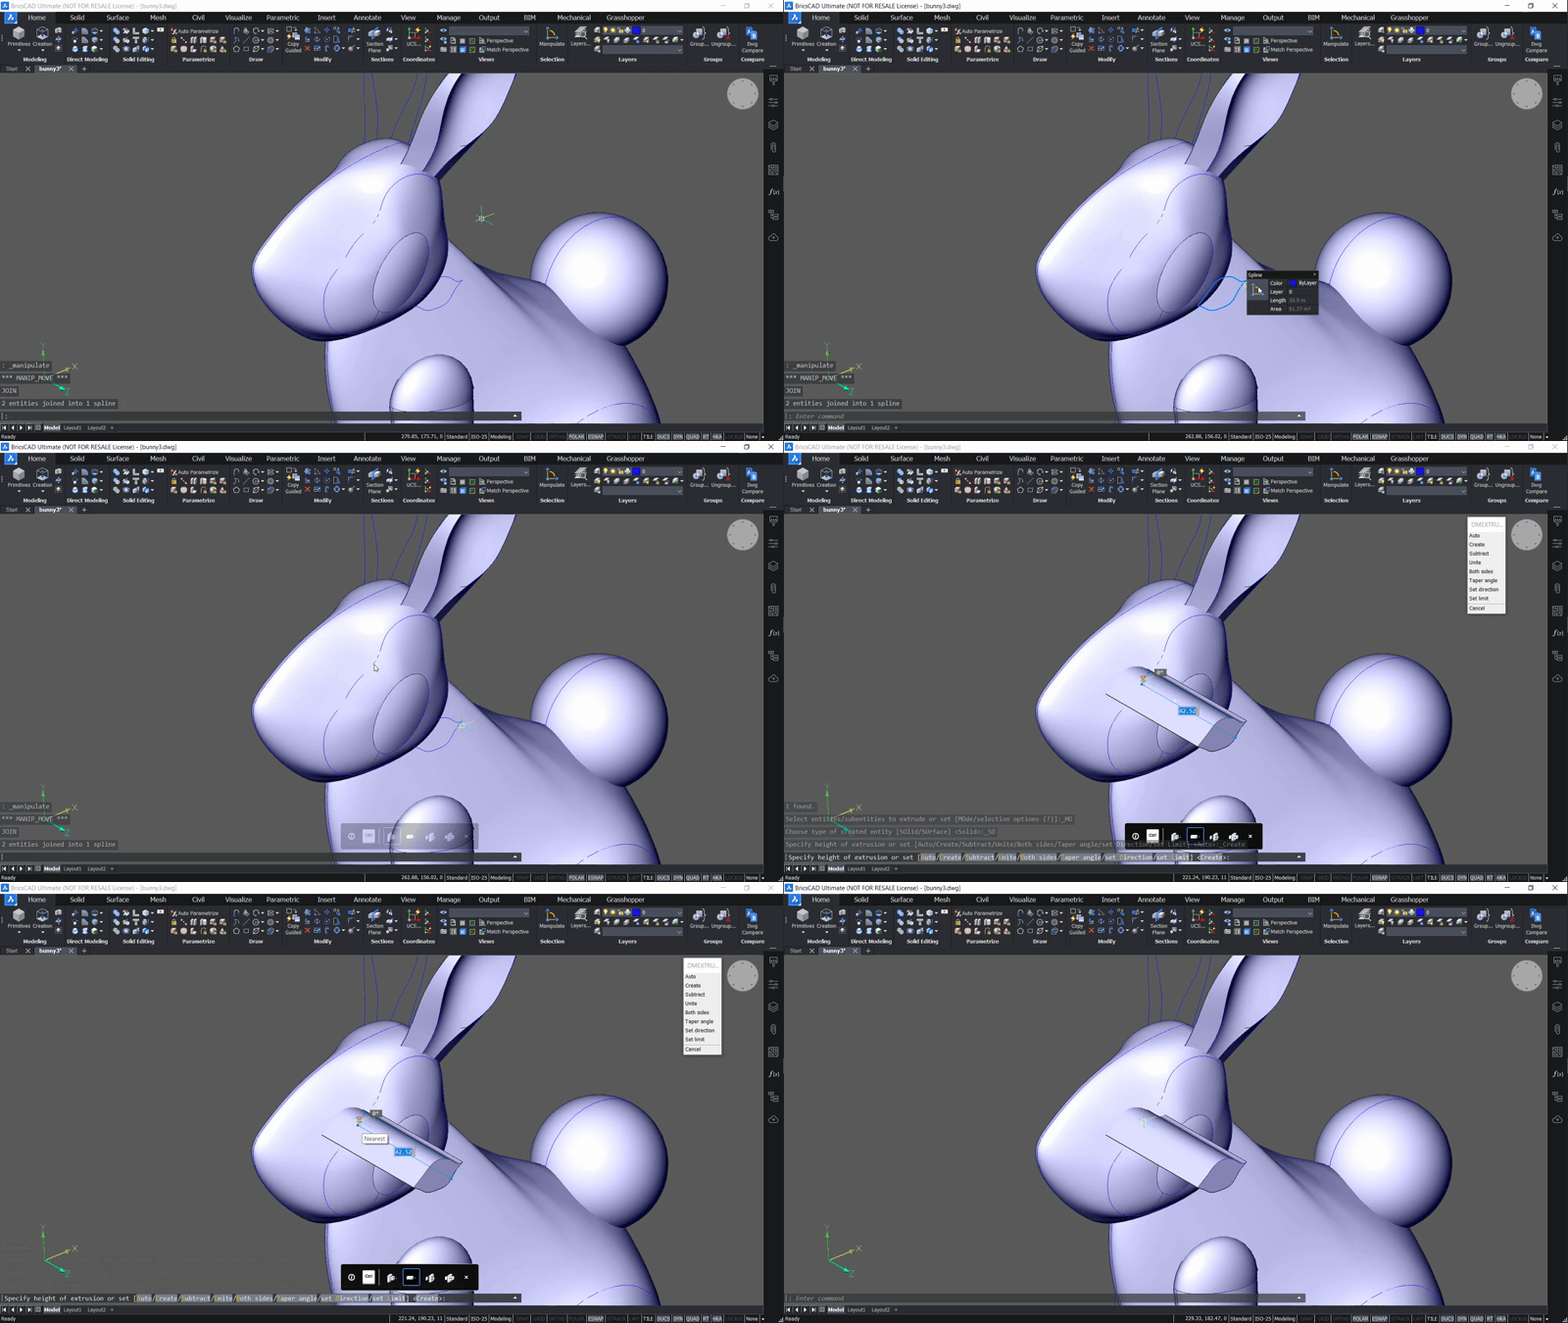
Use the Manipulator to tilt the face to match the contour of the bunny head.
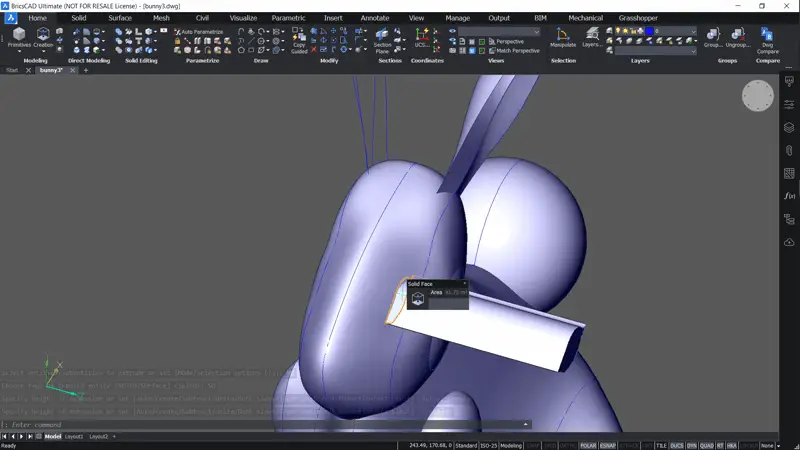
Mirror the cutting object, legs and ear.
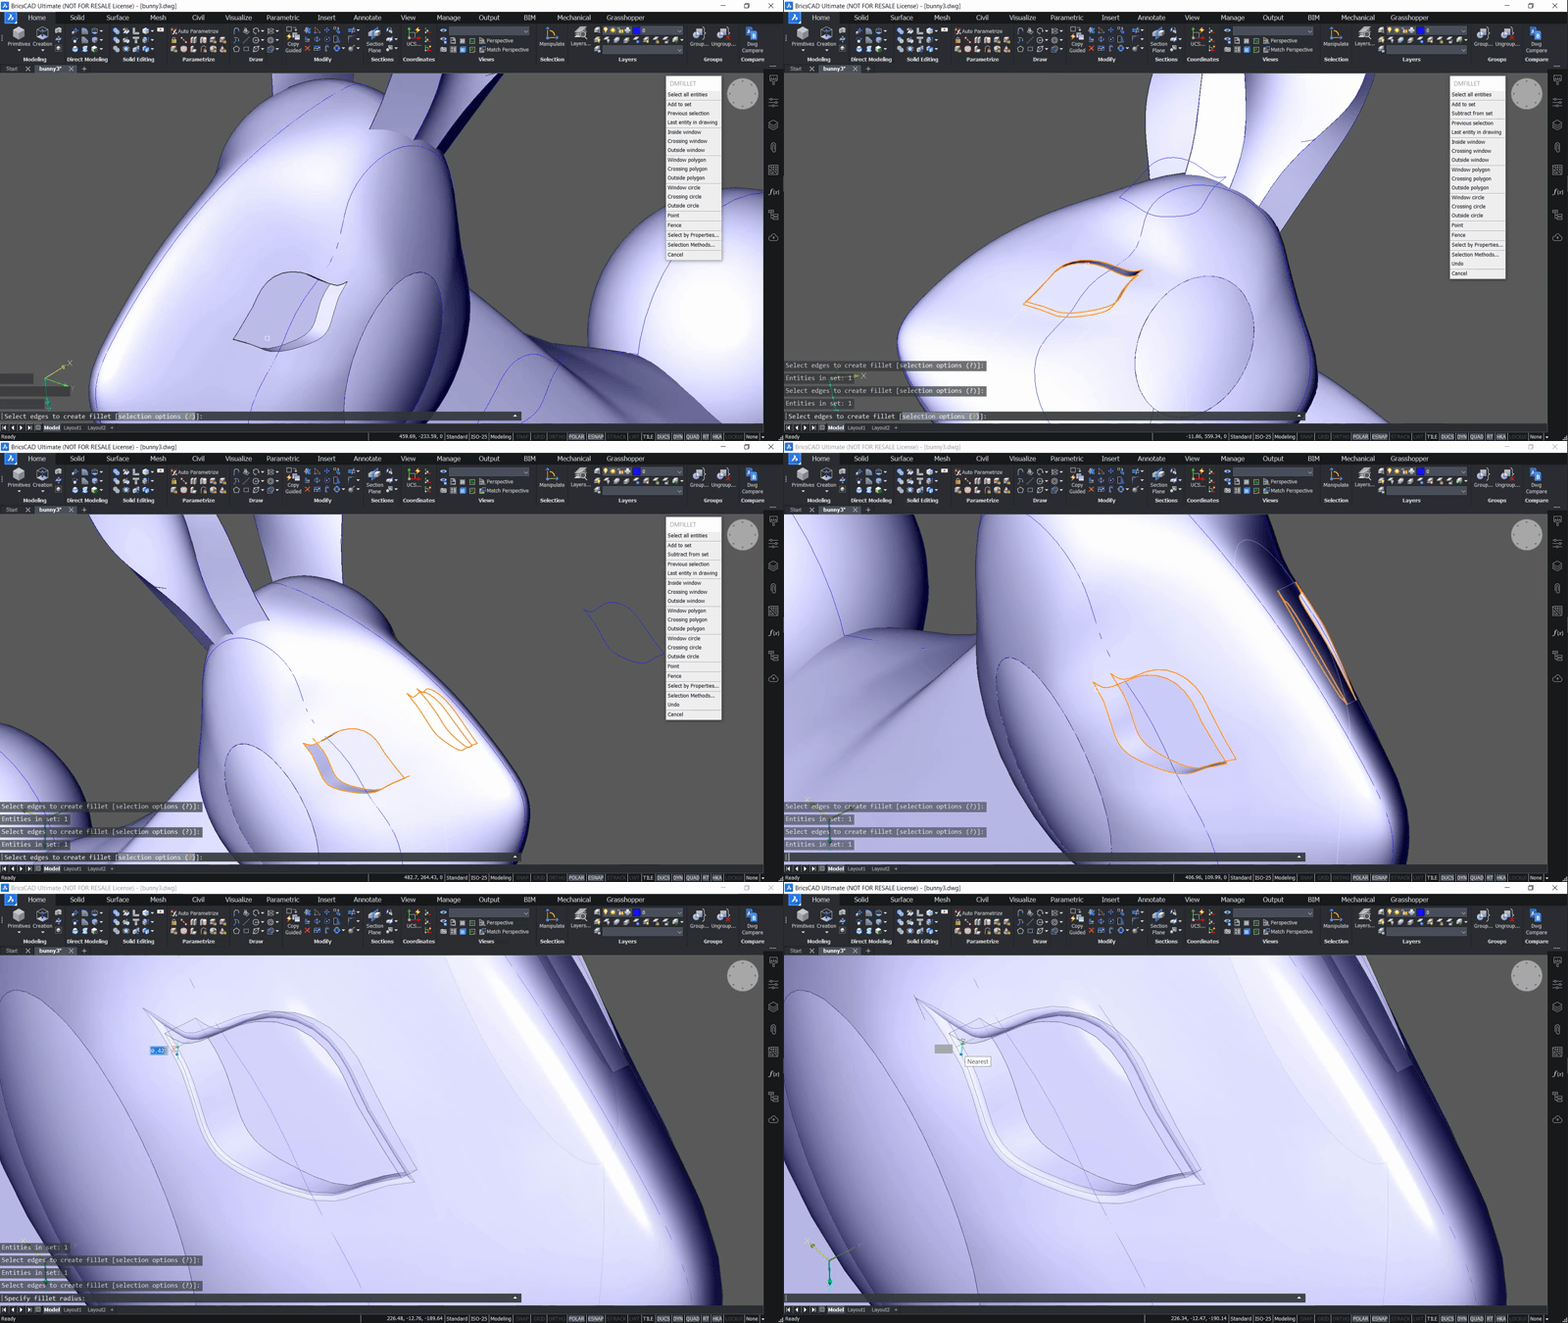
Subtract the extruded eye solids from the head.
Fillet the edges.
Add the eyeball. Use A Sphere.
Mirror it.
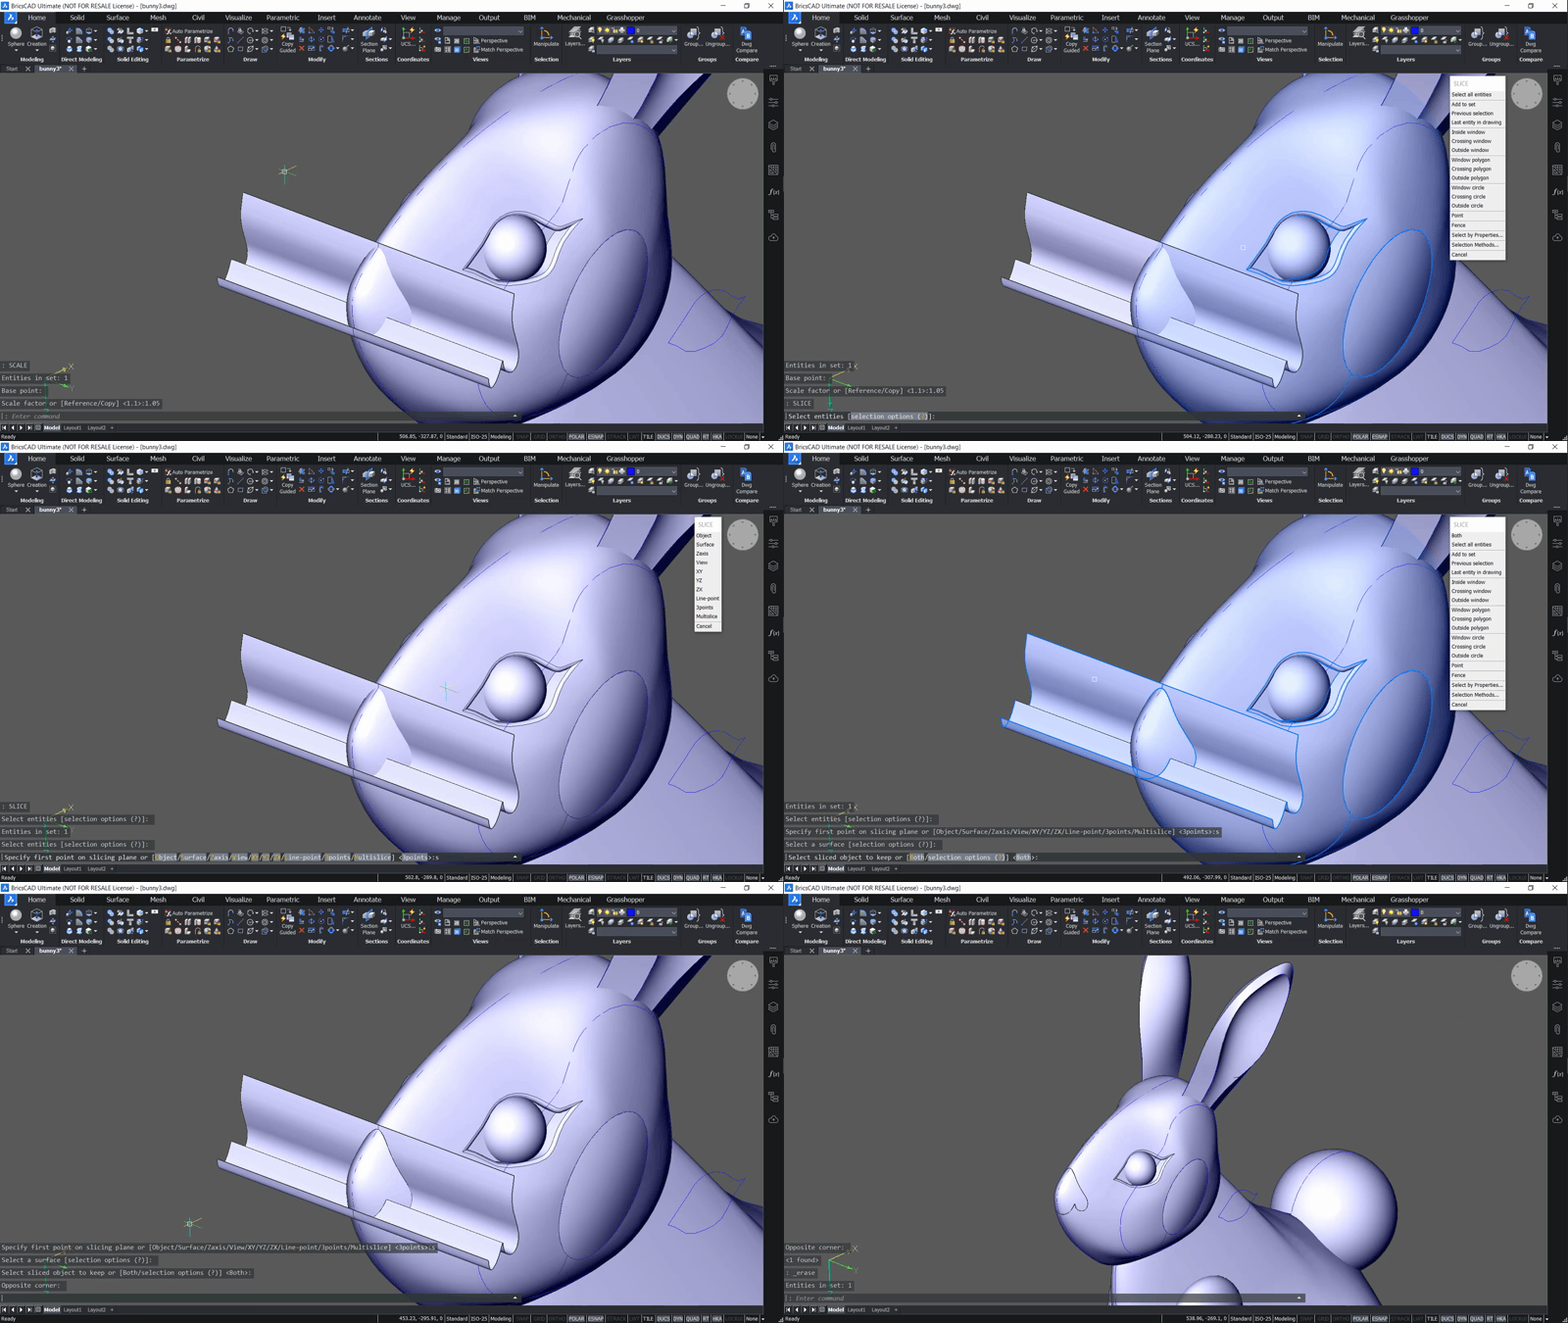
Extrude a surface from the nose outline.
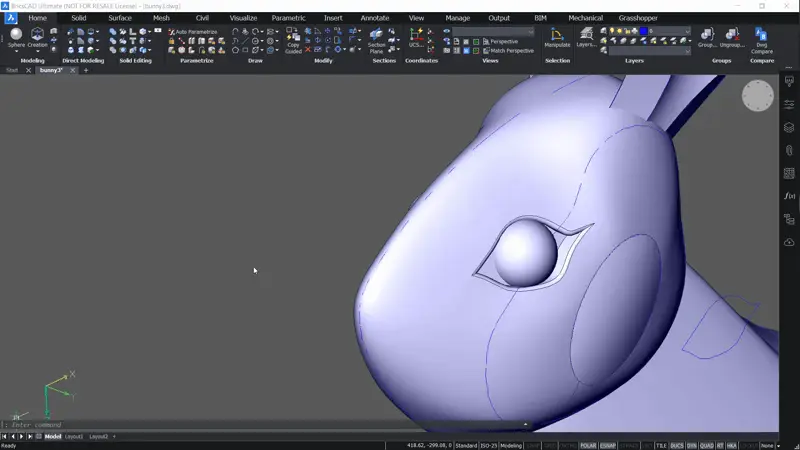
Scale it so it overlaps the edges of the bunny head.
Use Slice. Set the surface as a cutting object.
Add Materials.
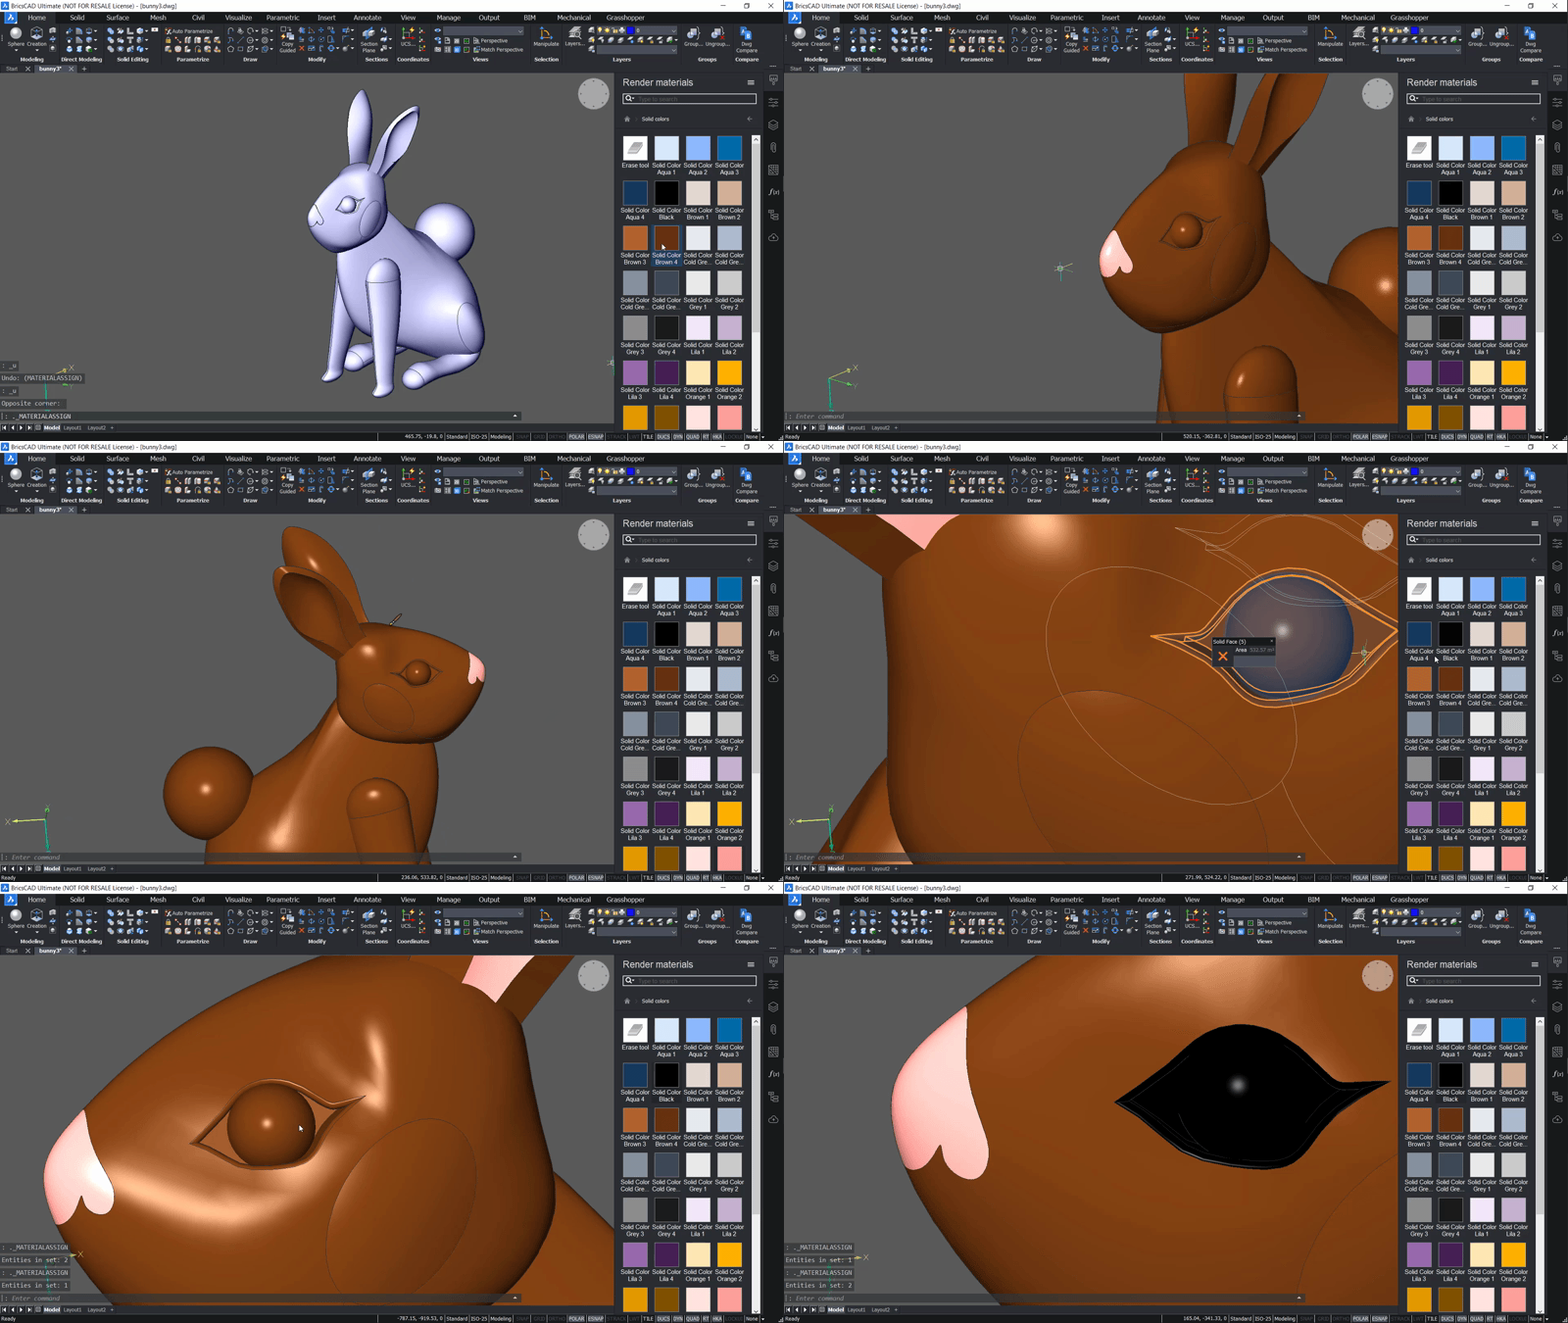
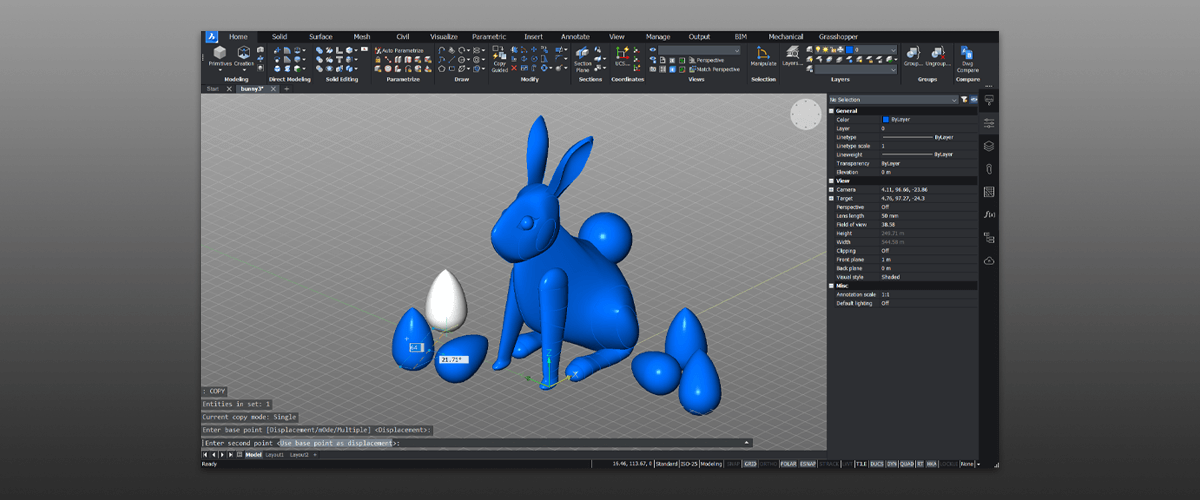
And that's all folks!
Enjoy this project?
Why not make yourself a rubber duck or a reindeer?
Download BricsCAD free for 30-days
Get started with BricsCAD
Permanent or subscription licenses that work in all languages, in all regions.


 Note: to create solids ensure that your


 Note: For greater control, use a guide curve.


