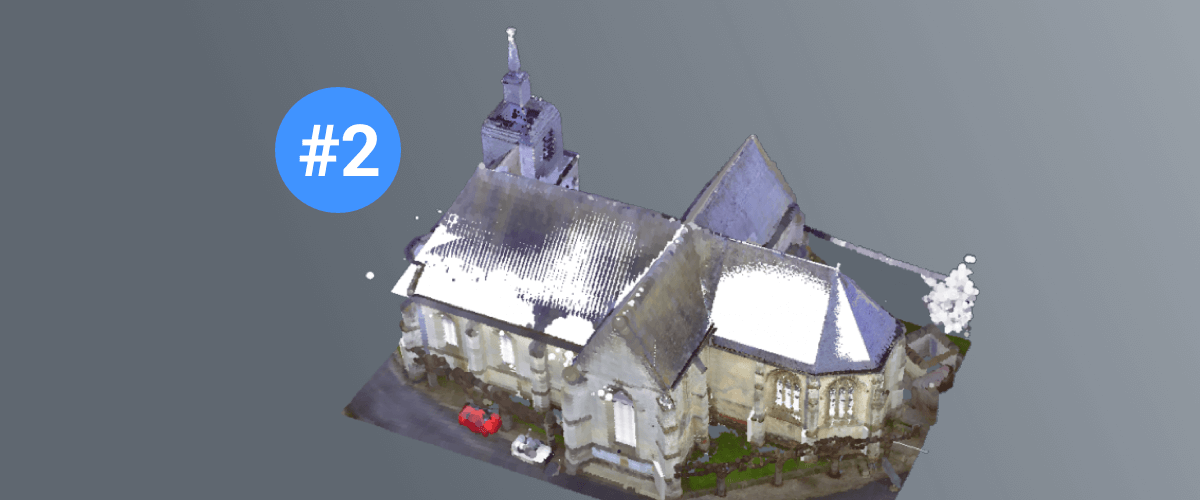
In this series, I will show you how to work with point clouds and how to trace and convert a point cloud to a BIM model. In my last post, I showed you how to create the walls and roof. In this post I will show you how I made the windows and the tower of the church using typical CAD commands.
Making the tower
I won't go into too much detail about how I made the tower of the church because you will probably have a different point cloud with a differently shaped church and tower.
How to Do This:
- Use the point cloud as a guide. Make a tower on the left side of the church. Use DmPushPull, Slice, Subtract, Union and Loft. Use Loft with Guidelines to get the rounded shape.
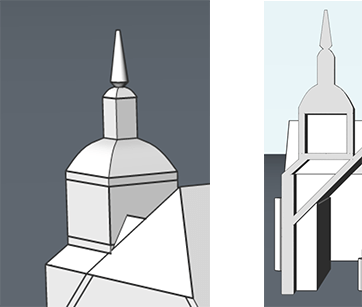
- Use Shell to make the dome hollow. Select the lower face to be removed during the command. The section should look something like this:
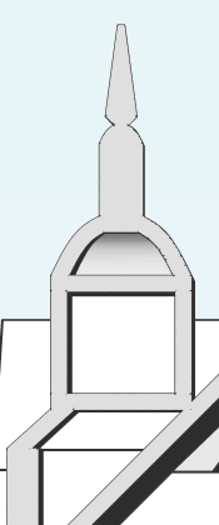
Tip: To make the smaller, domed roof scale down a copy of the larger domed roof.
Adjusting the buttresses and columns
I then adjusted the buttresses so that they had the correct heights and slope angle. To do this I used the Manipulator attached to a face.
How to Do This:
- DmPushPull the top of the buttresses to the lowest height. Use the point cloud as a guide.
- Select the top face, of each buttress, long click the mouse to get the Manipulator and rotate the faces until they are at the correct angle.
- Repeat as needed.

Adding windows
Next I created windows from polylines using BIMWindowCreate.
How to Do This:
- Set your UCS to a vertical face of a wall.
- Use Polyline and Arc to draw the contour of the window (Mirror the first arc, to get a symmetric result).
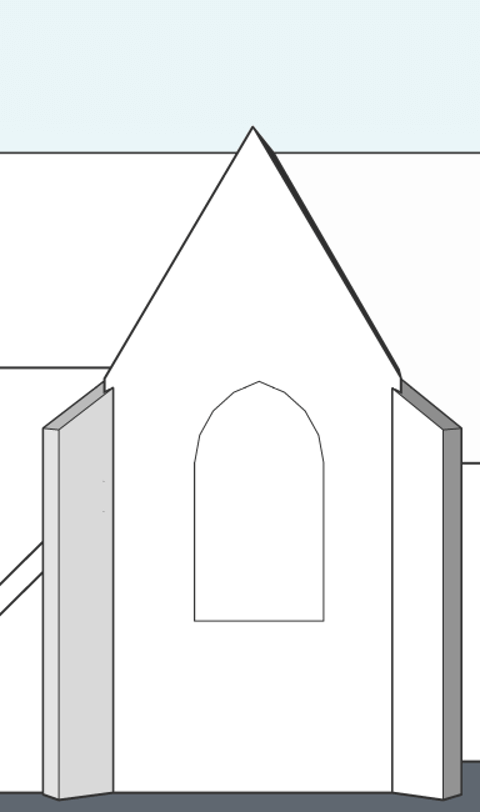
- Set Boundary detection to 'On'.
- Set your UCS back to 'World'.
- Hover over the boundary inside the window outline. Select BIMWindowCreate from the Quad and choose the 'Triptych' option. You should now have something that looks like this:
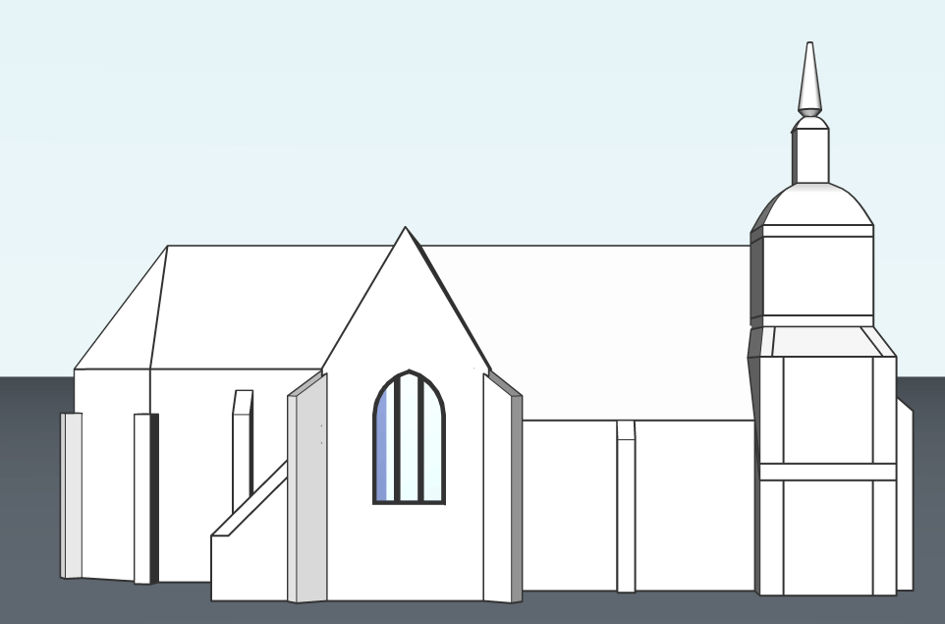
- Use BIMInsert to reuse this window. Hover over the window and select BIMInsert from the Quad.
- Repeat steps 1-5 to create other windows, with different sizes and shapes.
Tip: You can re-use the polyline to create new windows of different sizes. Use copy and scale. To scale the polyline in a nonuniform manner convert it into a block, edit it and then explode the block. Use the polyline to create a new window.
You should now have something like this: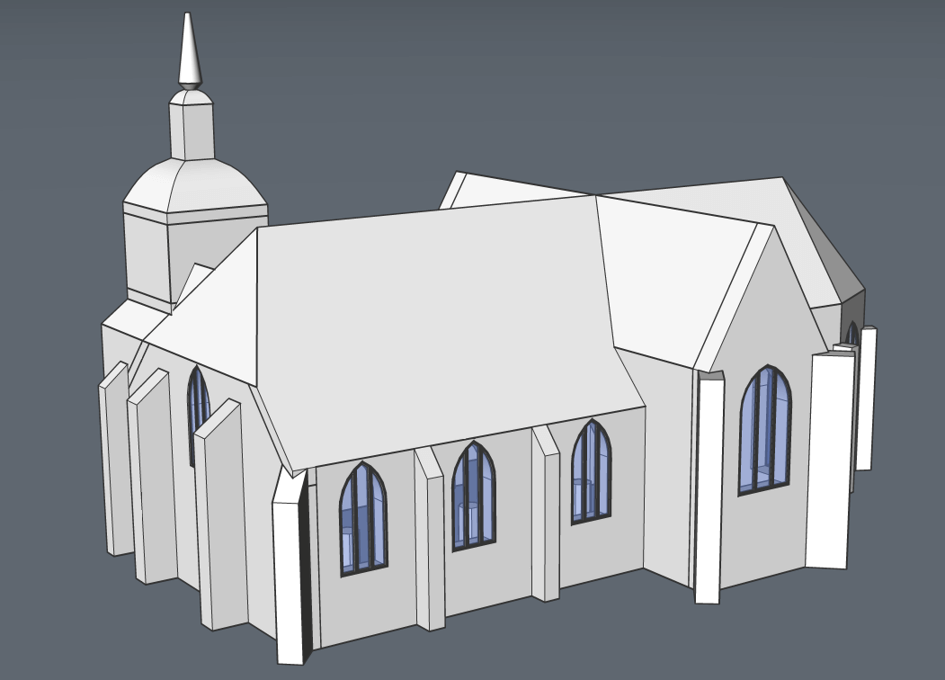
The result so far might astonish you but be sure to come back for the last post in this Point Cloud to BIM series where I show you how to create the inner arcades and complete your church with a few finishing touches!
Download BricsCAD free for 30-days
Get modeling your Church in CAD with BricsCAD®
Permanent or subscription licenses that work in all languages, in all regions.
Point Cloud to BIM Model:
- The Outside
- Windows and Towers
- The Interior

