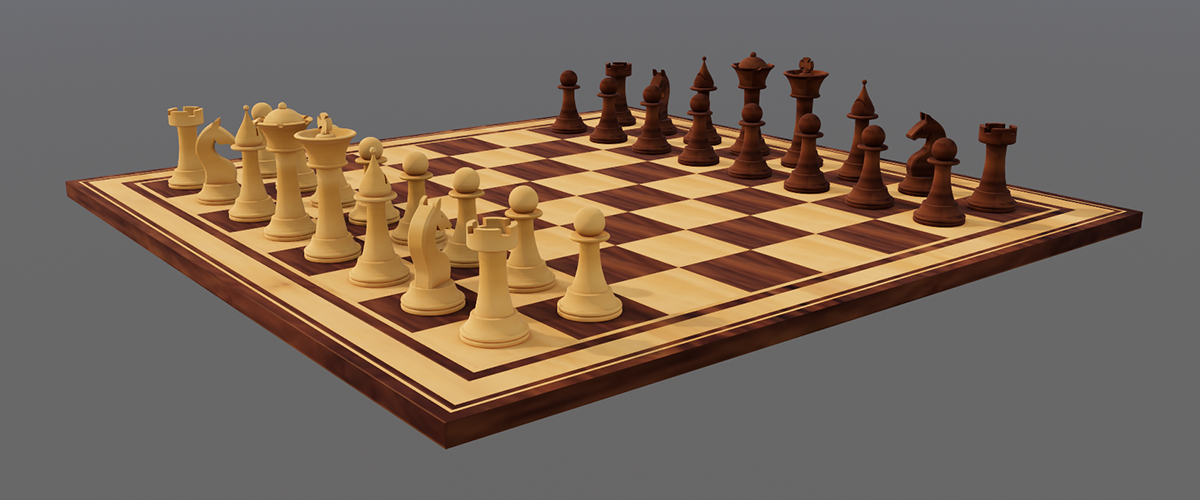
In this series, you will learn how to work with CAD by following easy projects. Use only simple commands to build almost anything! For this tutorial, learn how to make a chess set.
How to Model a Chess Set in BricsCAD
Time to complete: 1-2 Hours
Difficulty: 6/10
Commands used:
Extrude
Manipulate
DmRevolve
DmPushPull
Offset
Mirror
Chamfer
Fillet
ArrayPolar
Explode
Subtract
Tutorial: Model a Chess Set in BricsCAD
Start by drawing the outline of half a Pawn.
Tip Use use polylines when possible.Then, Trim the excess linework and Join to create a closed polygon.
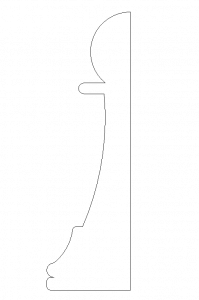
Use the Manipulator to copy the outline.
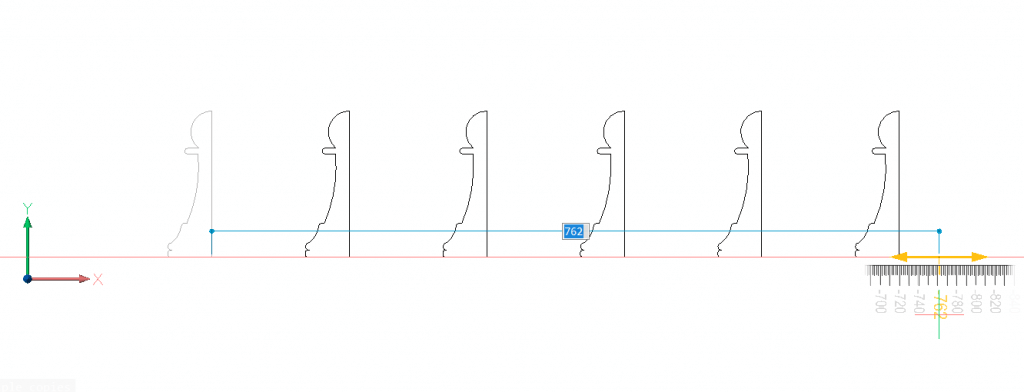
Use these copies as a guide and modify until you have something that looks like this:
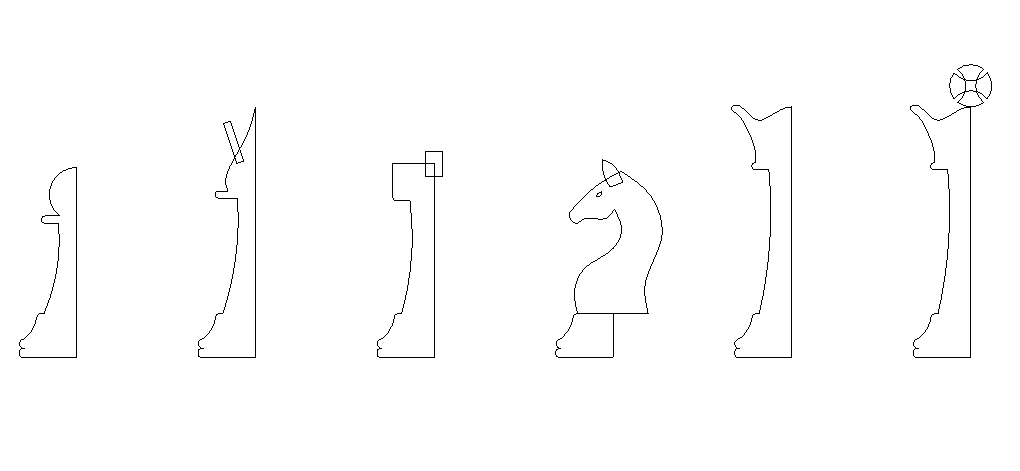
Feel free to copy this image into BricsCAD and trace it.
Use DmRevolve to convert the outline into a solid.
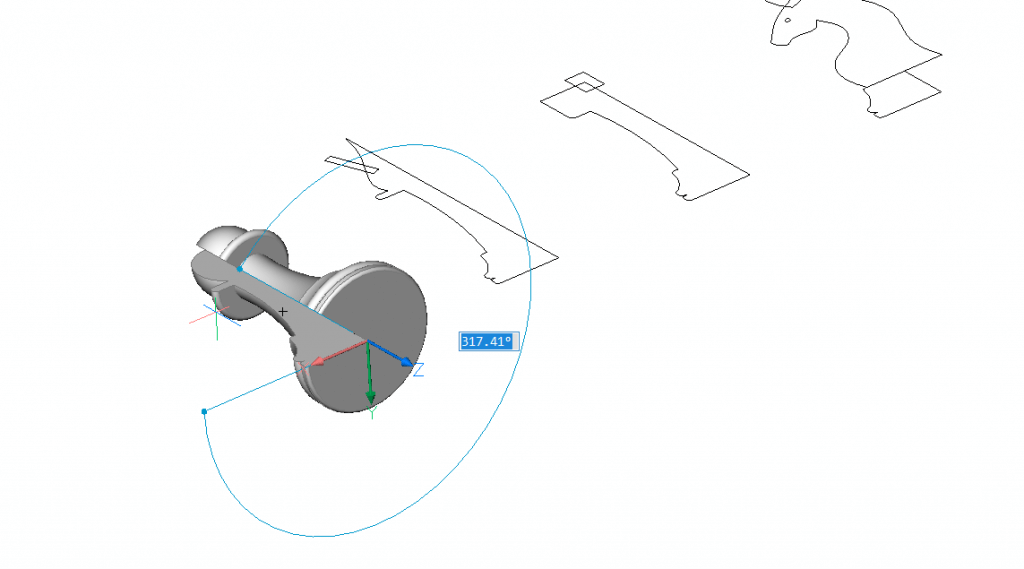
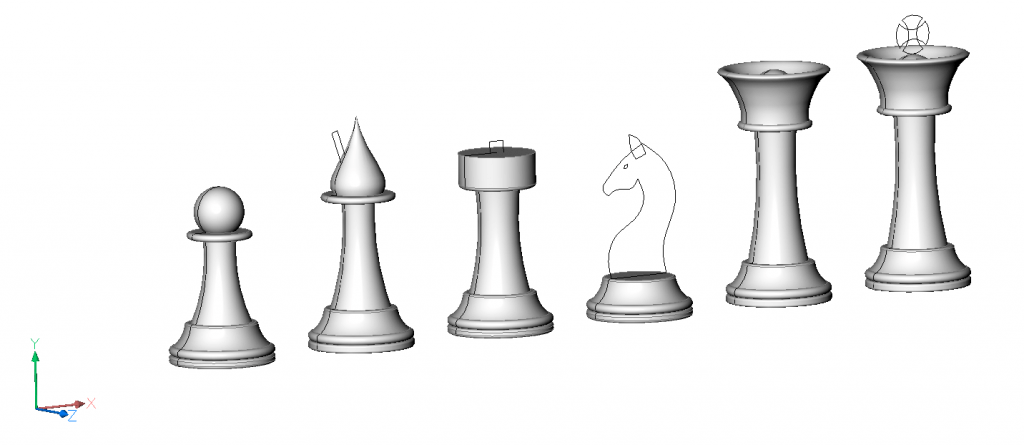
Repeat for the other pieces. You should now have something that looks like this:
Create the slot on the Bishop:
- Extrude a rectangle. Use the Both sides option (Command line) and the Subtract mode.
To change the mode hit Ctrl. (See the Hotkey Assistant).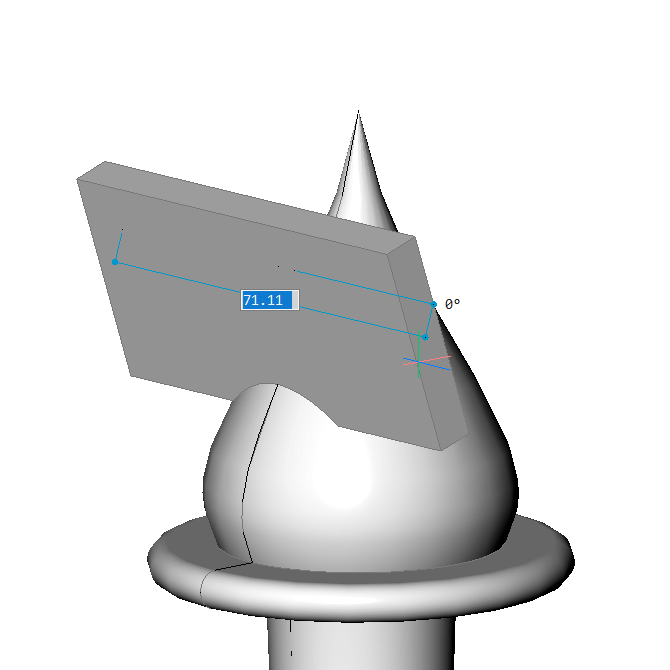
- (Optional) Use DmPushPull to edit the slot.
- Extrude a rectangle. Use the Both sides option (Command line) and the Subtract mode.
To create the battlements on the Rook:
- Offset the edge of the top face.
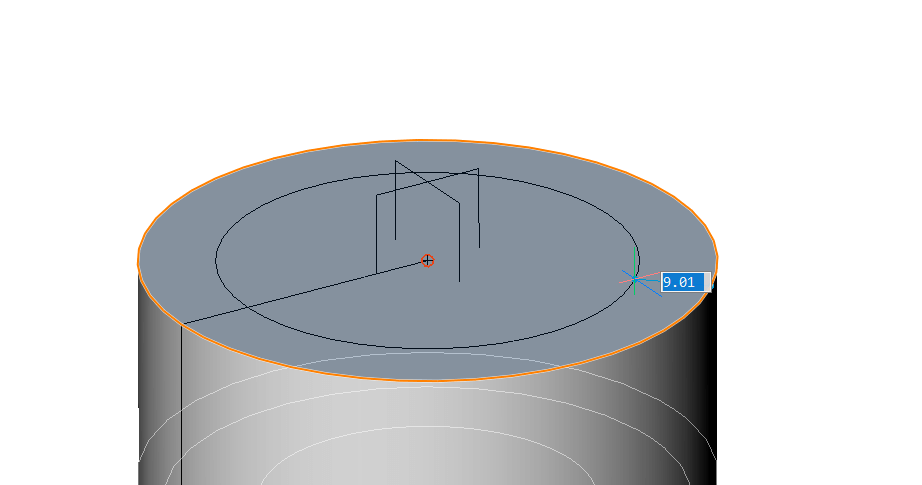
- Extrude down.
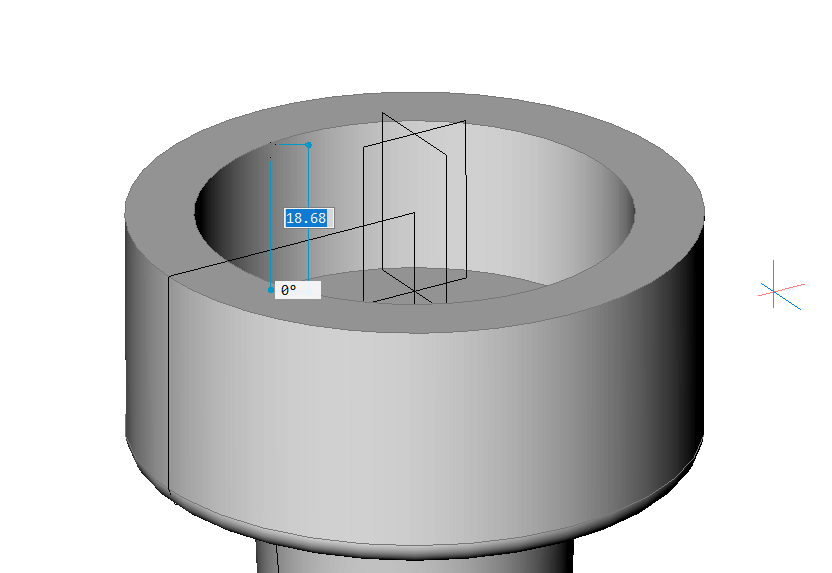
- Extrude rectangles to create the crenels. Use the Both sides option (Command line) and the Subtract mode.
To change the mode hit Ctrl. (See the Hotkey Assistant).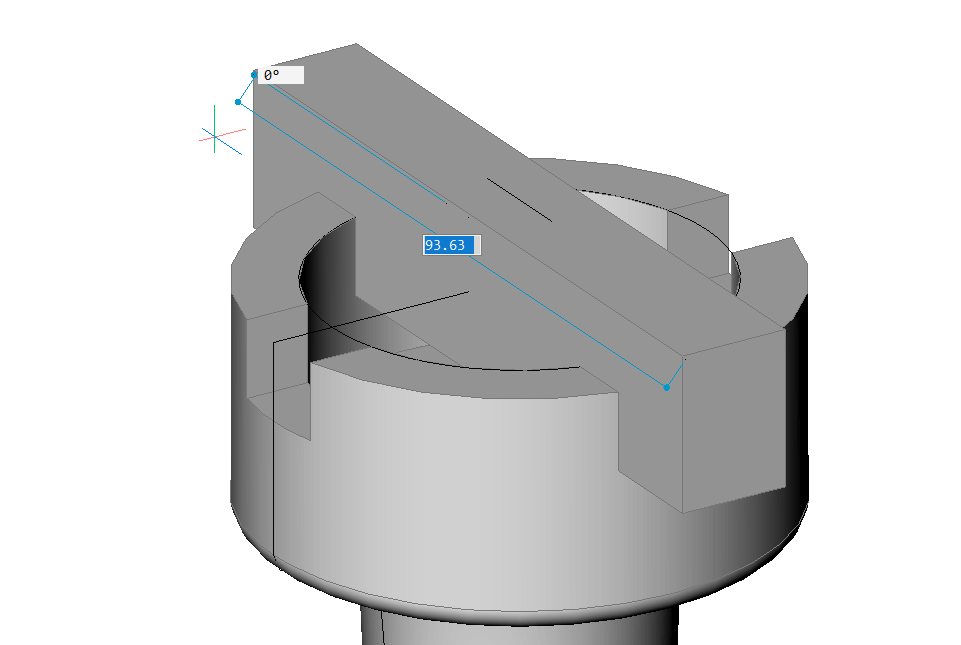
- Offset the edge of the top face.
To create the Knight:
For the Queen:
For the King:
(Optional) To finish, add materials and render with the BricsCAD Enscape Integration.
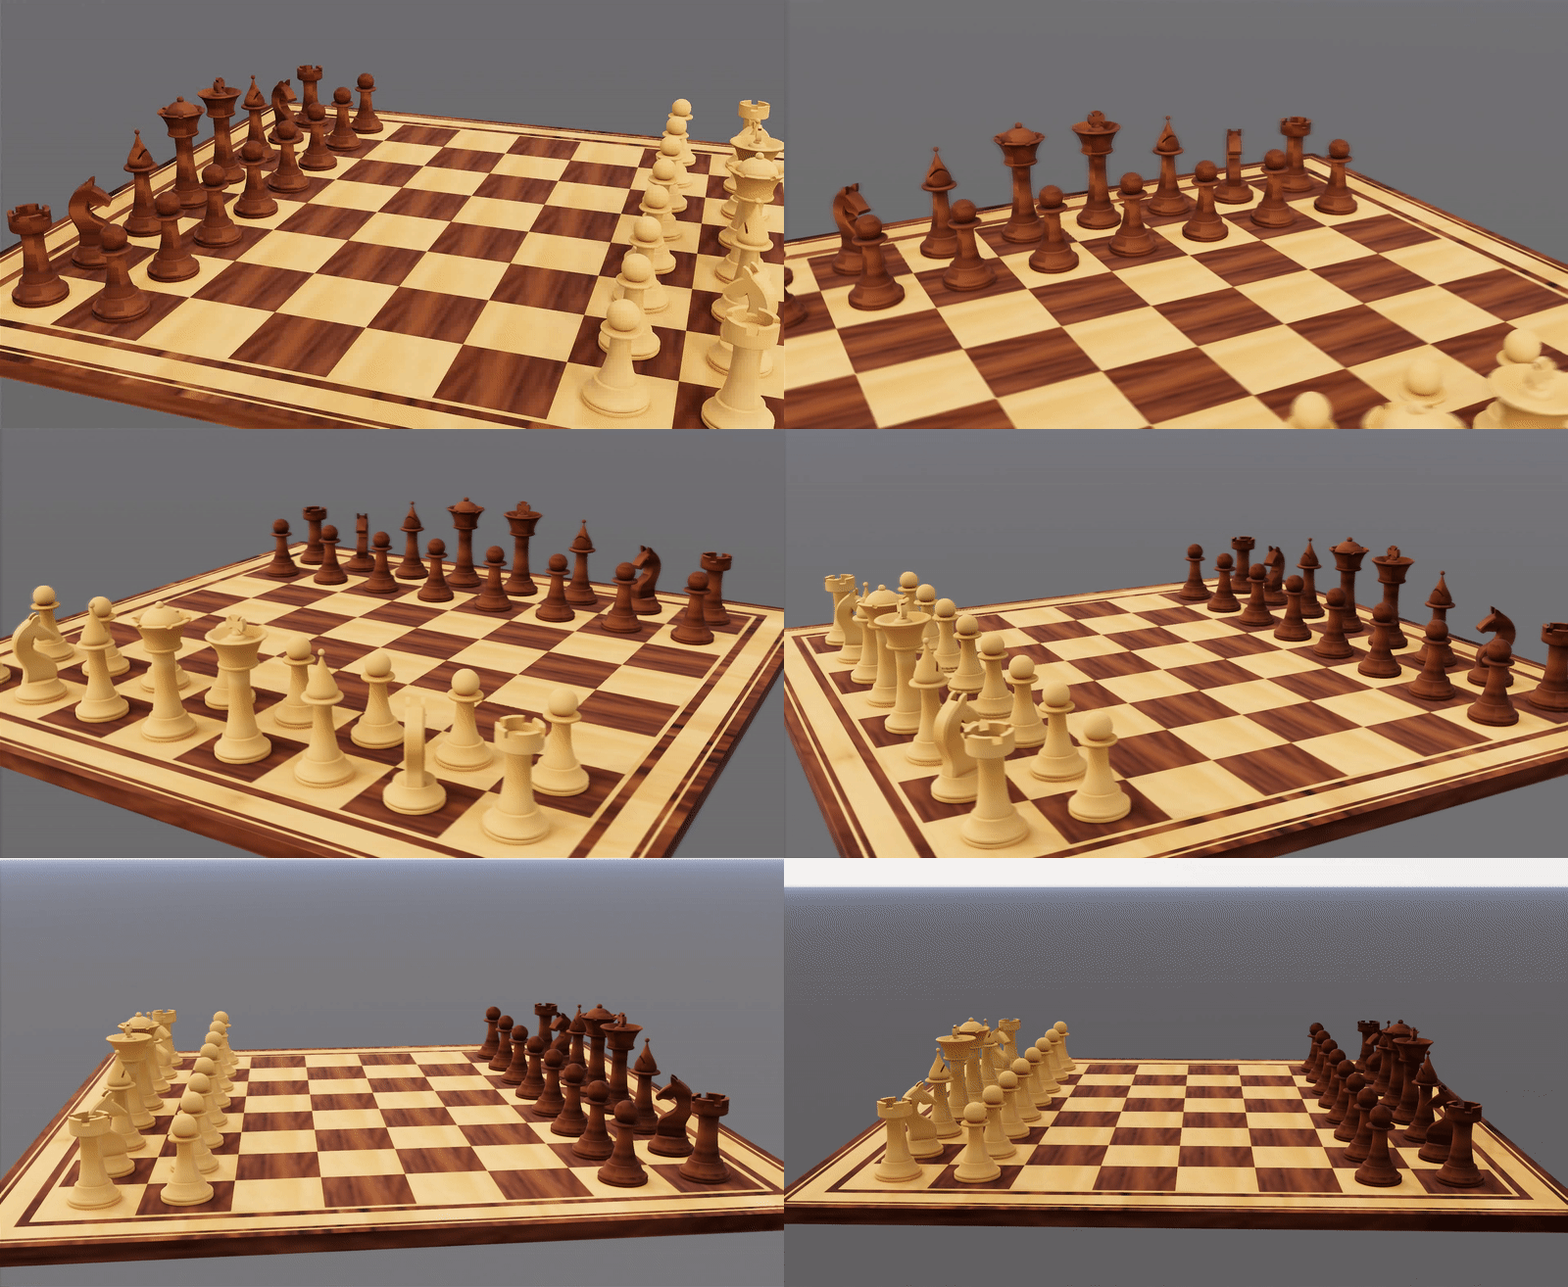
Once you have completed this tutorial to model a chess set you should have something that looks like this.
Download BricsCAD free for 30-days
Get started with this model chess set tutorial in BricsCAD
Permanent or subscription licenses that work in all languages, in all regions.
Enscape for BricsCAD will be discontinued and taken down from the Bricsys App Store on 22/10/2023. All active subscriptions purchased before this date will keep receiving support until the subscription expires. Bricsys will provide a version of “Enscape for BricsCAD” that will be compatible with BricsCAD v24.1 If you have any questions please click the “Contact” button in the App Store and create a Support Request.

