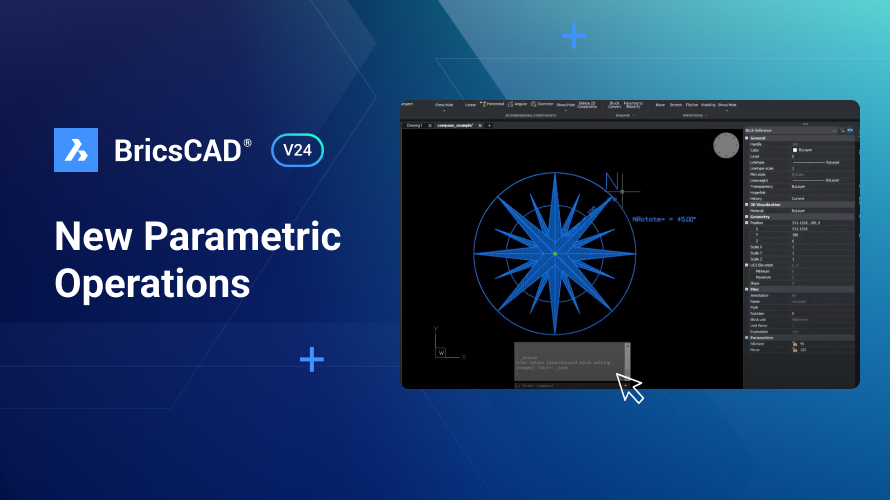
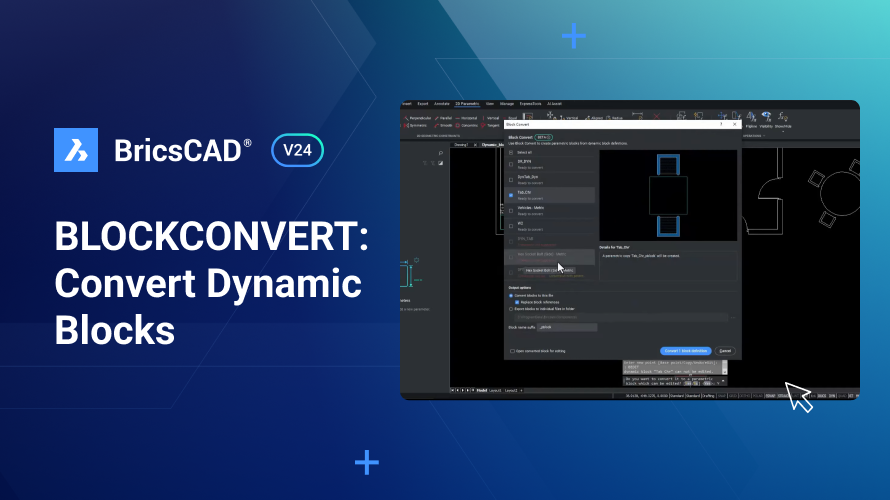
Prepare to unlock your full design potential with parametric operations in BricsCAD® V24. This blog will guide you through using parametric operations in BricsCAD V24 and show you how you can make dynamic adjustments to block entities using the move and rotate operations. Let's get started!
How to Create a Block in BricsCAD®
You can quickly turn a plain block into a Parametric Block in BricsCAD. First, you'll need to create a block - in this example, we created a table and chair.

- Navigate to the "Blocks" panel.
- Click on "Create Block."
- In the dialog box that appears, enter the block name - here we used "TAB_CHAR".

- Click on "Select entities" and use a window selection to select the entities you want to turn into parametric blocks.
- Confirm by clicking "OK."

- Then, you will be prompted to specify an insertion point. Here, we chose the center of the table as the insertion point. Now, we've created a block of the table and chair.
How to Turn a Plain Block into a BricsCAD® Parametric Block

- Double-click on the block to enter block edit mode.
- Click "OK" to proceed.
Now, add a parametric operation to the block. Let's start by adding a move operation.

- Go to the "2D Parametric" tab.
- Click on "Move" from the operations list.
- When asked to select the base point of movement, we chose the center point of the table. This point serves as the origin of the move vector.

- For the second point (head of the move vector), select a midpoint on the table or chair that suits the direction you wish to move the chair towards or away from the table.

- Select the chair entities you wish to affect with this operation by window selection and press "Enter."
- Name the action parameter and press "Enter." For this example we named it "CHR_MOVE".
Note: The operation name followed by an infinity sign indicates a length operation, with the distance set to 110 units (or as per your definition).
You can check that the operation is working by animating the block.

- Open the parameters manager panel.
- Find and select the relevant parameter, in this case "CHR_MOVE".
- Right-click and select "Animate" for a preview, or use the animate button on the top of the parameter manager panel.

- To edit linked behavior, right-click on the Move operation, choose "Edit Linked Behavior," and turn off linked operations if desired. This will ensure the move operation acts independently of other operations.
How to Add a Rotate Parameter

- In the "2D Parametric" tab, click on "Rotate" from the operations fly-out menu.
- Select the center point of the table as the rotation center.
- Define the rotation arc start and end points by selecting the appropriate points from your drawing.

Tip: Hold down the control key to change the rotation direction if needed.
- Select the chair and the move vector for rotation, ensuring the chair can move and rotate around the table.
- Name the rotation parameter; we chose "CHR_ROTATE."
- Animate the rotation to preview the operation.
Saving the Block

- Exit block edit mode by saving the block.
- Select the "TAB_CHR" block and open the properties panel to view the move and rotate parameters.
Adjusting Block Parameter Values

- We set a value of 150 units for the move operation, and the chair moved along the move vector.
- For the rotate operation, we applied a 180° angle and you can see that the chair rotates.
Setting Parameter Bounds

- Double-click to enter block edit mode again.
- Right-click on the parameters list and enable lower and upper bounds to the move and rotate parameters.

- Specify bounds that fit your design needs, for example, using the table's radius as a lower bound for movement to prevent the chair from intersecting with the table.
- With the bounds set, animate the move and rotate operations to see the chair's behavior within the specified limits.
Finally, ensure you have saved all your changes and exit block edit mode. That's it! Now you're ready to start creating, editing and using BriscCAD's parametric blocks.
Watch the video!
Watch the tutorial over on the Bricsys YouTube channel to see the BricsCAD V24's New Parametric Operations in action!
Want to learn more about BricsCAD® V24?
If you're curious about what else you can do in BricsCAD V24, check out our YouTube channel or take a peek at the rest of the Bricsys blog to learn more!
Have you used BricsCAD® V24 and have some ideas or suggestions?
Fantastic! We love hearing your thoughts on BricsCAD® – all feedback is welcome, whether good or bad. The best way to tell us what you think about BricsCAD is to send us a support request; our support team will gladly help.
Get started with BricsCAD® V24 today!
Buy BricsCAD or download the 30-day free trial now and discover how you can accelerate your time to deliverable with BricsCAD.


