3D Modelling

How to Model a 3D Chick - Easy Builds

By Rose Barfield 5 min 1 april 2021
How to Model a 3D Chick – Easy Builds

In this series, you will learn how to work with CAD, by following easy projects. Use only simple commands to build almost anything! For this tutorial, learn how to model a 3D chick.

Watch the video on YouTube

How to Model a 3D Chick in BricsCAD

Time to complete: 45 mins

Difficulty: 7/10


Commands used:

COPY
DMDEFORMPOINT
DMTHICKEN
DMSTITCH
EXTRUDE
FILLET
LCONNECT
LINE
LOFT
MANIPULATE
MIRROR
REGION
SPHERE
SPLINE


Tutorial: Model a 3D Chick in BricsCAD

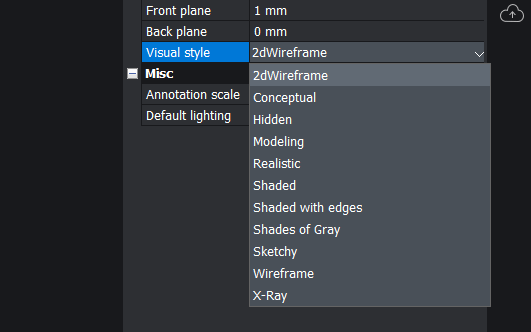
  1. In the Properties panel, change the Visual style to Conceptual.How to Model a 3D Chick – Easy Builds- 1 cocept

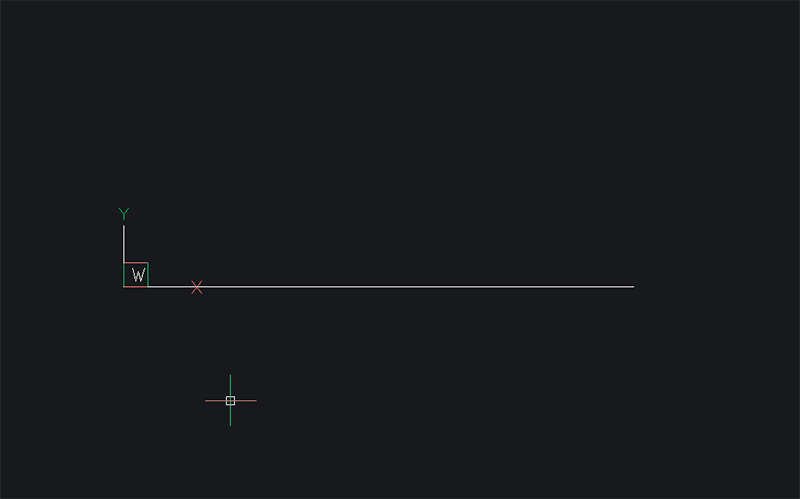
  2. Draw a horizontal LINE, this will be useful as a center point later.How to Model a 3D Chick – Easy Builds- 1 line

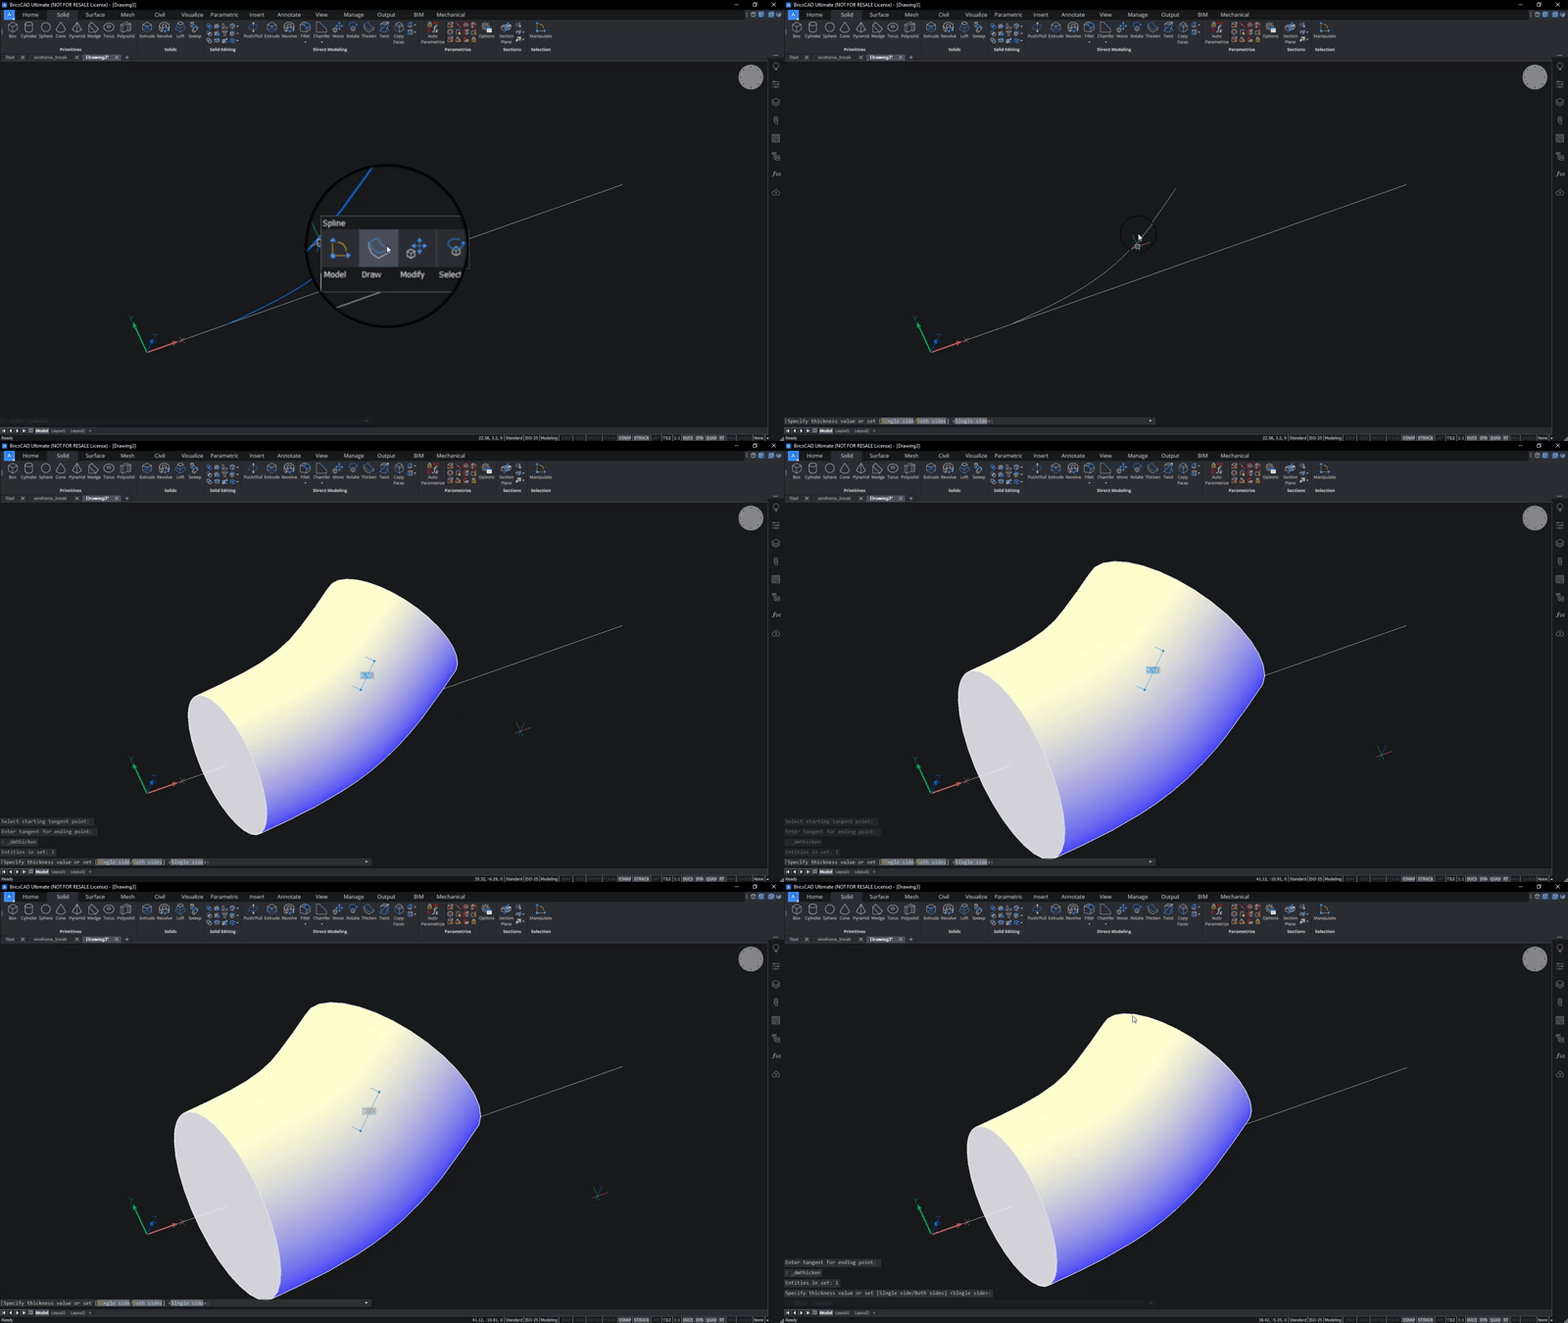
  3. Draw a SPLINE with a slight curve to it (see image). Use the first line as a starting point. How to Model a 3D Chick – Easy Builds- 2 spline
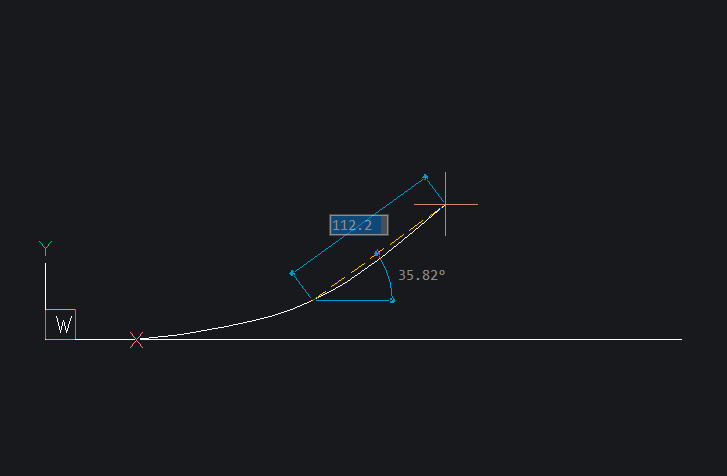
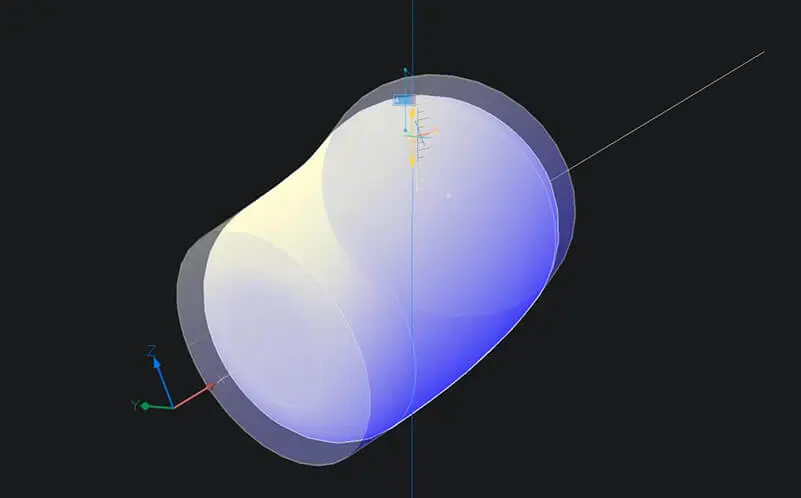
  4. Use DMTHICKEN to convert the spline into a 3D solid. It should look like a bent cylinder and will become the body of the chick. How to Model a 3D Chick – Easy Builds- dmthicken
  5. FILLET the edges. How to Model a 3D Chick – Easy Builds- 5 fillet

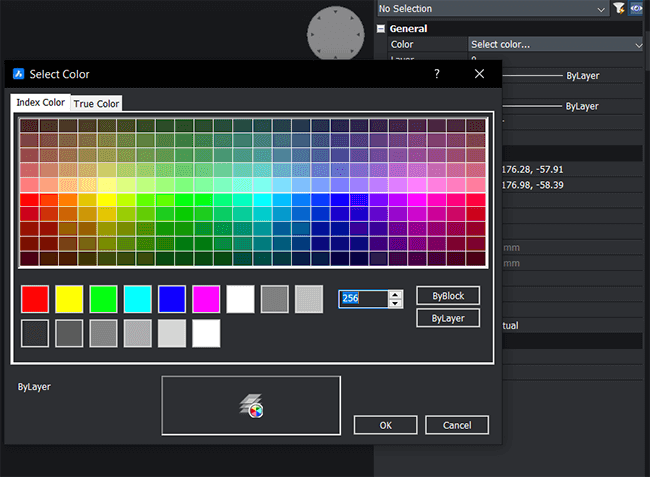
  6. In the Properties panel, change the layer color to yellow.How to Model a 3D Chick – Easy Builds- 6 colour

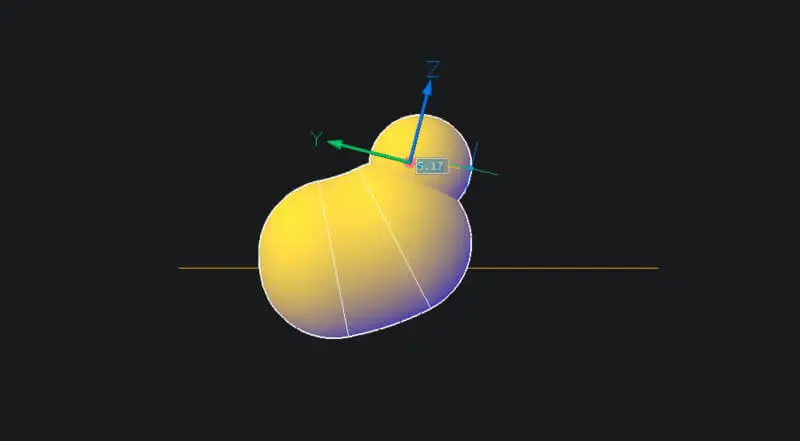
  7. Draw a SPHERE towards the top of the body. This will become the head. How to Model a 3D Chick – Easy Builds- 7 sphere
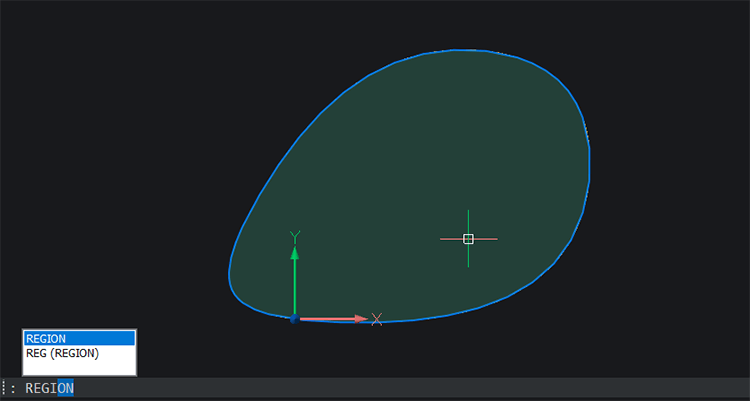
  8. Use a SPLINE to draw a wing shape. Make sure that the spline is closed. How to Model a 3D Chick – Easy Builds- 8 spline

  9. Use REGION to convert the spline into a region. How to Model a 3D Chick – Easy Builds- 9 region
  10. COPY  the region. Keep it in exactly the same location.

  11. Use DMDEFORMPOINT to deform the top region into a curved, wing shape. How to Model a 3D Chick – Easy Builds- 11 deform
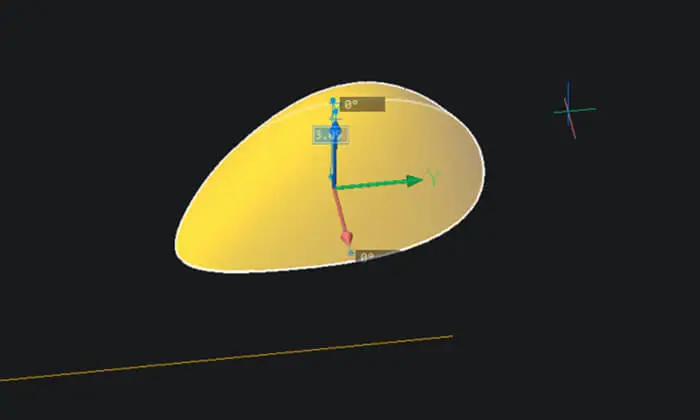
  12. Use DMSTITCH to convert the 2 regions into 1 solid.
    Tip: If you can not complete steps 9 -- 12 you can simply EXTRUDE  the spline and then FILLET the edges.

  13. Use the Manipulator to move the wing into position and rescale it, if required. How to Model a 3D Chick – Easy Builds- 13 manipulator
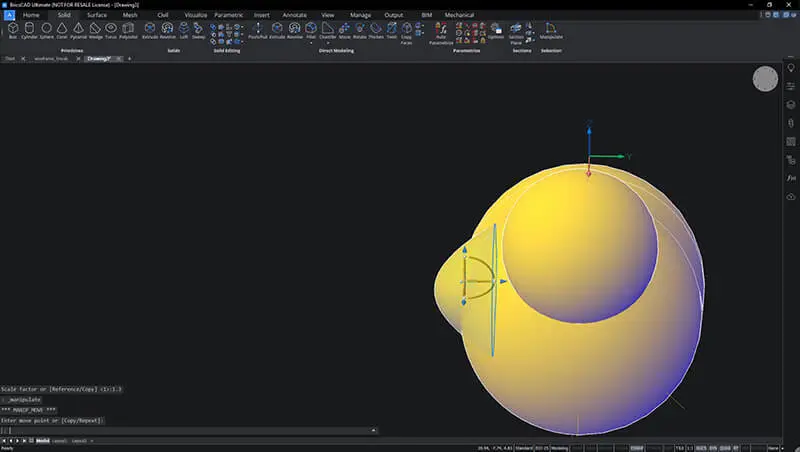
  14. Use LINE to draw a three-pointed chicken foot shape. How to Model a 3D Chick – Easy Builds- 14 foot
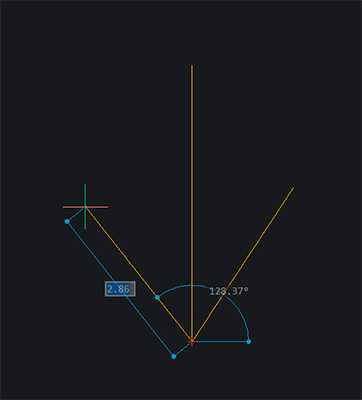
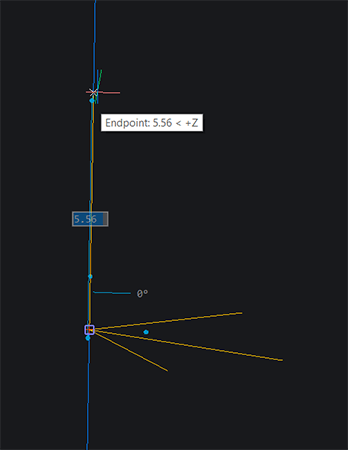
  15. Use LINE to draw a vertical "leg". How to Model a 3D Chick – Easy Builds- 15 leg

  16. Use DMTHICKEN to convert the lines into solids. How to Model a 3D Chick – Easy Builds- 16 thicken
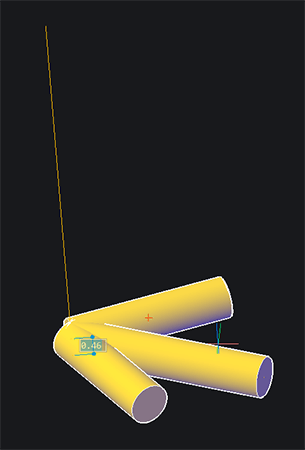
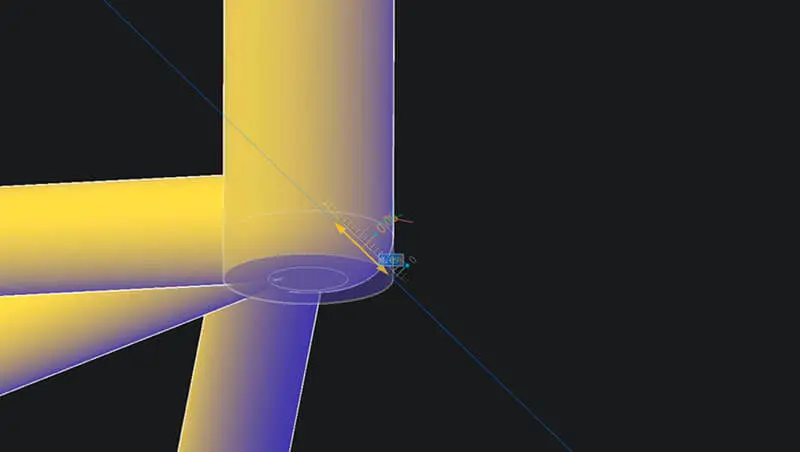
  17. EXTRUDE the end of each toe at an angle.
    Tip: Use Tab to switch between the length and angle dynamic input boxes. How to Model a 3D Chick – Easy Builds- 17 extrude
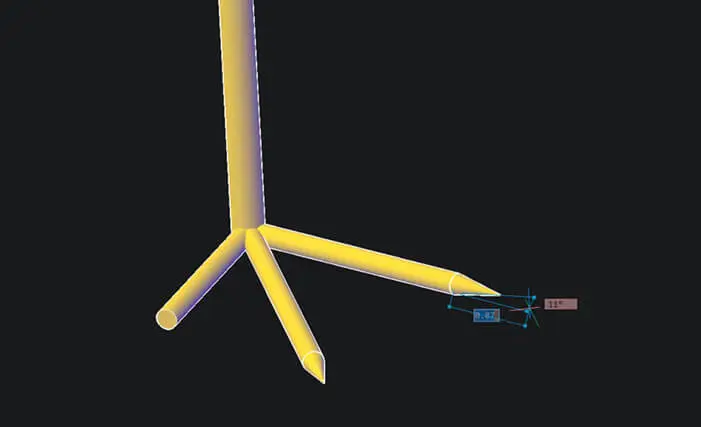
  18. Use LCONNECT to connect the toes at the back of the foot. How to Model a 3D Chick – Easy Builds- 18 lconnect
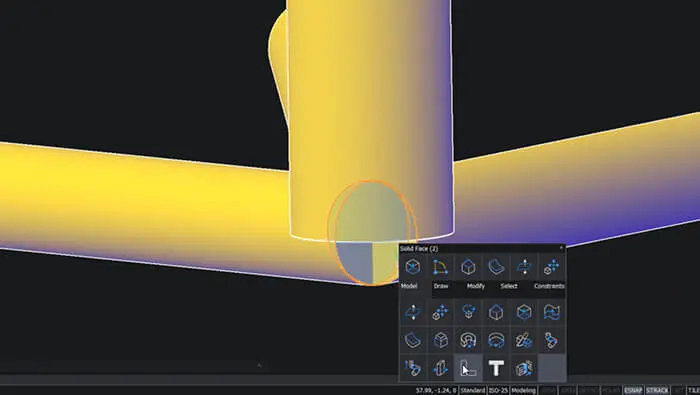
  19. Use the Manipulator to move the leg into position, relative to the foot. How to Model a 3D Chick – Easy Builds- 20 manipulate
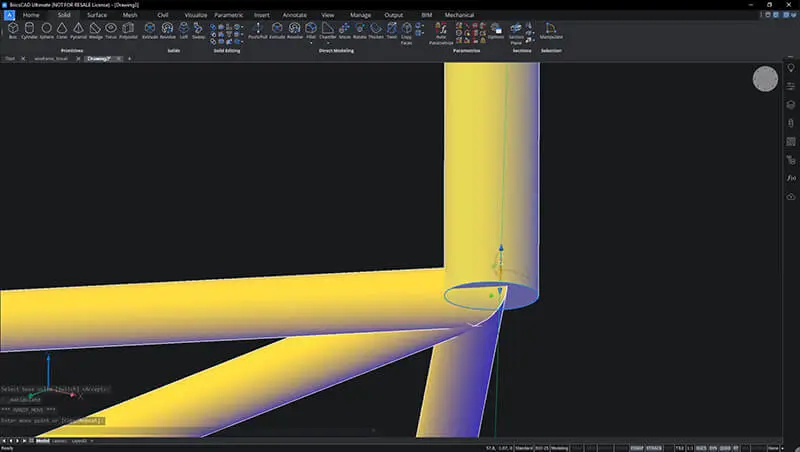
  20. FILLET the edge of the leg. How to Model a 3D Chick – Easy Builds- 20 fillet

  21. Use the Manipulator to move the leg into position and rescale it, if required. How to Model a 3D Chick – Easy Builds- 19 manipulator
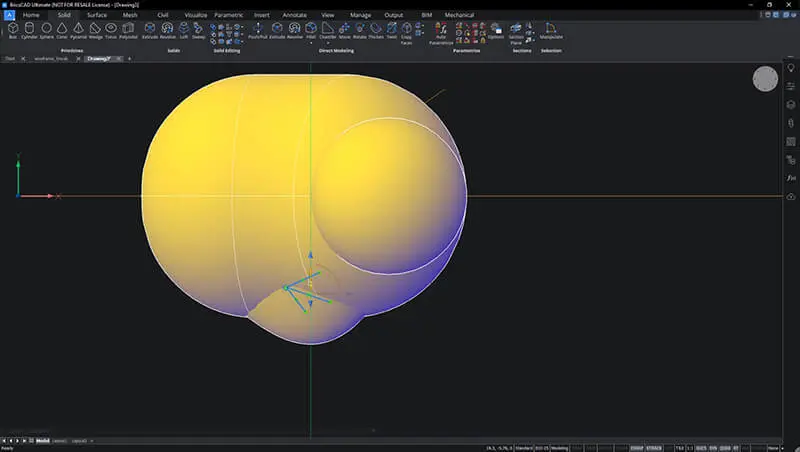
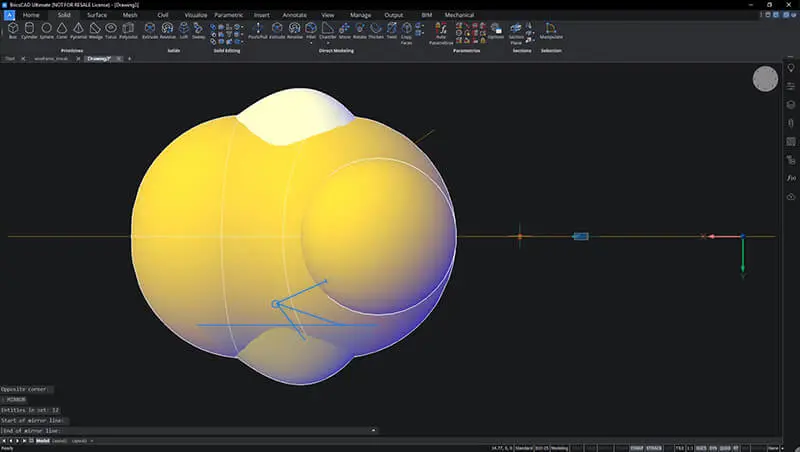
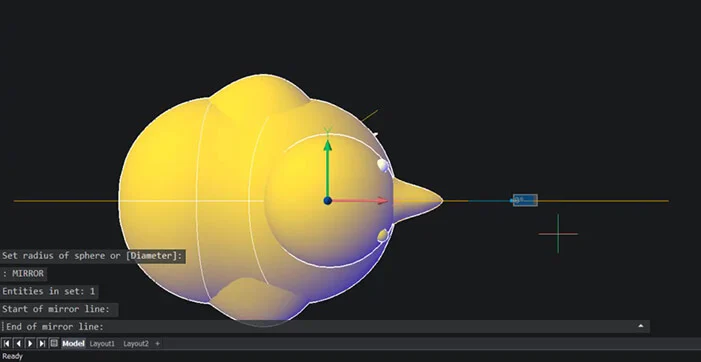
  22. MIRROR the leg and the wing. How to Model a 3D Chick – Easy Builds- 22 mirror

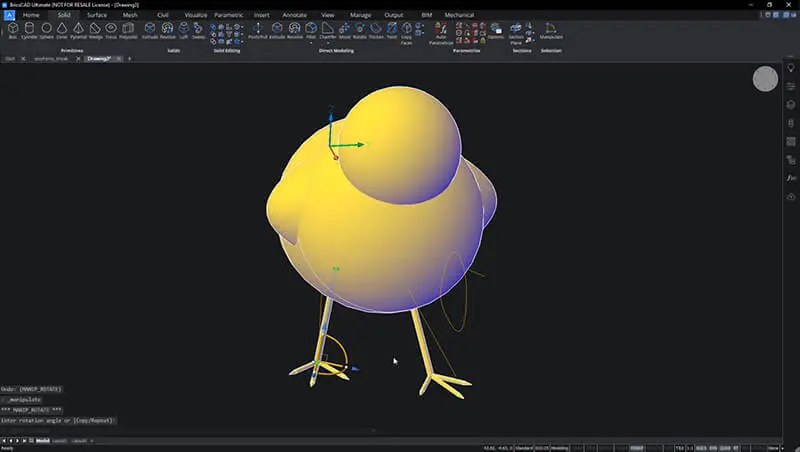
  23. Reposition the legs, as required. How to Model a 3D Chick – Easy Builds- 21 manipulator

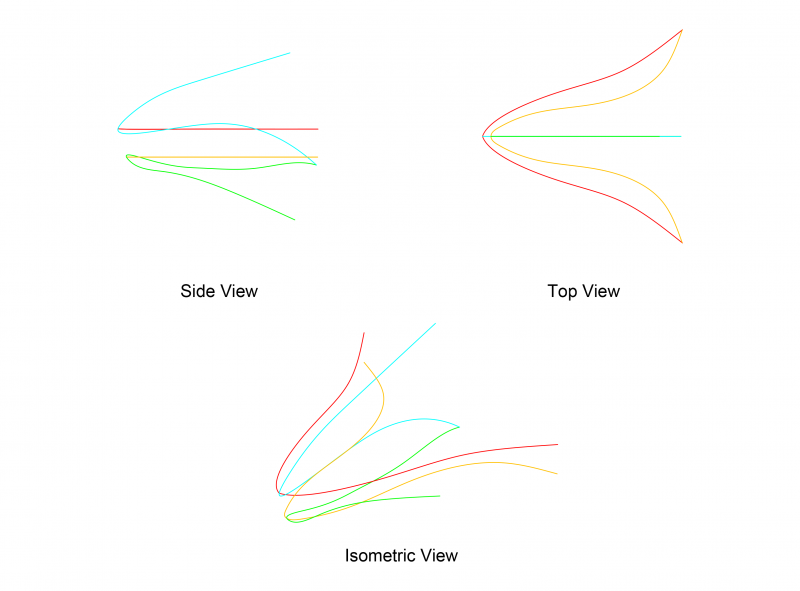
  24. Use SPLINE to draw the top and side profile of a beak.
    How to Model a 3D Chick – Easy Builds- wireframe break-800x591

If you like, you can download this image, import it into BricsCAD and trace it. Note: all lines are broken at meeting points.

__Tip:__ If you find this too complicated, make a cylinder and taper it to a point.
  1. LOFT between the splines to create a beak. How to Model a 3D Chick – Easy Builds- loft
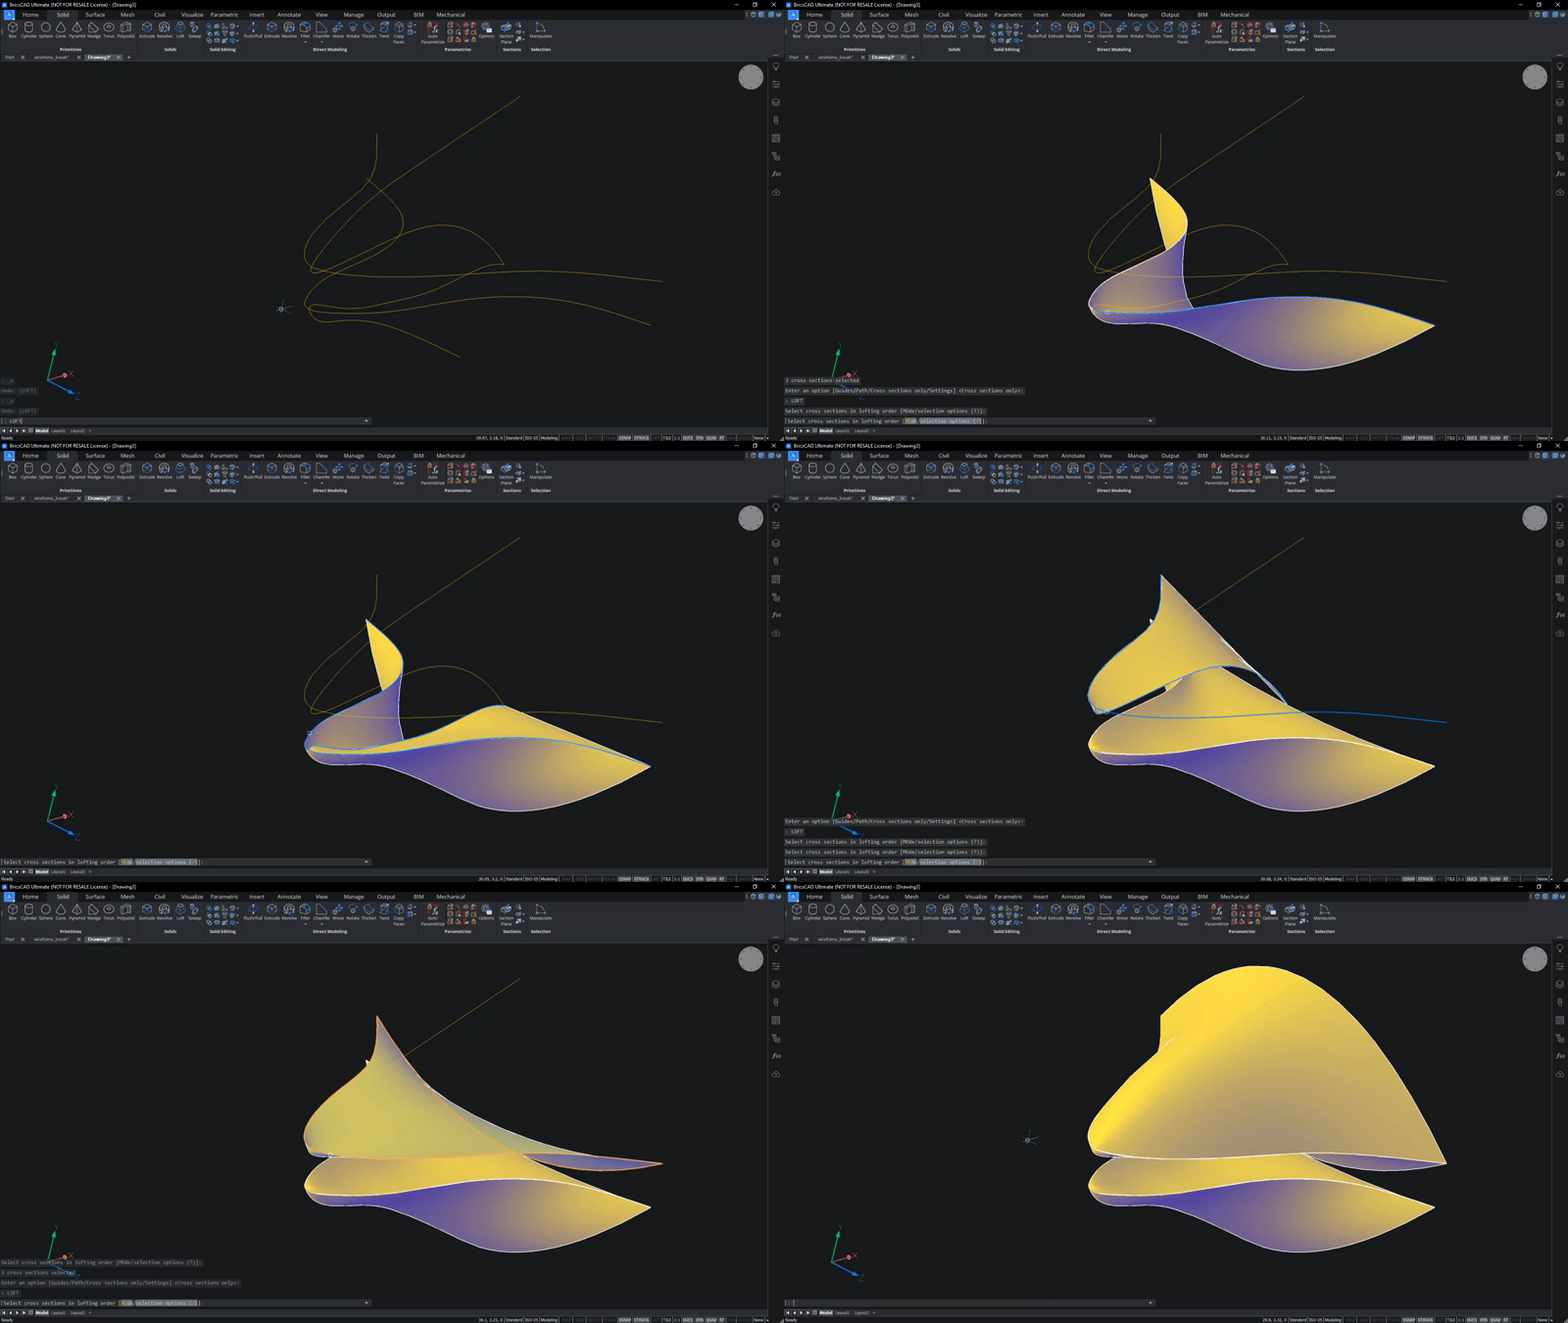
  2. Use XEDGES  to extract the edges of the surfaces at the back of the beak.
    Tip: Use Tab on hover to toggle the selected entity.
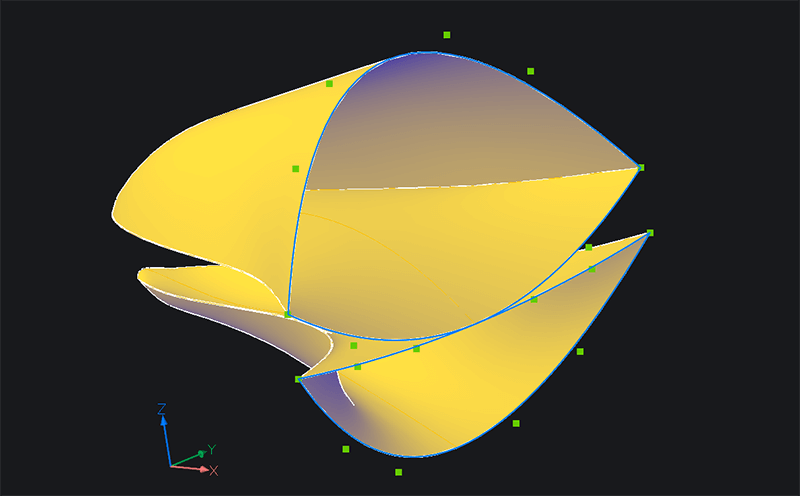
    How to Model a 3D Chick – Easy Builds- 26 edges

Edges show in blue.

  1. LOFT between the splines to create two surfaces that cover the back of the beak. How to Model a 3D Chick – Easy Builds- surface
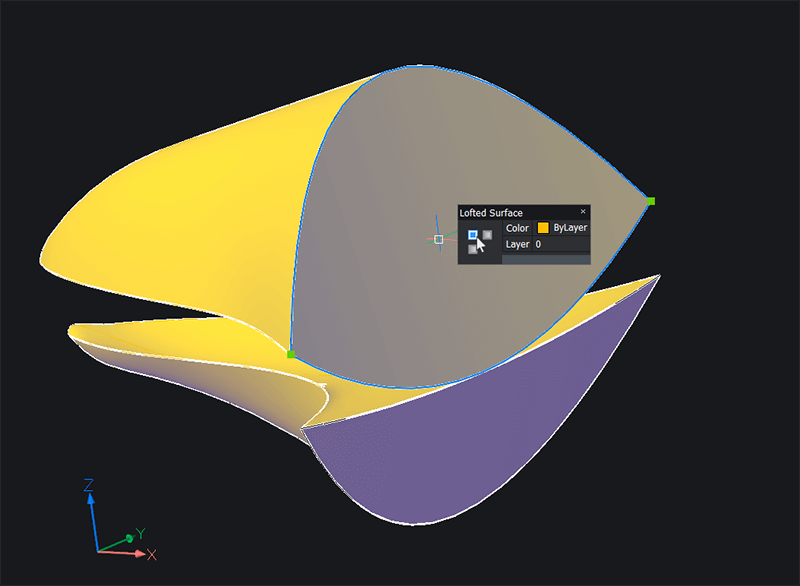
  2. Use DMSTITCH to convert the 6 regions into 2 solids.
  3. Use the Manipulator to move the beak into position and scale as required. How to Model a 3D Chick – Easy Builds- 28-manipulator
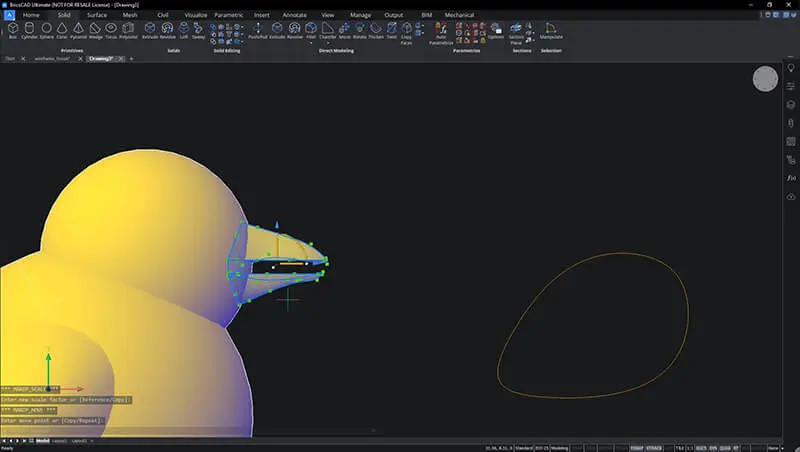
  4. Use SPHERE to draw an eye on the head. How to Model a 3D Chick – Easy Builds- 30 eye
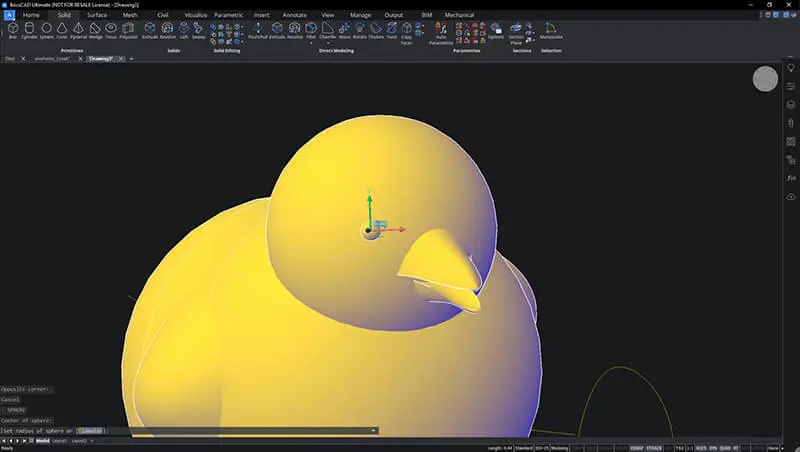
  5. MIRROR the eye. How to Model a 3D Chick – Easy Builds- 30 mirror
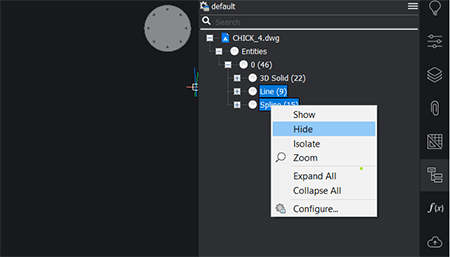
  6. Use the Structure Browser to hide any unwanted entities in the drawing. How to Model a 3D Chick – Easy Builds- 31 stucture
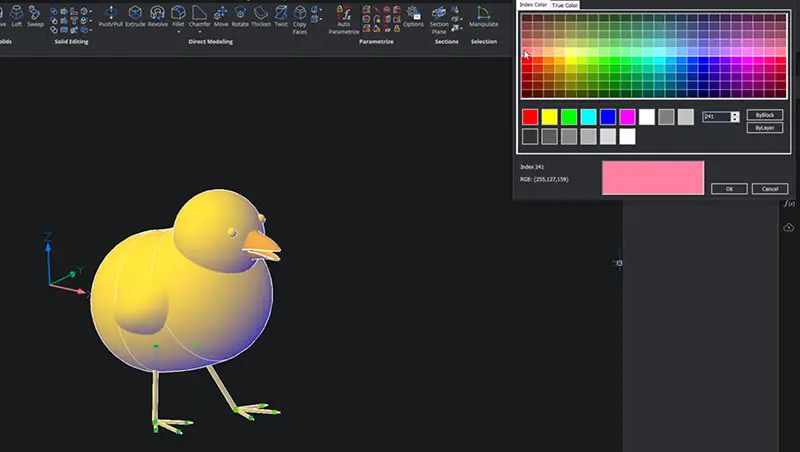
  7. Use the Properties panel to change the color of the chick.How to Model a 3D Chick – Easy Builds- 32 colour

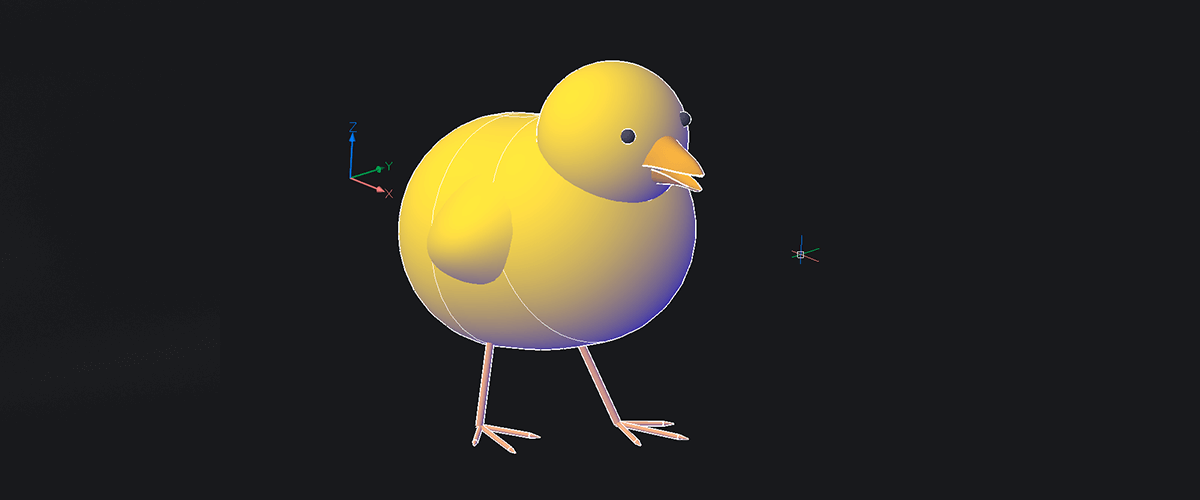
If you have completed all the above steps correctly, you should now have something like this:

How to Model a 3D Chick – Easy Builds- moneyshot

Happy CADing!


Download BricsCAD free for 30-days

Get started modeling a 3D chick in BricsCAD

Permanent or subscription licenses that work in all languages, in all regions.


Enjoy this project?

Why not try some other easy builds?

15 april 2024 3 min

BricsCAD® Pro V24.2 - Performance Improvements

BricsCAD V24.2 is here, bringing with it a suite of performance improvements that promise to boost efficiency and stability. Tailored for drafters, designers, and fabricators across all industries, the latest version focuses on accelerating the creation of detailed design documentation essential for building, fabricating, and manufacturing processes. Let's take a closer look at the enhancements in V24.2 that will accelerate your time to deliverable.

8 april 2024 4 min

Enhanced Drawing Compatibility in BricsCAD® V24.2

In V24.2, we've further enhanced BricsCAD's DWG compatibility to ensure the rapid creation of design documentation by focusing on the 2D drawing creation workflow. To create the smoothest collaboration, we've ensured you can open and edit the drawings you create in BricsCAD in other DWG-based CAD programs. Let's dive into the enhancements we've made!

25 mars 2024 4 min

What's new in BricsCAD® Lite and Pro V24.2

In the latest update, BricsCAD® V24.2 brings many new and enhanced features to elevate your 2D drawing creation. We have introduced a more intuitive user experience, improved performance and stability, and added new and enhanced features to boost your productivity further. This release delivers workflows to facilitate the precision and versatility you need for your 2D drafting and design projects to run smoothly. 

Follow us on social media