3D Modelleren

How to put yourself or your clients into BricsCAD®

Door Rose Barfield 3 min 24 juni 2020
How to put yourself or your clients into BricsCAD®

Ever wished you could put yourself or even your clients into your BricsCAD® designs? Well, the good news is: you can! In BricsCAD you can convert almost any image into a component. It will even follow you around! Learn how to make your own BricsCAD components in this tutorial.

As you probably already know, BricsCAD comes with 100s of free components as part of its component library, which includes many different, premade figures. But, did you know, you can also create your own?

How to make your own avatar components in BricsCAD

  1. To begin find or create an image. You can use a drawing or photograph. For this example I'm using the drawing of my colleague Joachim. (You might recognize him from his BricsCAD Shape Journey posts.)How to put yourself or your clients into BricsCAD<sup>®</sup>- joachim Tekengebied-8-kopie-111x300

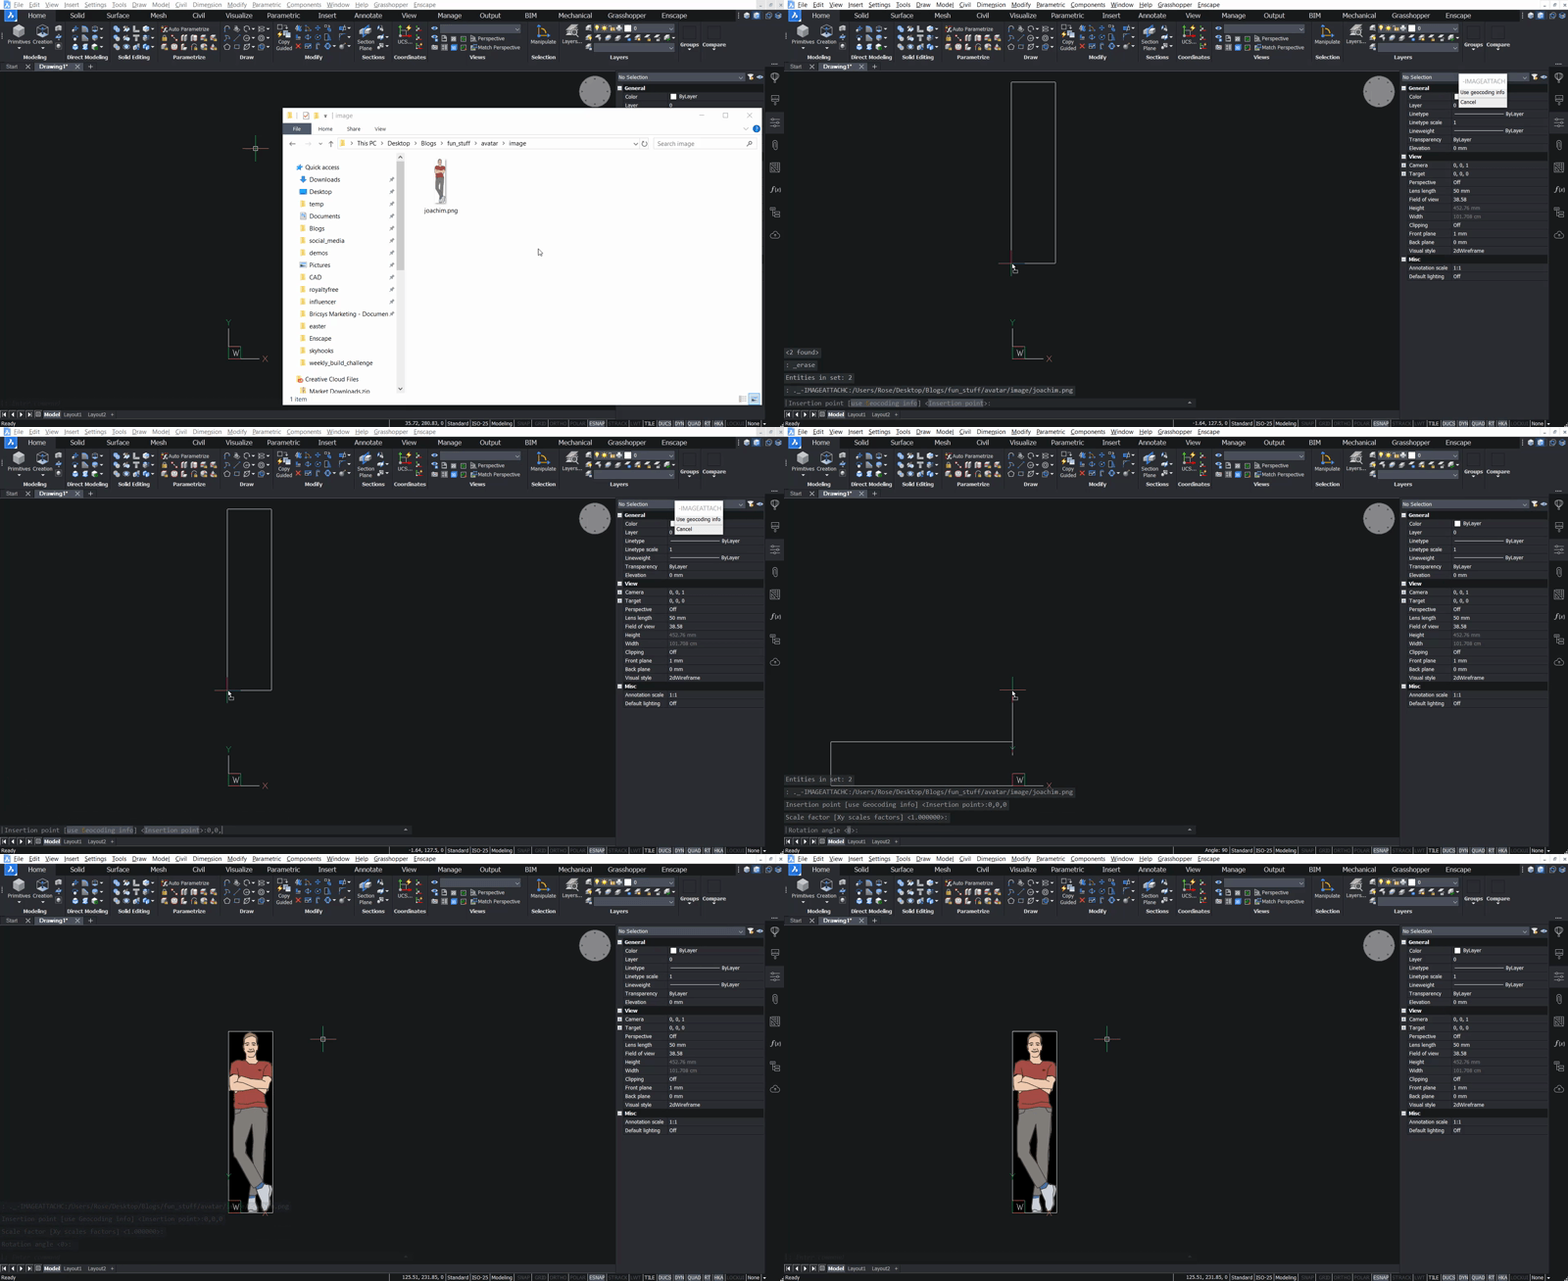
  2. Drag and drop the image onto the BricsCAD Modelspace. It's a good idea to use a 0,0,0 origin point.How to put yourself or your clients into BricsCAD<sup>®</sup>- drag and drop

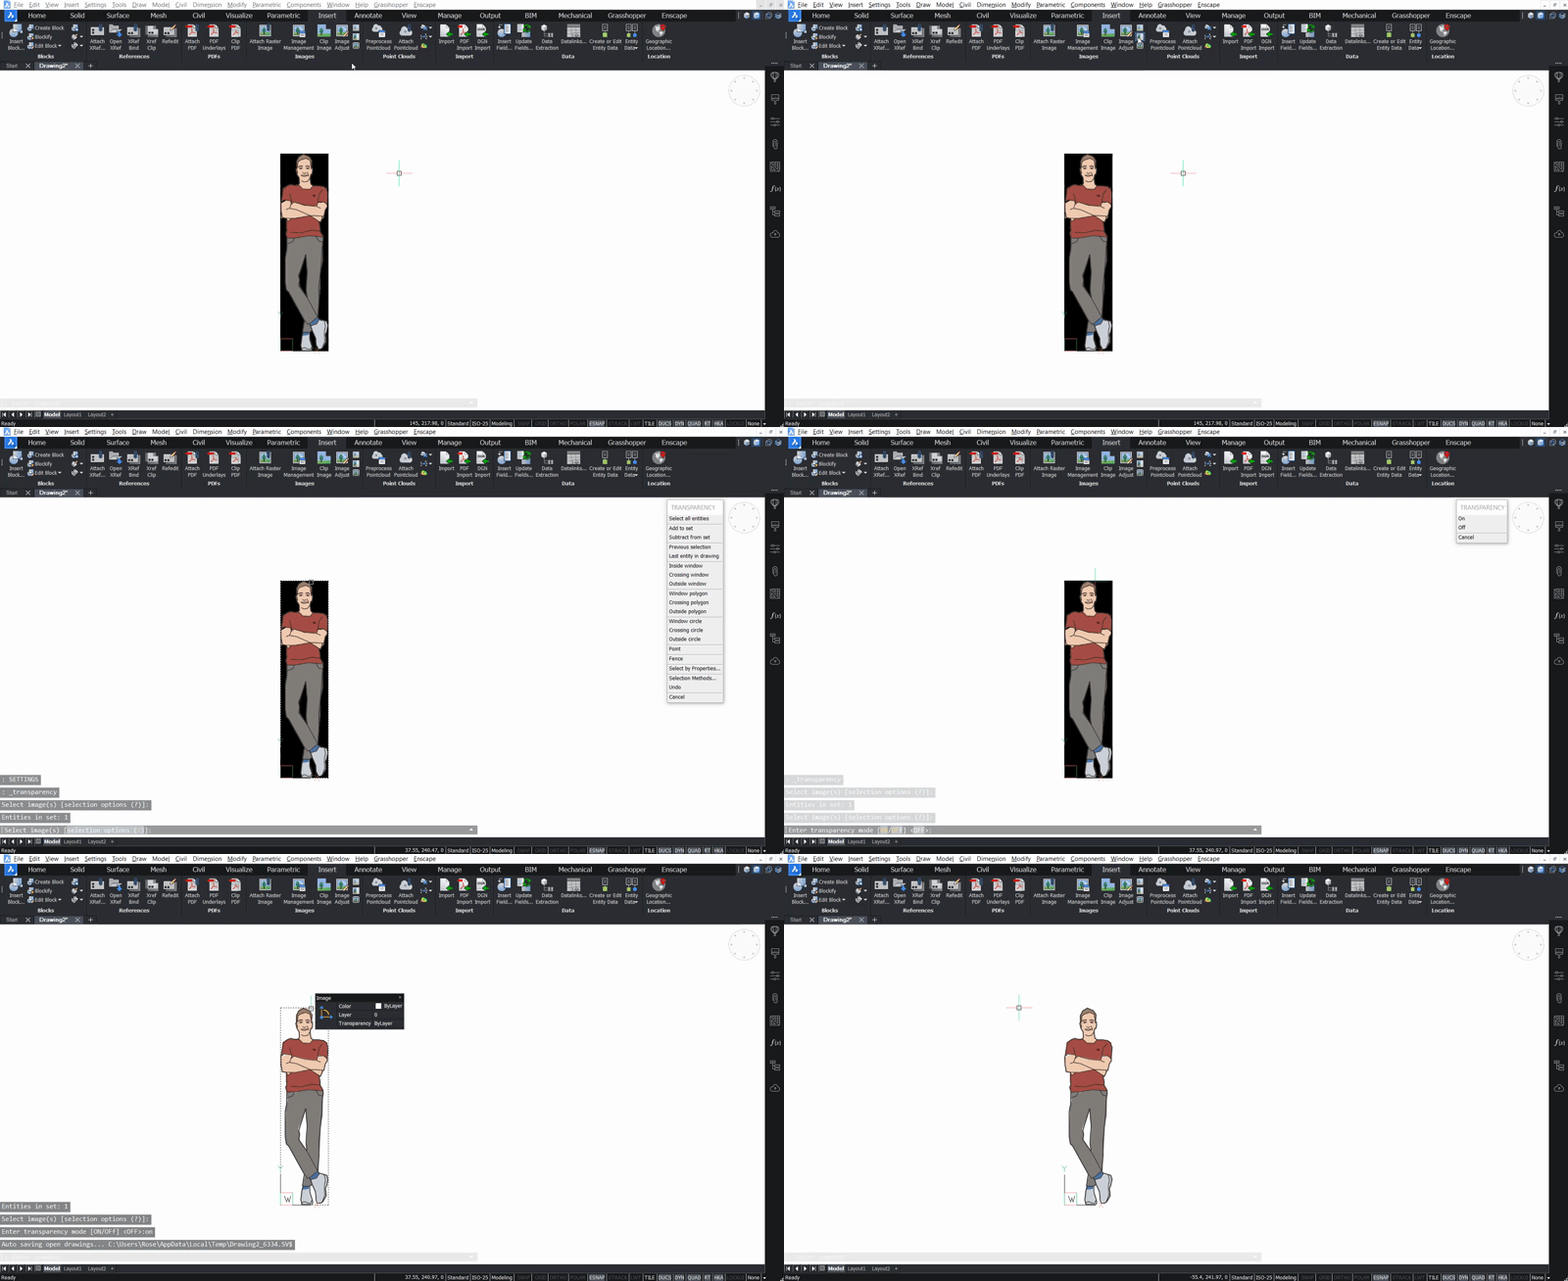
  3. (optional) To give your icon a transparent background:

    1. Removed the background from the file and exported it as a .png, I used Adobe Photoshop for this step. (BricsCAD also accepts .jpg and .bmp files.)

    2. In BricsCAD, change the image transparency to "on".
      How to put yourself or your clients into BricsCAD<sup>®</sup>- transparency
      Changing the transparency of a raster image in BricsCAD. Background changed to white for clarity.

  4. Now it's time to scale the object:

    1. Draw a line to the correct size. Joachim is quite tall, so this line is very long!

    2. Use the Scale command and select the "Reference" mode.

    3. Use the line you just drew as the reference length.

      How to put yourself or your clients into BricsCAD<sup>®</sup>- scale refrence

      Joachim is very tall so this image was much too small.

    4. Delete the reference rectangle or line.

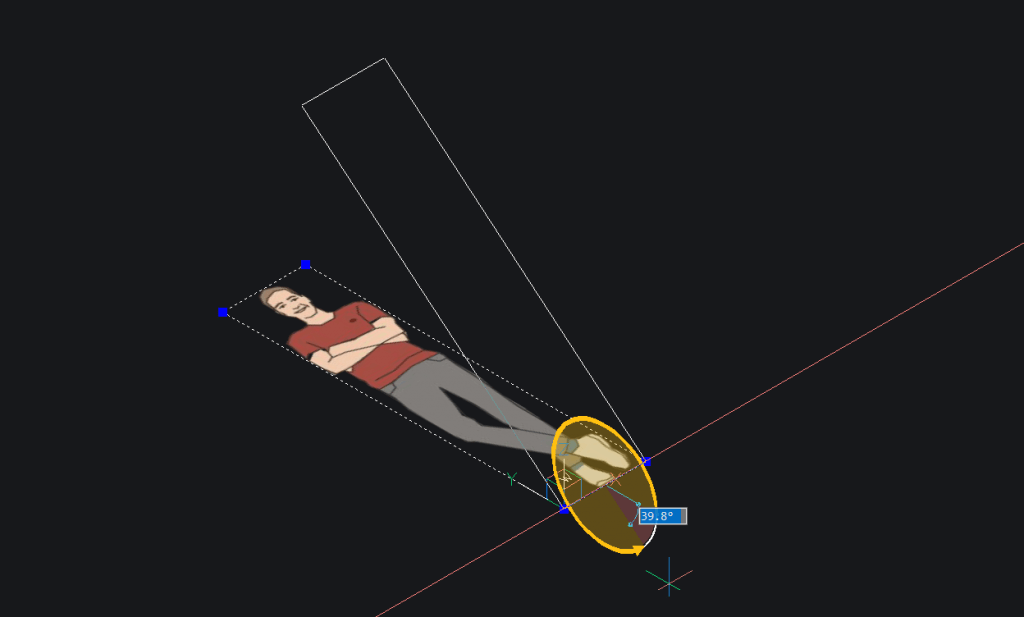
  5. Now rotate the image so he's standing up.How to put yourself or your clients into BricsCAD<sup>®</sup>- rotate-1024x617

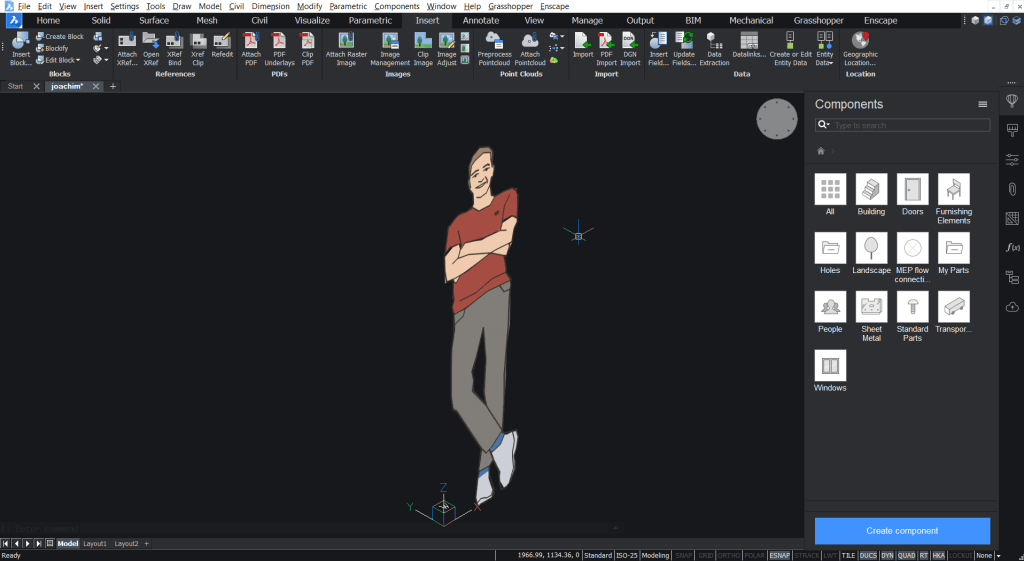
  6. Open the Components panel.How to put yourself or your clients into BricsCAD<sup>®</sup>- components panel-1024x561

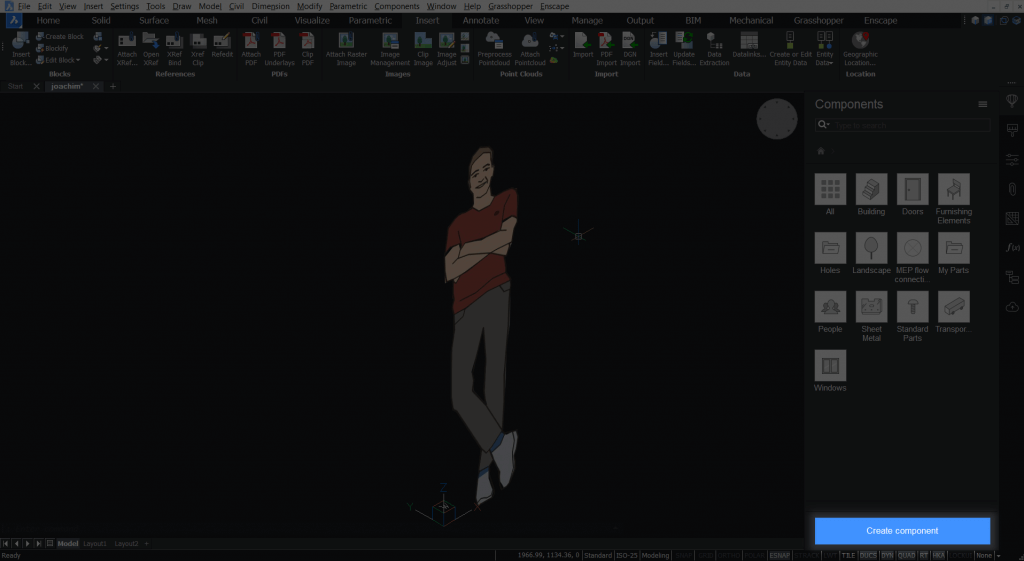
  7. Click the large, blue "Create component" button.How to put yourself or your clients into BricsCAD<sup>®</sup>- button-1024x561

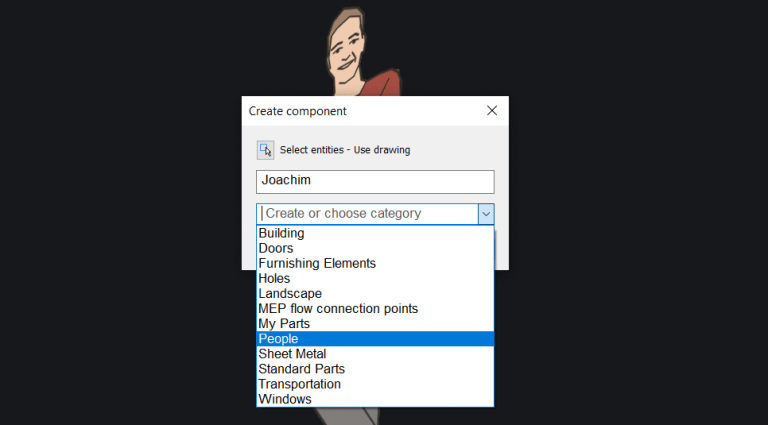
  8. A dialog will display. Enter a name and choose a category. Then click "OK".How to put yourself or your clients into BricsCAD<sup>®</sup>- create component panel-768x425

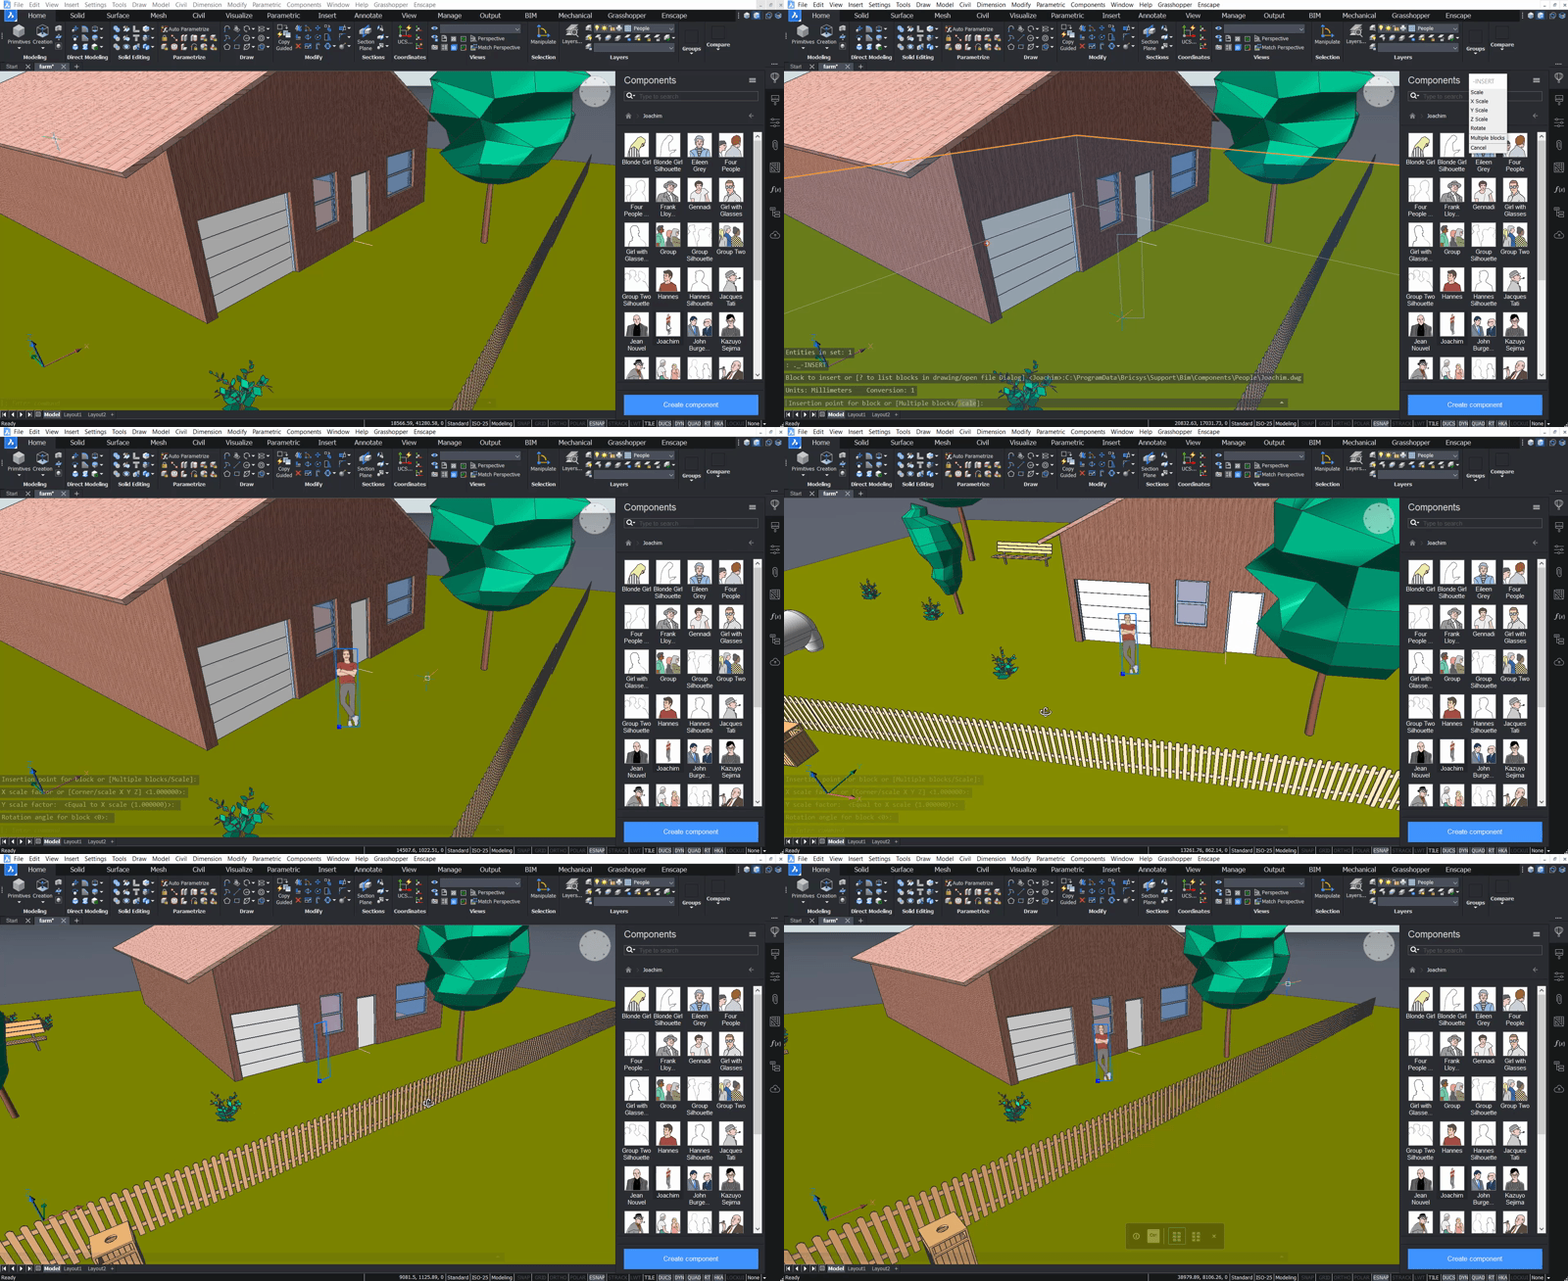
  9. Your new component will be displayed as part of the library. You can now add it to your drawings just like any other character! It will even follow you around the room.How to put yourself or your clients into BricsCAD<sup>®</sup>- using component

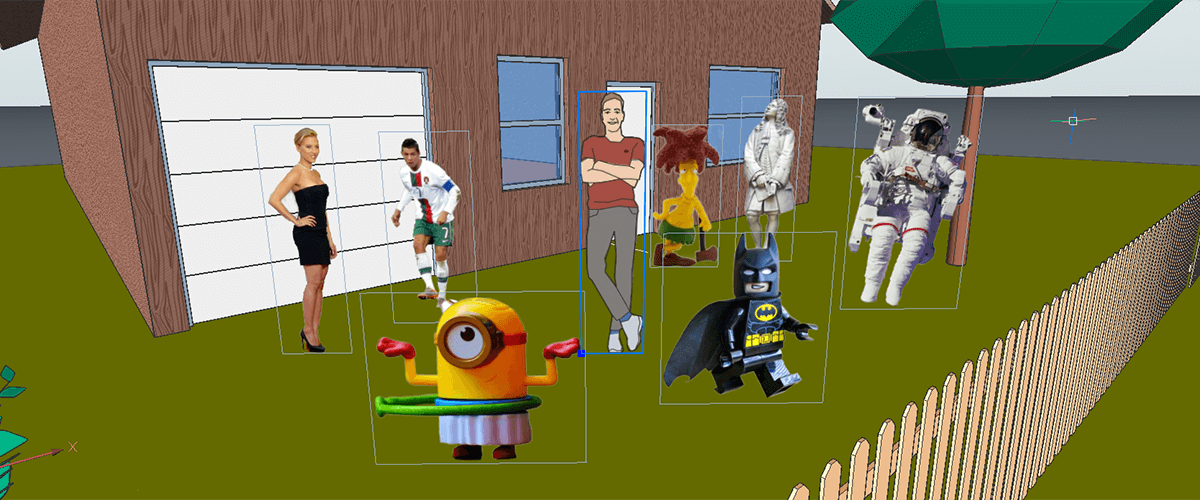
But why stop there? Now you know how to create your own avatars, you can let your imagination run wild!

How to put yourself or your clients into BricsCAD<sup>®</sup>- pc party-1024x389

Joachim and his unlikely set of pals.


Download BricsCAD free for 30-days

15 april 2024 3 min

BricsCAD® Pro V24.2 - Performance Improvements

BricsCAD V24.2 is here, bringing with it a suite of performance improvements that promise to boost efficiency and stability. Tailored for drafters, designers, and fabricators across all industries, the latest version focuses on accelerating the creation of detailed design documentation essential for building, fabricating, and manufacturing processes. Let's take a closer look at the enhancements in V24.2 that will accelerate your time to deliverable.

25 maart 2024 4 min

What's new in BricsCAD® Lite and Pro V24.2

In the latest update, BricsCAD® V24.2 brings many new and enhanced features to elevate your 2D drawing creation. We have introduced a more intuitive user experience, improved performance and stability, and added new and enhanced features to boost your productivity further. This release delivers workflows to facilitate the precision and versatility you need for your 2D drafting and design projects to run smoothly. 

Volg ons op sociale media