3D Modelleren

Christmas CAD - Rudolph the Red-Nosed Reindeer

Door Rose Barfield 3 min 19 december 2019
Christmas CAD - Rudolph the Red-Nosed Reindeer

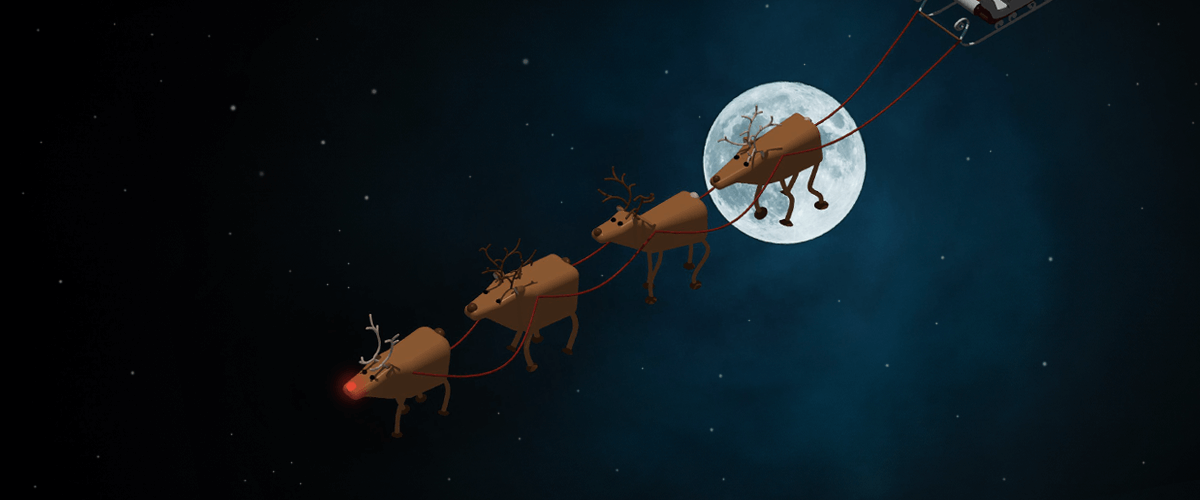
Is it just me or is it beginning to look a lot like Christmas? Why not unwind with this fun Christmas project and make yourself your very own Rudolph the Red-Nosed Reindeer in CAD?

Christmas CAD - finish-1024x578

How to Make Rudolph the Red-Nosed Reindeer in CAD:

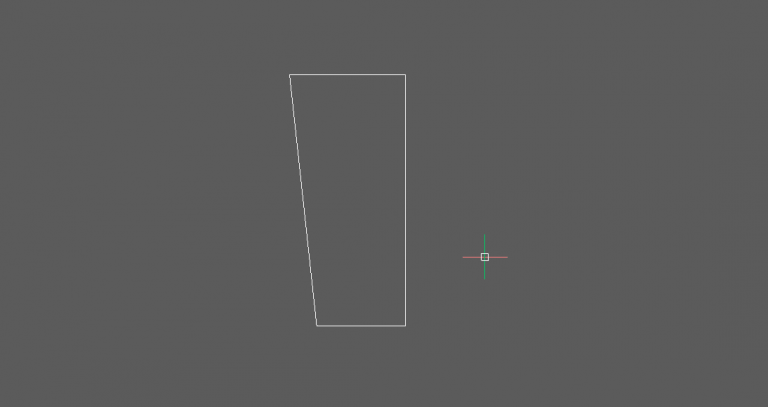
  1. Start by making the head of Rudolph the Red-Nosed Reindeer. Create a polygon shape, as shown:Christmas CAD - 1 shape-e1576600438984-768x407
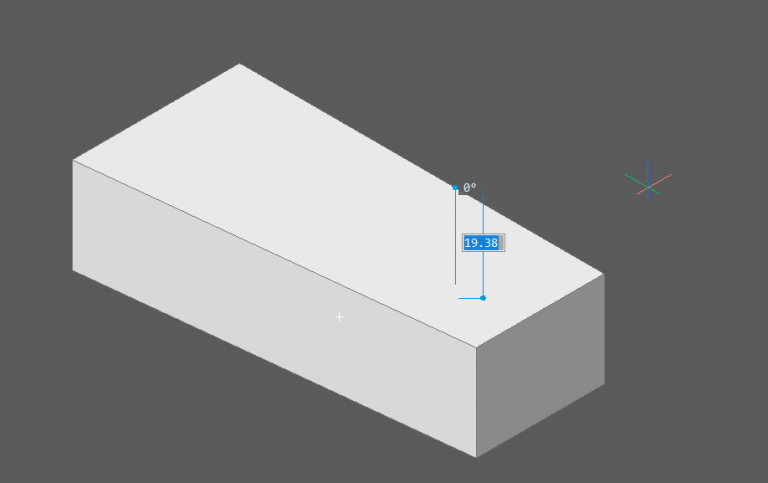
  2. Extrude up.Christmas CAD - 2 extrude-768x483
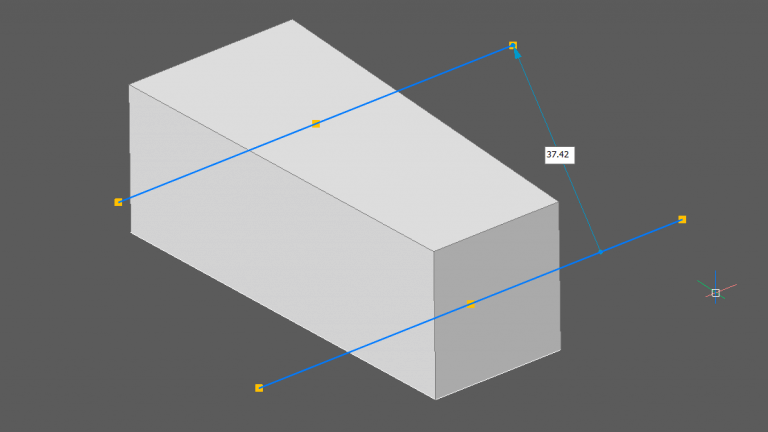
  3. Imprint lines on the top and bottom as shown.Christmas CAD - 3 imprint-768x432
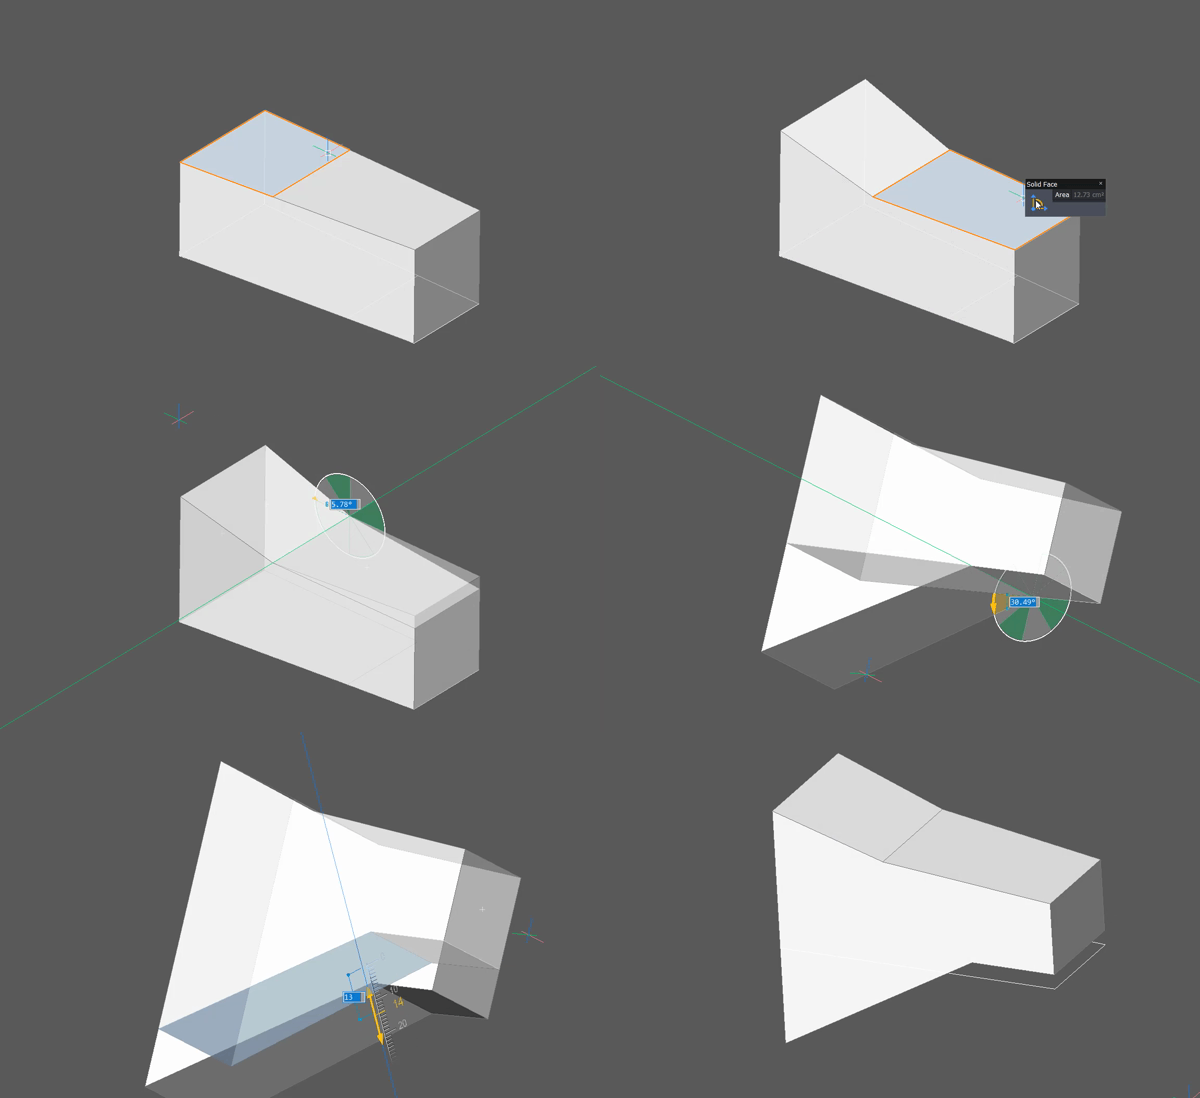
  4. Use the Manipulator and DmPushPull to adjust the faces as shown.Christmas CAD - manipulate sml
  5. Mirror.Christmas CAD - 5 mirror-768x568
  6. Union.
  7. Fillet.Christmas CAD - 6 fillet-768x539
  8. Repeat for the nose.Christmas CAD - 8 fillet-768x571
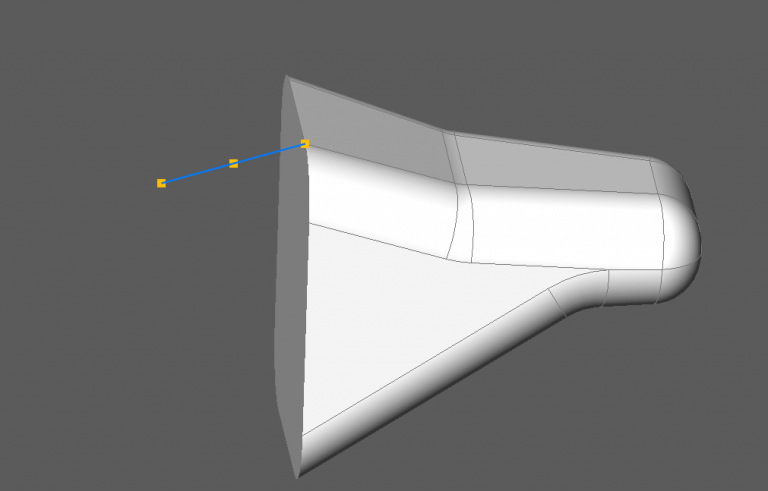
  9. Create a guideline, as shown.Christmas CAD - 9 guide line-768x491
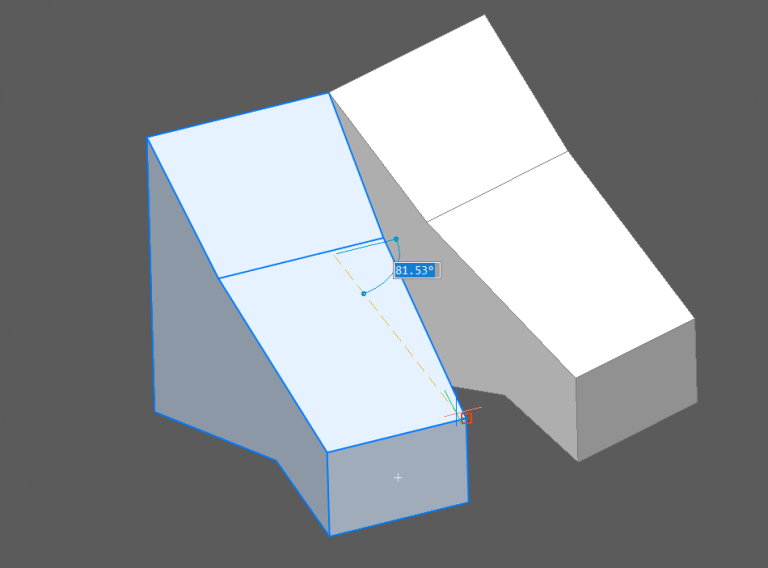
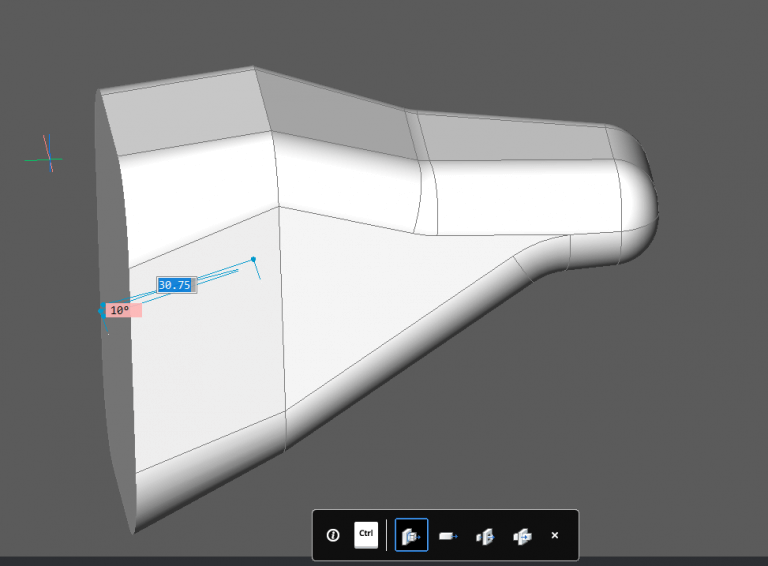
  10.  Extrude the end face. Set the direction to the guide curve and add a taper angle of 10°.Christmas CAD - 10 extrude-768x566
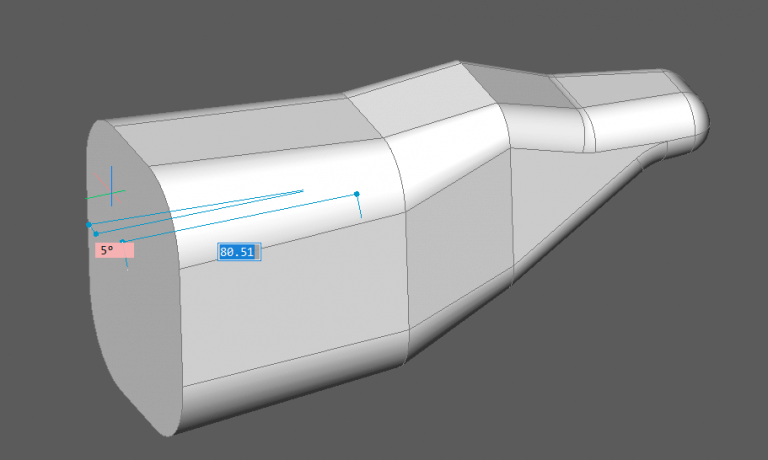
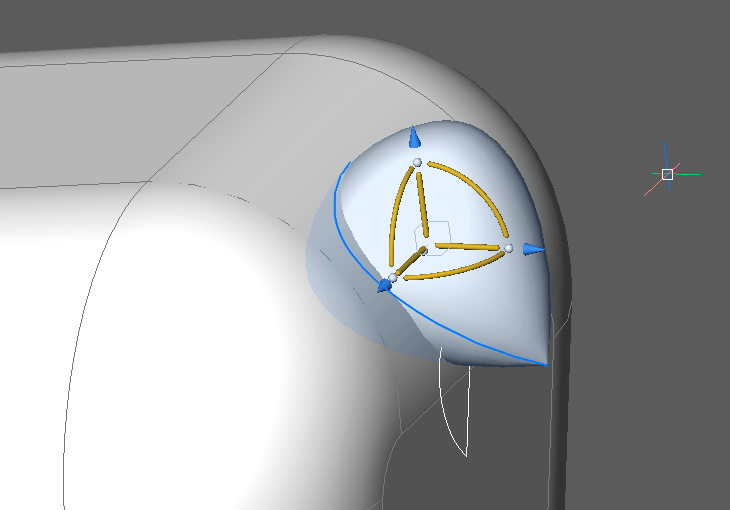
  11. Extrude again, use the y-axis for the direction and set the taper angle to 5°.Christmas CAD - 11 extrude-768x460
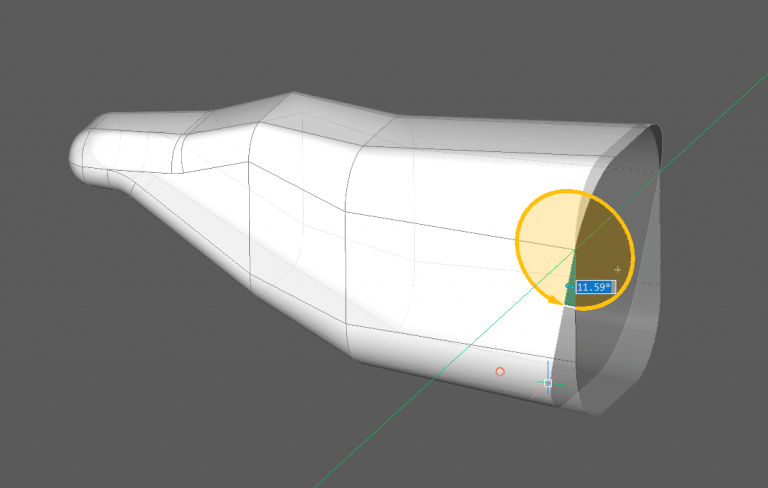
  12. Use the Manipulator to change the angle of the back face.Christmas CAD - 13 manipulate-768x488
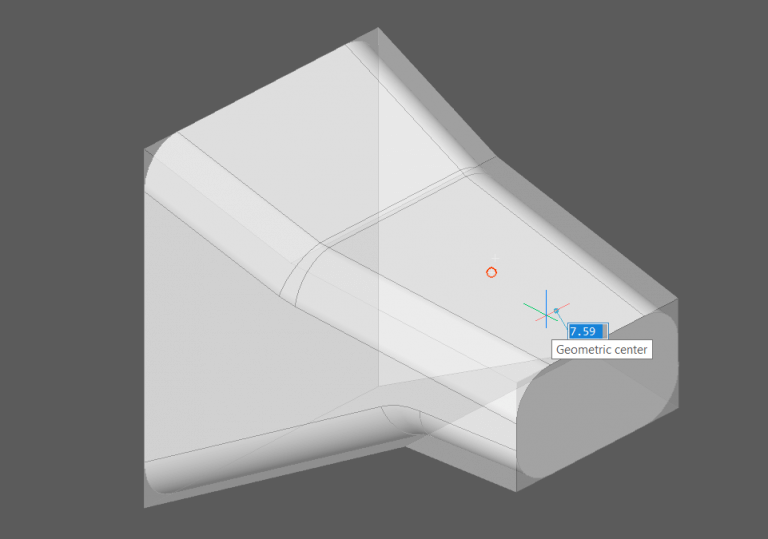
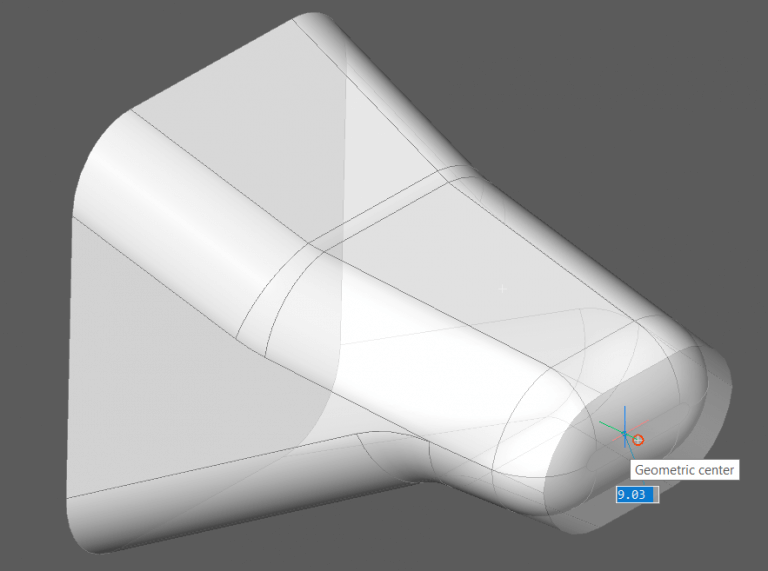
  13. Fillet the edges.
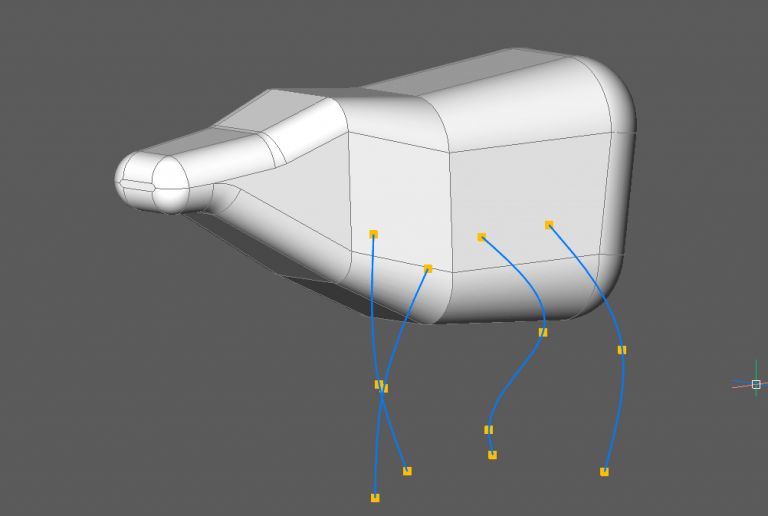
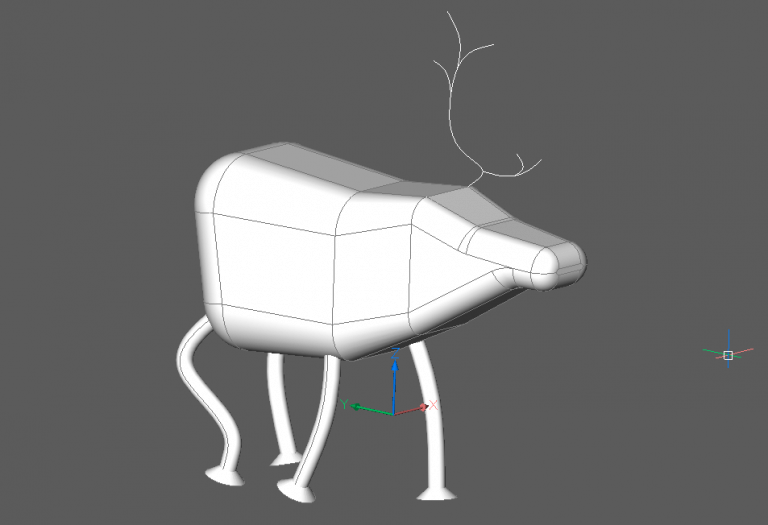
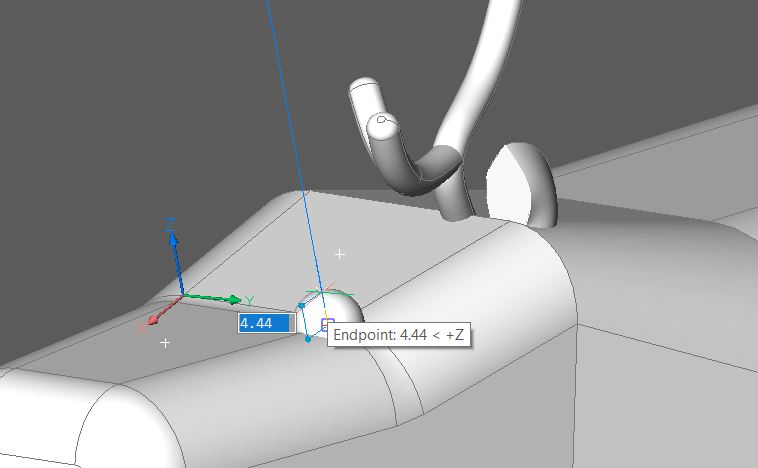
  14. Use Spline to create some legs.Christmas CAD - 14 legs-768x516Tip: Hit the Shift Key to align the UCS with the faces on the sides of the body.
  15. Use DMThicken to transform the splines into solids.
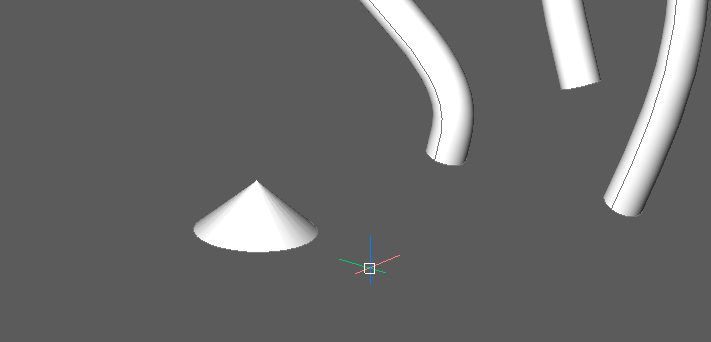
  16. Create a Cone.Christmas CAD - 15 cone
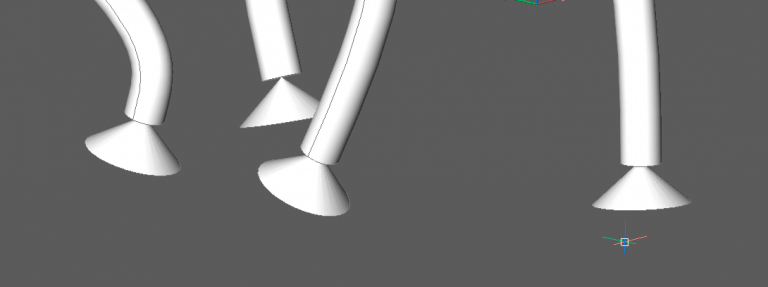
  17. Copy it into the end of each leg and move it into position.Christmas CAD - 16 position-768x287
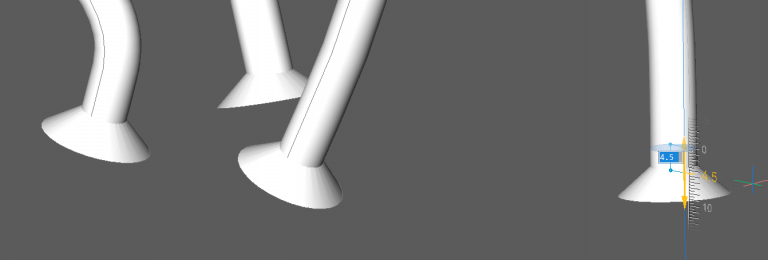
  18. Use DmPushPull to extend the ends of the legs into the hooves.Christmas CAD - 17 push pull-768x260
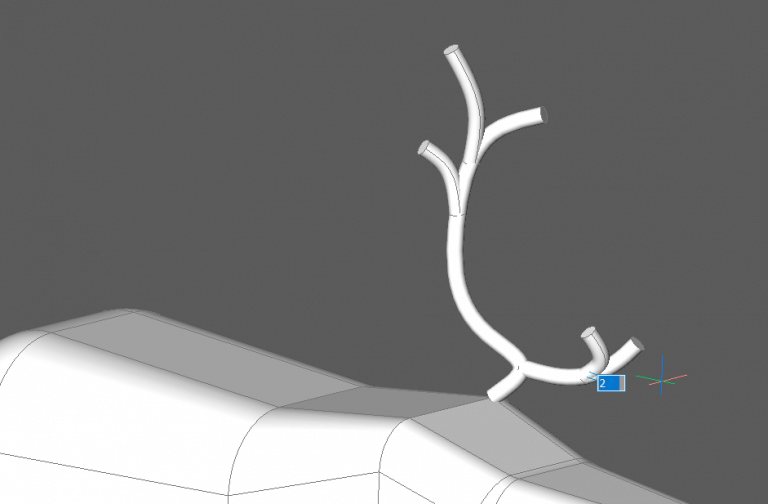
  19. Use Spline to create an antler.Christmas CAD - 18 antler-768x525
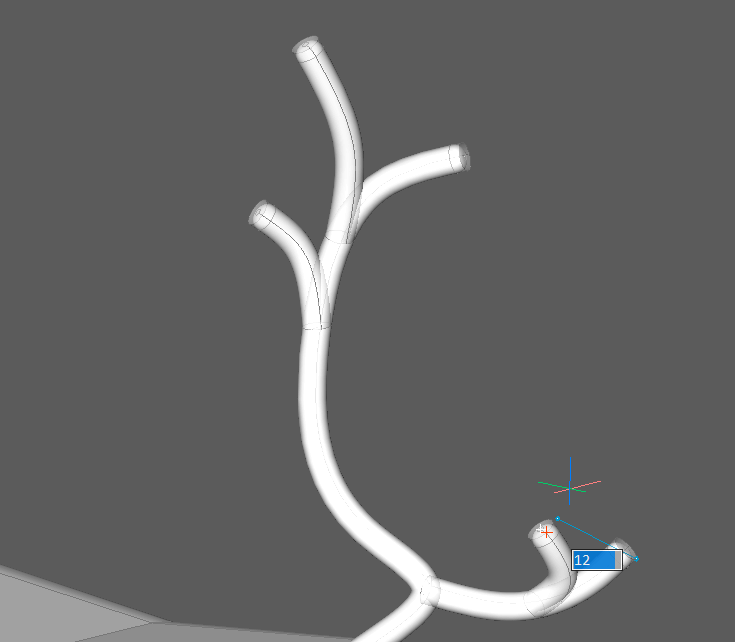
  20. Use DMThicken to convert this into a solid.Christmas CAD - 19 dmthicken-768x504
  21. Use Fillet to soften the edges.Christmas CAD - 20 fillet
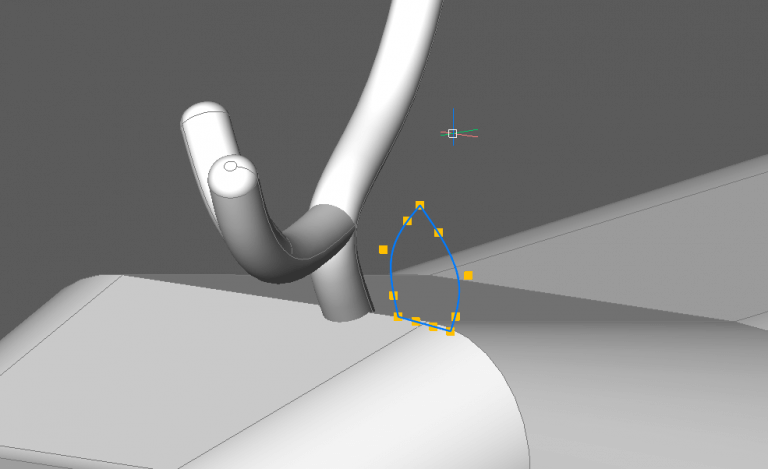
  22. Use a closed Spline to create an ear shape.Christmas CAD - 21 ear-768x469
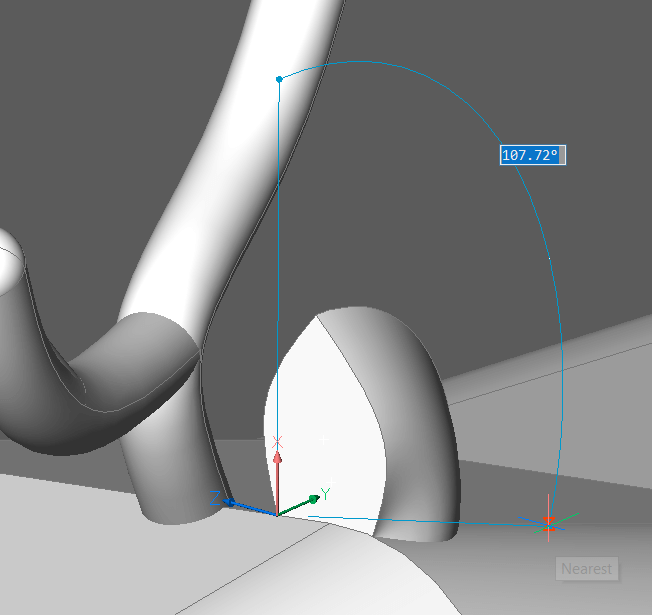
  23. Use Revolve to create the ear.Christmas CAD - 22 revolve
  24. Use a Sphere to create an eye.Christmas CAD - 23 eye
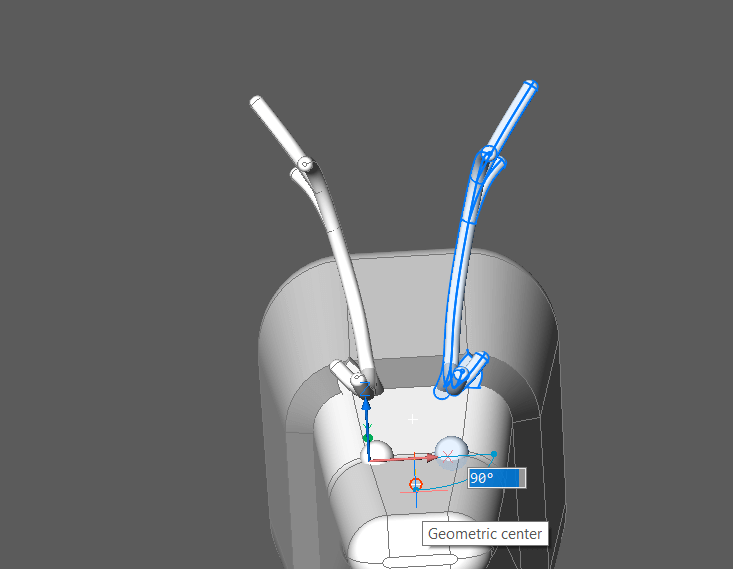
  25. Mirror the face.Christmas CAD - 24 mirror
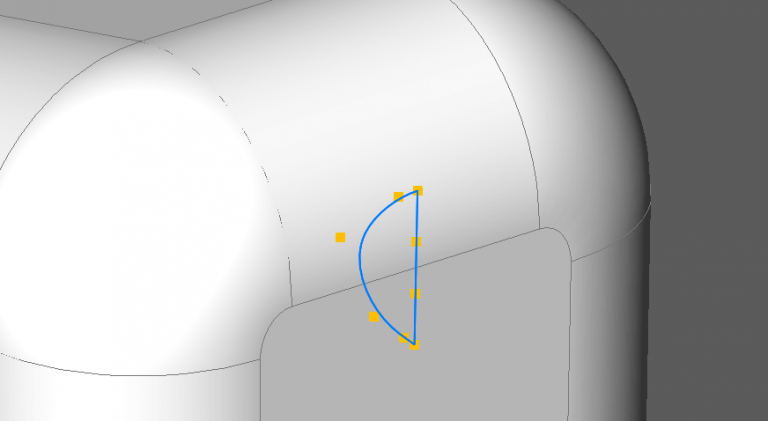
  26. Use a closed Spline to create a half tail shape.Christmas CAD - 25 spline-768x421
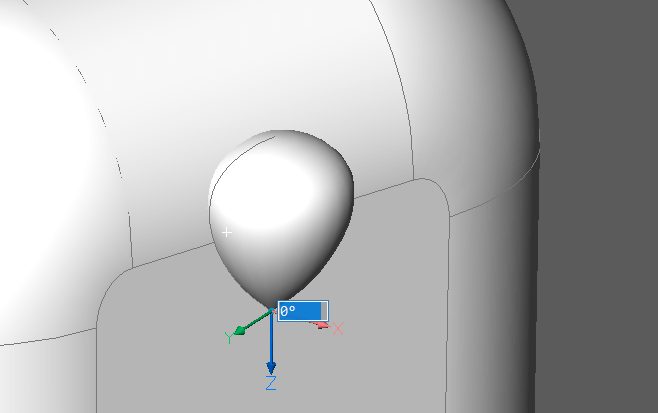
  27. Use Revolve to create the solid.Christmas CAD - 26 revolve
  28. Use the Manipulator to move the tail into position.Christmas CAD - 27 manipulate
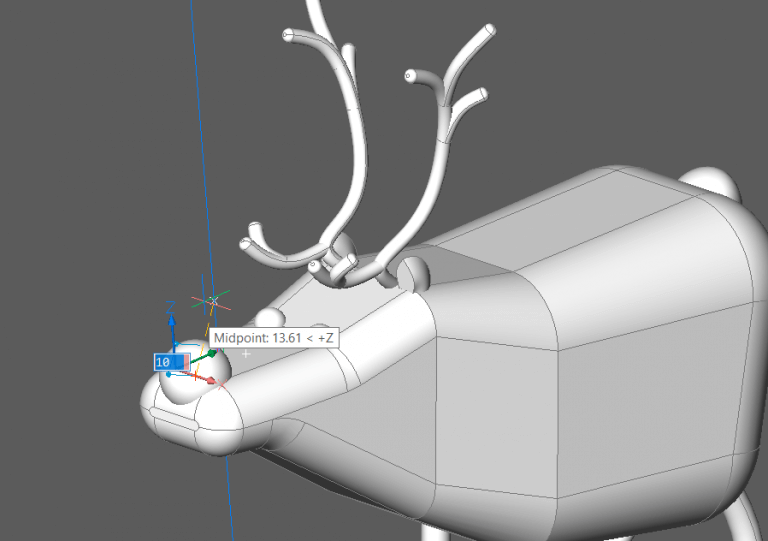
  29. Last, but not least, use a Sphere to make the nose.Christmas CAD - 26 nose-768x541
  30. ...And finish him off with some materials.

Christmas CAD - 28 matterials

Merry Christmas and happy CADing everyone.

15 april 2024 3 min

BricsCAD® Pro V24.2 - Performance Improvements

BricsCAD V24.2 is here, bringing with it a suite of performance improvements that promise to boost efficiency and stability. Tailored for drafters, designers, and fabricators across all industries, the latest version focuses on accelerating the creation of detailed design documentation essential for building, fabricating, and manufacturing processes. Let's take a closer look at the enhancements in V24.2 that will accelerate your time to deliverable.

25 maart 2024 4 min

What's new in BricsCAD® Lite and Pro V24.2

In the latest update, BricsCAD® V24.2 brings many new and enhanced features to elevate your 2D drawing creation. We have introduced a more intuitive user experience, improved performance and stability, and added new and enhanced features to boost your productivity further. This release delivers workflows to facilitate the precision and versatility you need for your 2D drafting and design projects to run smoothly. 

Volg ons op sociale media